My BlogGing
|
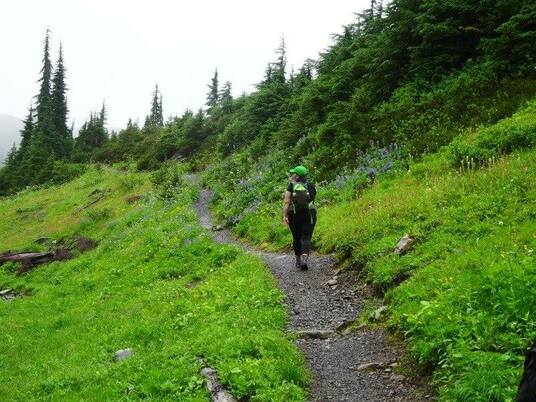
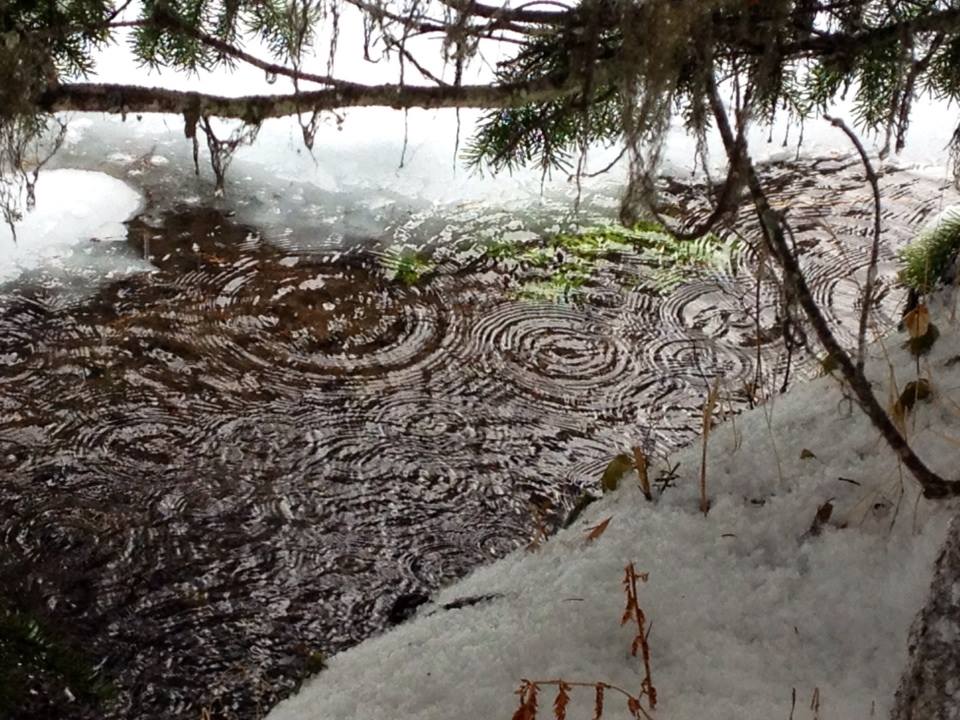
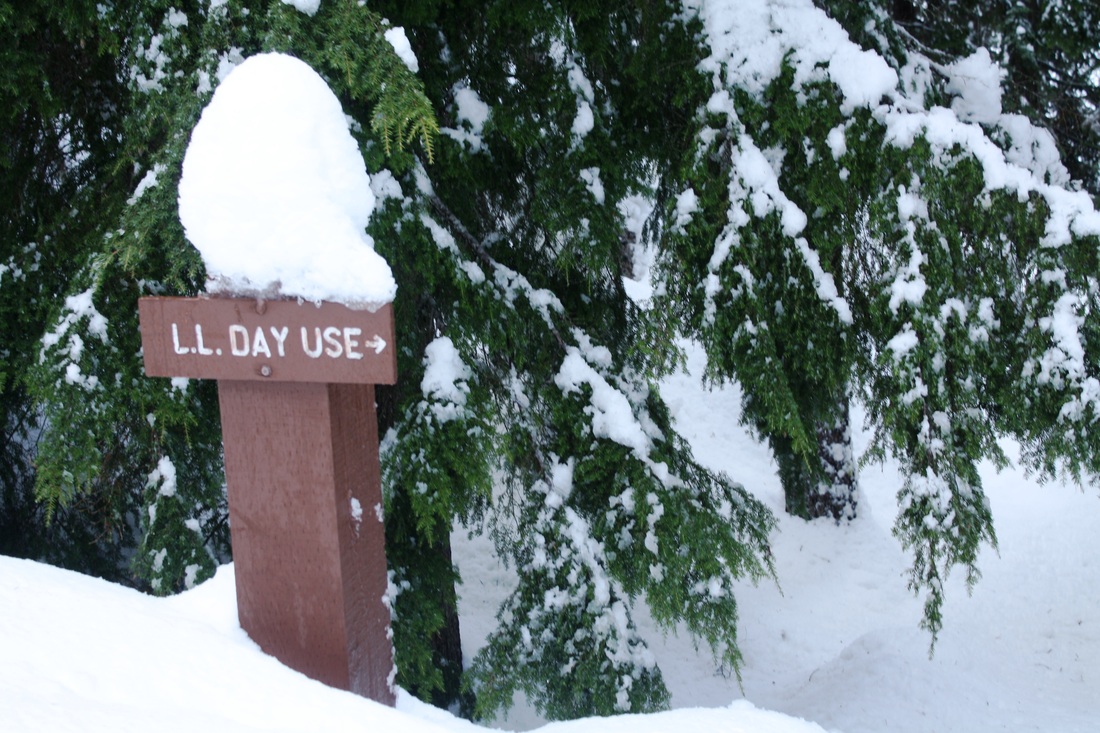
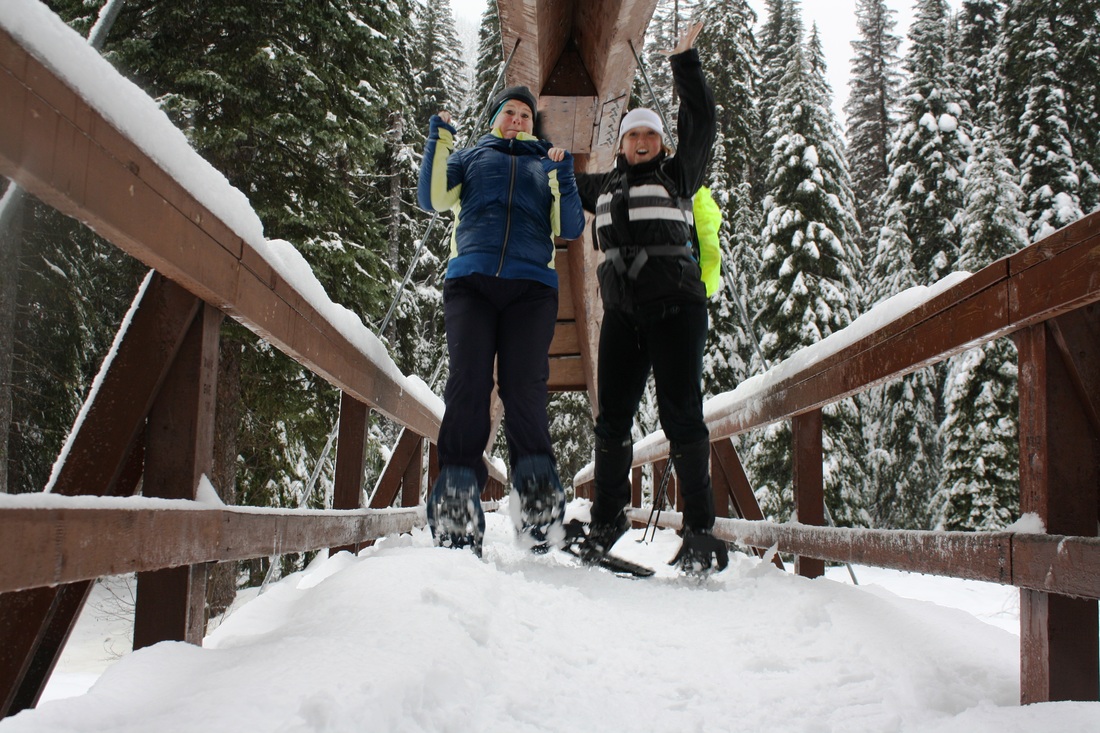
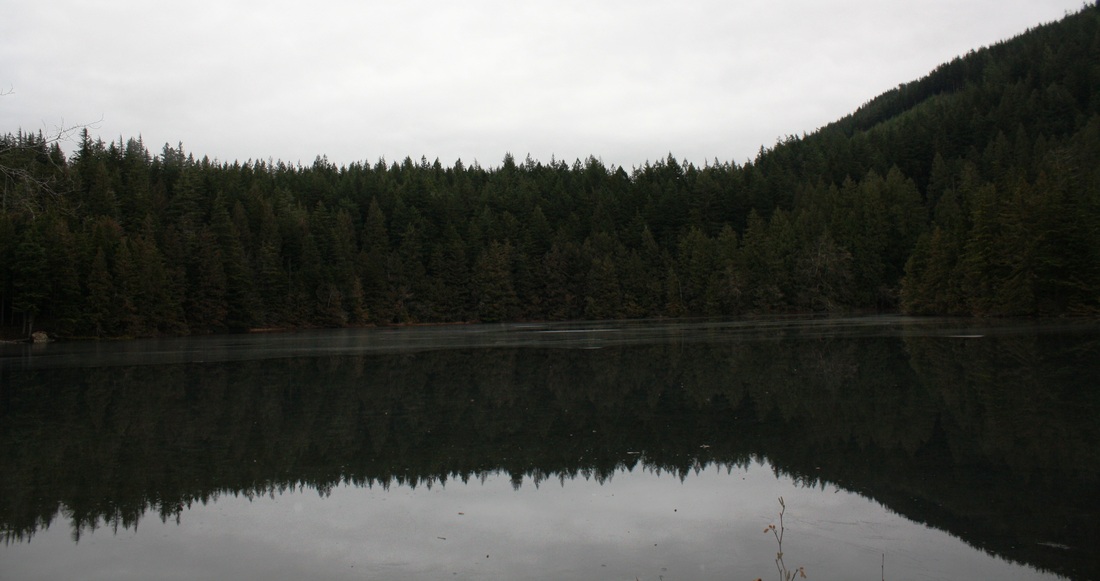
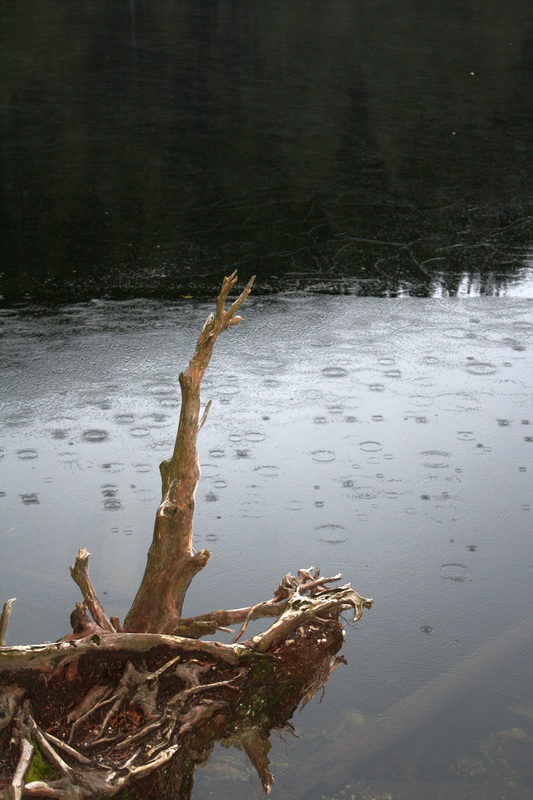
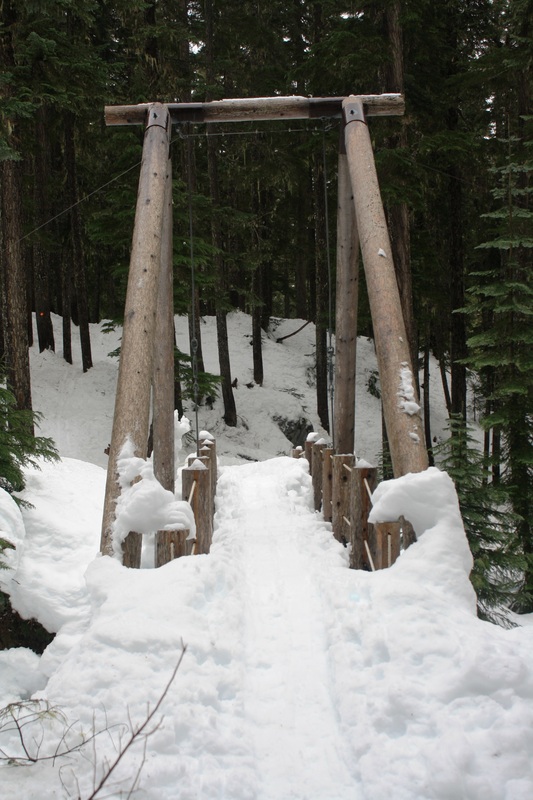
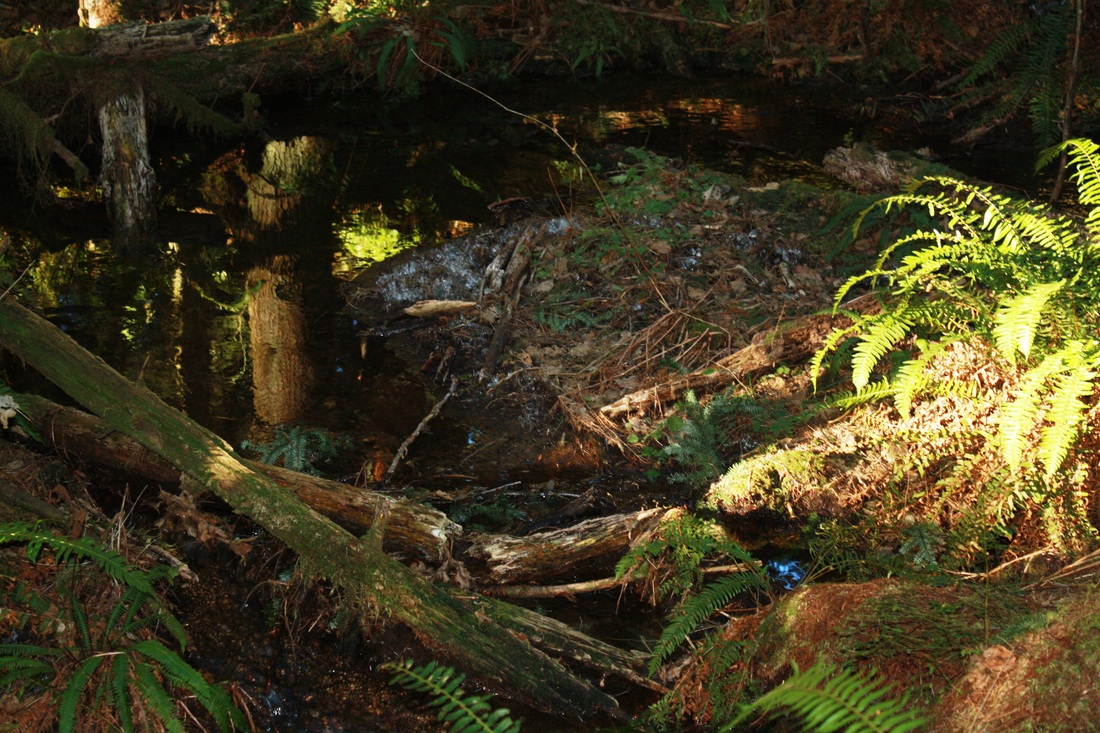
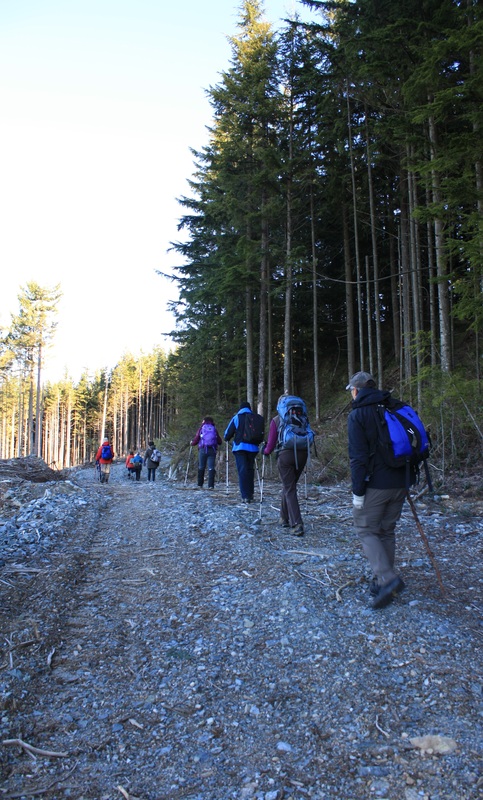
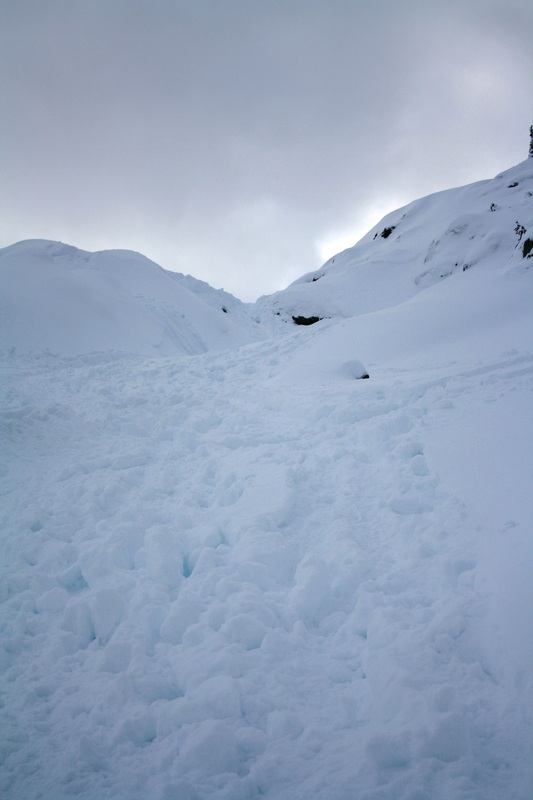
1) Lightning Lakes: Go past the Manning Park Lodge and turn right after the lodge. Follow the road and when you see a fork, stay left. Park at the parking lot. There are pit toilets here. Cross the dam bridge and you'll see, Frosty Mountain sign. Go right and follow the lower trail...save Frosty for a nice summer day or a fall hike to see the Golden Larches (see that hike under, My Hikes). This can be a loop trail that follows the lake along. You are in the trees. Soon you come to a bridge named, Rainbow Bridge. You can go across the bridge and go to your right to loop back to the parking lot. You can also carry on to the neighboring lakes, Strike and Thunder. However, this will make your SS a lot longer (14 km's). Today we were breaking trail so we decided to make it a shorter loop. That's the great thing about this as a SS...you can turn around at any point. The trail is easy to find in the summer but with fresh snow we lost the trail a few times and ended up on the cross country skiing road. They can be a little nasty so we quickly found the trail again and got off the road, LL Day Use (see picture). We followed this unbroken snow trail down a path and along the lake. Soon the parking lot was in our view. Today we did 10 km's with an elevation gain of 160 meters. Scaredy Cat says you won't loose any of your nine lives. Happy & safe snowshoeing. 
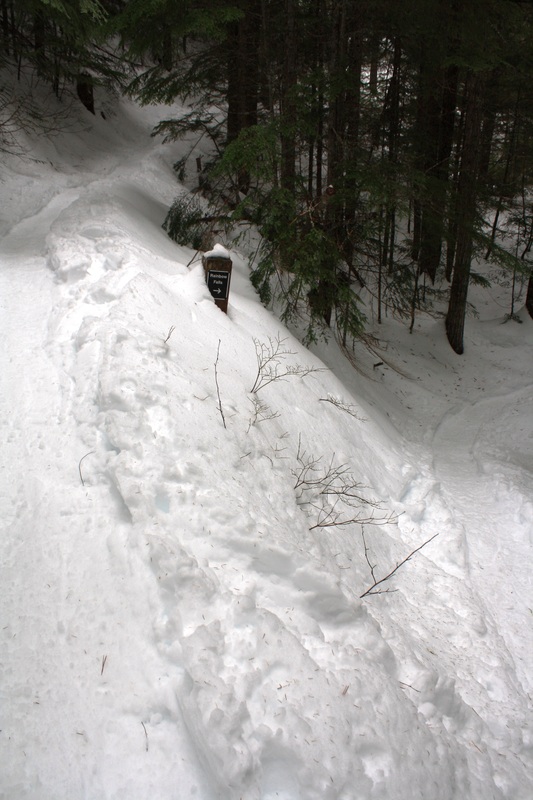
2) Strawberry Flats & Three Falls Drive to Manning Park Lodge and turn right. Follow the road until it forks and go right about 3 km's to the Strawberry Flats parking area. Park your car and go to the left down a little hill. There's a pit toilet here. A big sign says, Snow Shoe Trail or if you prefer you can walk along the cross country ski trail. If you choose this route, proper etiquette says stay off the cross country skiing tracks and not in the middle of the road. Stay to the side. Keep walking on the wide road and soon you'll come to fork in the road. Either way it's a Strawberry Flats Road loop. After a short time you'll see a Three Falls sign on your right. You can go up here or across the ski run. Just stay out of the way. If you choose the Snowshoeing Trail you'll walk in the forest, which is a groomed trail that has beauty at every turn. Keep walking along for 2 km's to the edge of the ski run. To change it up you can go on the way along the road and on the way back through the forest... To get to Three Falls...Go up the hill and to your left is this side trail, it's un-marked. Now your in the woods as you walk along a skinny trail. Sometimes it pops into the open and sometimes it's back in the trees as you make your way to Shadow Falls at 3.1 km's, your first of three falls. Just a little descent into a lookout and you'll see Shadow Falls far below. This is a perfect spot for a snack or to return later for lunch. Carry on along the trail and soon you'll come to Nepopekum Falls, at 3.2 km, and the descent to Derek Falls, at 4.5 km's. The third of the Three Falls is the prettiest. The trail here is a skinny trail that's open on one side. Not my favorite trail but most wouldn't bat an eye at it. To return back to your car you go back the same way. It is a 9 km SS. I don't think you'd loose any of your nine lives...however be careful when at Derek Falls. It's quite steep here. 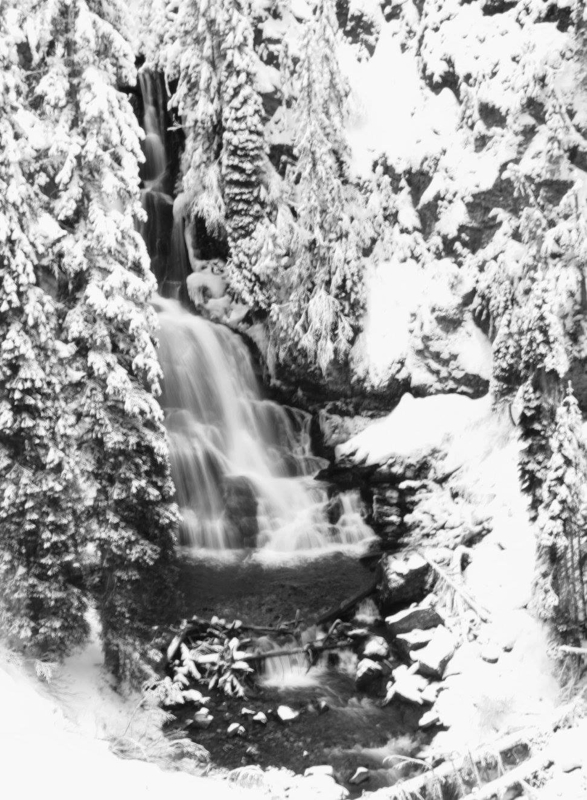
Derek Falls..the last of three falls and the end of your trail.
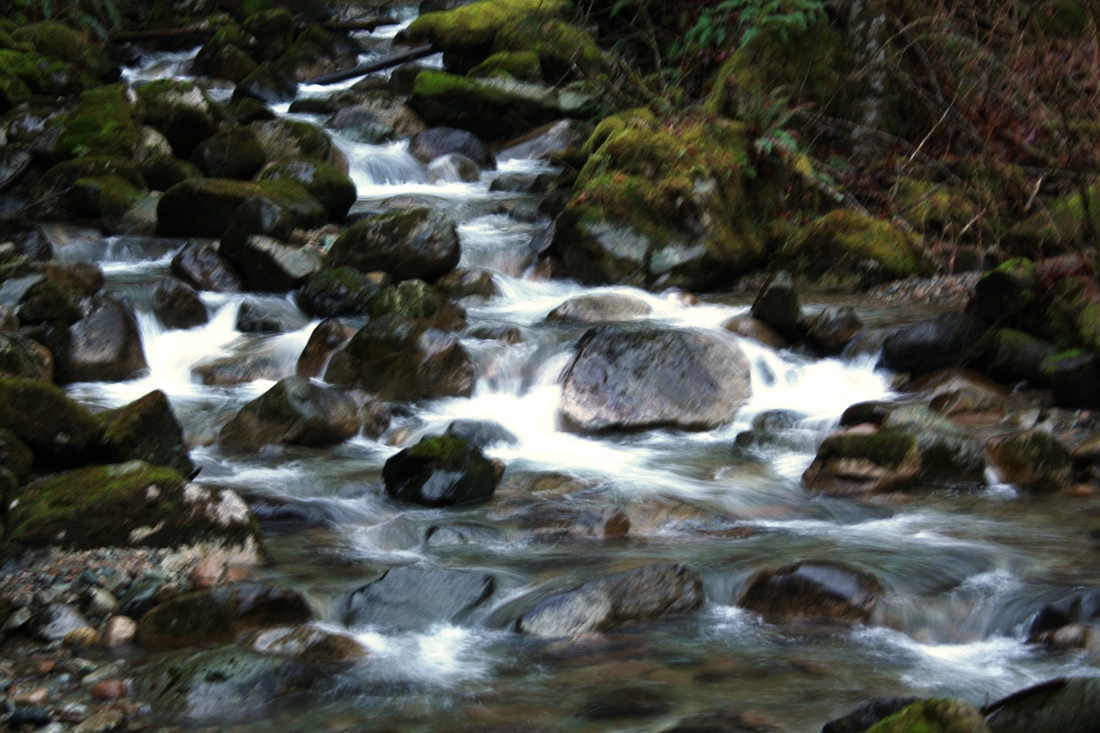
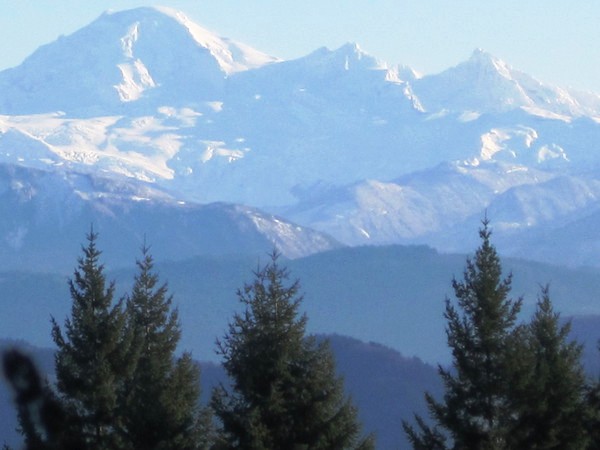
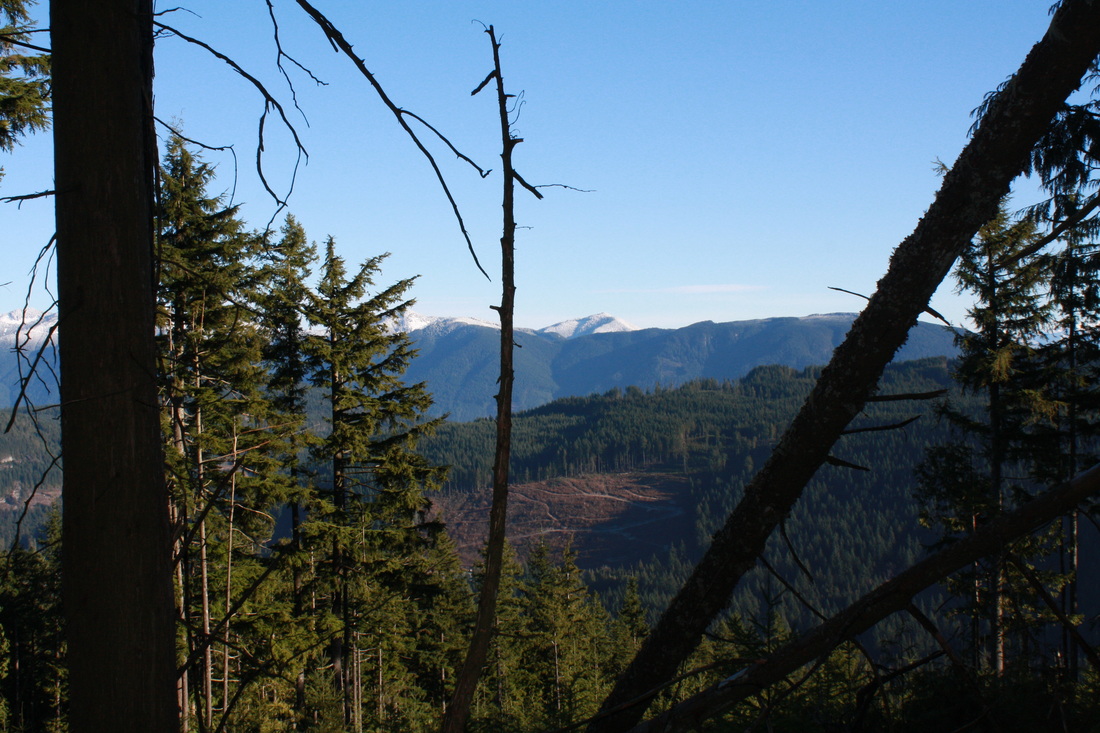
3) Fat Dog Winter Trail Fat Dog & Cambie Creek-700 meters & 15 Km's (Winter route only...closed in the summer months) Directions: drive on Highway 1 to Manning Park. Fat Dog is east of Allison Pass. If you get to Manning Park Lodge, you've gone too far. The parking lot is on the left side. There's a pit toilet here and a big parking lot. There is a loop along the route, this is Cambie Creek. We didn't try this but walked past it. It seemed un-touched and said closed. We followed the Fat Dog trail sign post. Trail Key: M~2~KF~DF~ST~H~V~PT 2015~Start at the sign post and follow the trail along the snow covered trees and long flat path. Go right at fork, with the sounds of a rushing creek on your right side. Cross a bridge with the cascading river now under you. Keep going, now the switches to your left side. The sound is a blessing to your ears. Follow the 5 Km's sign post to the right. It gets a little hilly now as you leave the trickling sounds of rushing water. Next sign post says left Cambie Creek and right Fat Dog...go right. There are no more sign posts after this one but the trail is easy to follow. First steep up hill grunt but it's short. A short flat spot and downhill as the trail winds around. Little hill then a short flat spot and cross over a small creek. Then another uphill grunt that goes on forever then it finally flattens out. Then you come to a short grunt up. Then it is flat again for sometime. The last few Km's climb uphill gradually as the trees get thinner and thinner. Soon you are in an open area and on a clear day you'll see Three Brothers, The North Cascades and Frosty Mountain. There is nothing scary about this winter trail. It has many beautiful views. Scaredy Cat says you won't loose any of your nine lives on this in-out trail. 
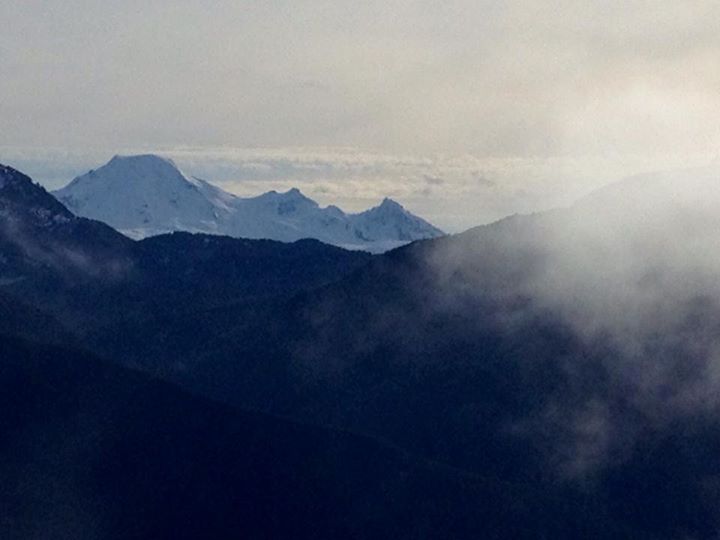
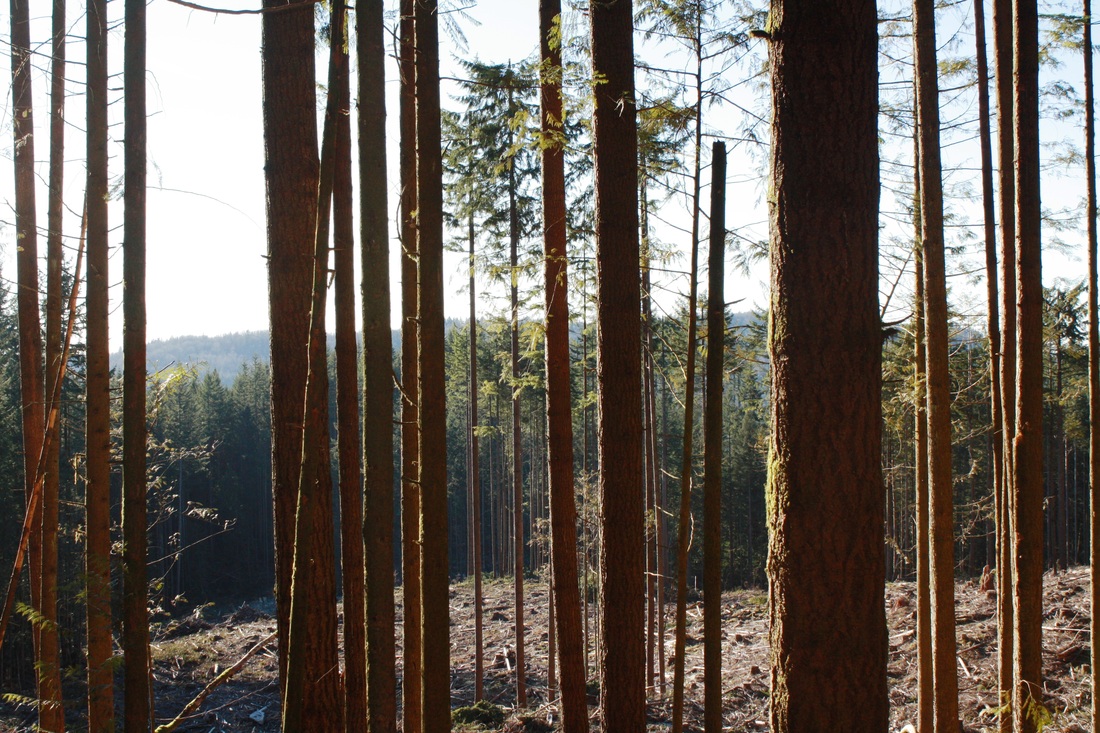
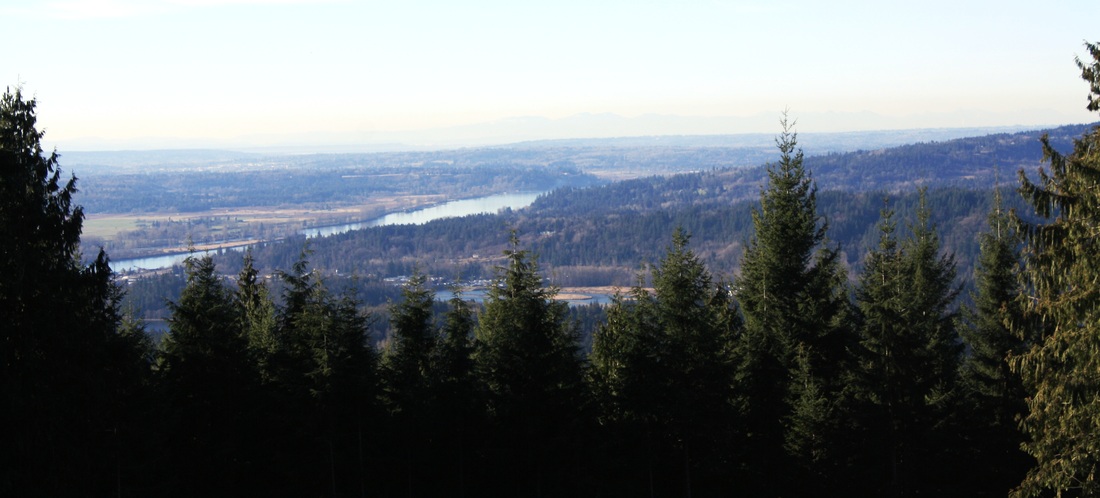
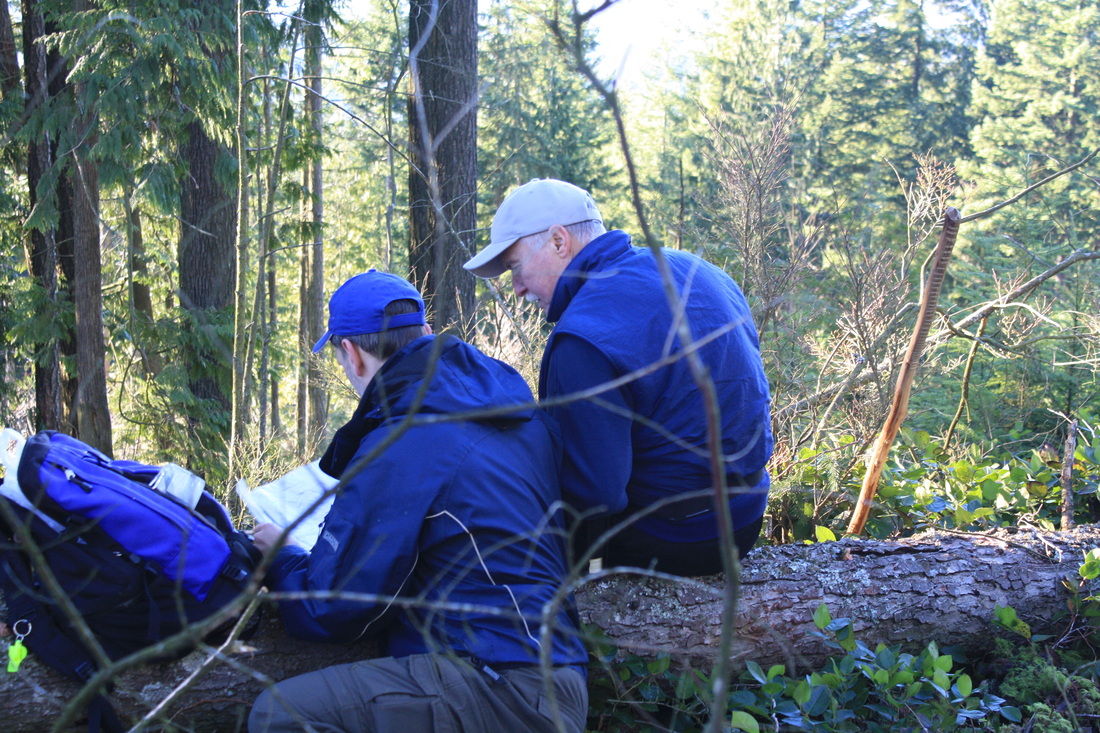
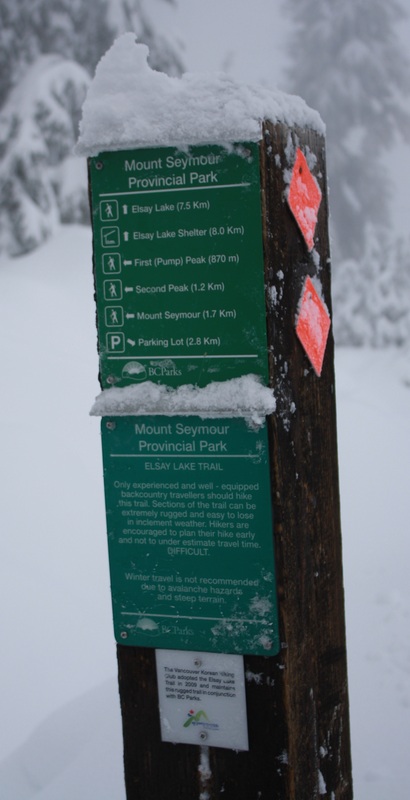
4) Windy Joe Drive past the Manning Resort and not too far along the road, just after the bridge and before the parking lot is a pull out to park on your right. There’s a big Manning Park sign and a Windy Joe Lookout sign post. This mark’s the start of your hike. It's 16 km’s return/654 meters. Right from the start there is dead fall but it’s easy to navigate. For the beginning of the hike it’s flat in old growth forest. This goes on for about 2 km’s. The trail forks/junction: stay right & follow sign to Windy Joe Lookout Trail. If you go left it’s the Pacific Crest Trail (that’s the trail that takes you through the USA and ends in Mexico.) Or this also goes to Frosty Mountain. Today it’s Windy Joe… Here it starts to climb gradually up a wide, rocky road. Just before 5 Km's there’s another junction (stay left) going right takes you to Pacific Crest Trail & Frosty Mtn. After about 5 minutes you'll see a 5 Km's Windy Joe trail marker high in the trees…3 km’s to go! Keep going as the trail snakes around with gradual elevation Soon a lookout of Frosty appears on your left, it's not far now. The pit toilet will be your first sign that you are steps away from The Windy Joe Hut. There's a picnic table and vistas everywhere your eyes can see. Don’t let anyone tell you the trees cover the views. It is spectacular! You have arrived, your summit for today. Check out the hut. Upstairs there are pictures of all the mountain ranges. It’s a piece of history…Scaredy Cat says you won’t loose any of your nine lives. This could very well be one of my most favorite hikes. It’s a great workout and nothing scary. Windy Joe Fire Tower: The original ranger station was here and only a tent. It was here where in the 1948 rangers used this lookout for spotting fires. In 1950 this hut was built and for the next 13 summer’s rangers used this tower to spot fires. Now-a-days fires are spotted by planes and a ranger is still at Monument 83 (a larger tower built in 1963) during high fire season. This tower is left as a reminder of our history. This lookout was named after Joe Hilton, who worked in the park from 1946-1975 and who is responsible for laying out many of the hiking trails we enjoy today. Pacific Crest Trail: I just started reading the book, Wild, by Cheryl Strayed. It’s about her quest to complete this hike solo after loosing herself. It’s quite the read...The Pacific Crest Trail, PCT, is a long-distance hiking trail. It passes through the Sierra Nevada and Cascade mountain ranges. The trail starts in Mexico and ends in Canada’s, Manning Park. The Pacific Crest Trail is 4,286 km long and ranges in elevation from just above sea level at the Oregon–Washington border to 4,009 meters. The route passes through 25 national forests and 7 national parks. It was completed in 1993. It is estimated that 300 people complete the trail each year. On average, the trail takes 5 months to complete. Happy & safe snowshoeing. Lori aka Scaredy Cat 
At the top Windy Joe.
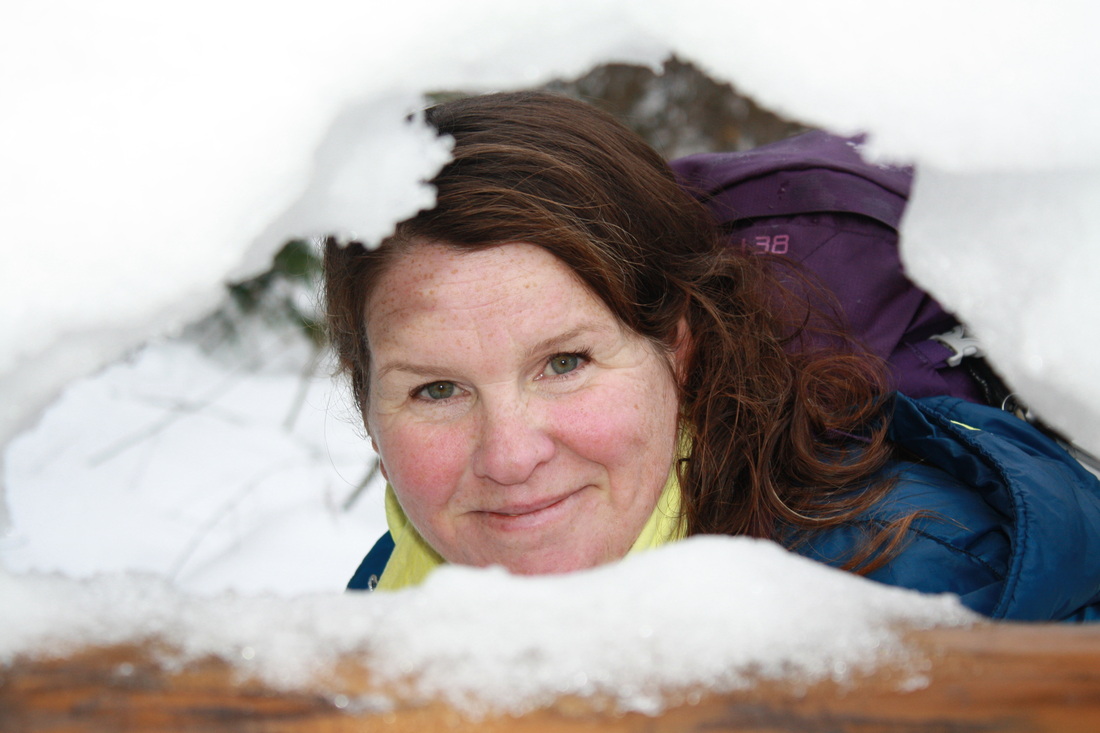
"Nature gives us time to re-group, calm our soles and ready ourselves for the week ahead." Lori Pederson Whiskey Jack aka Grey Jay

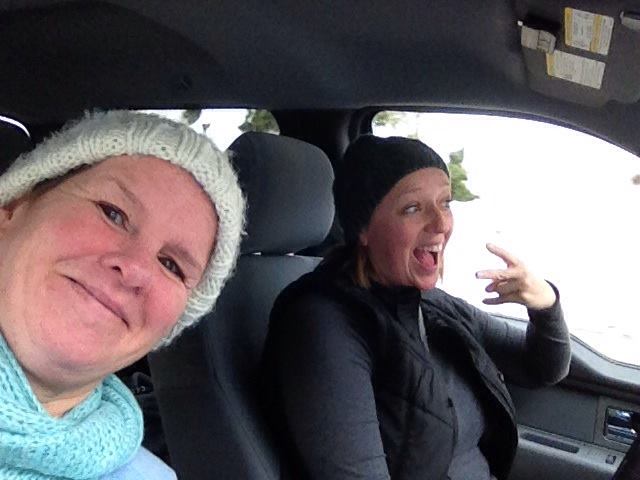
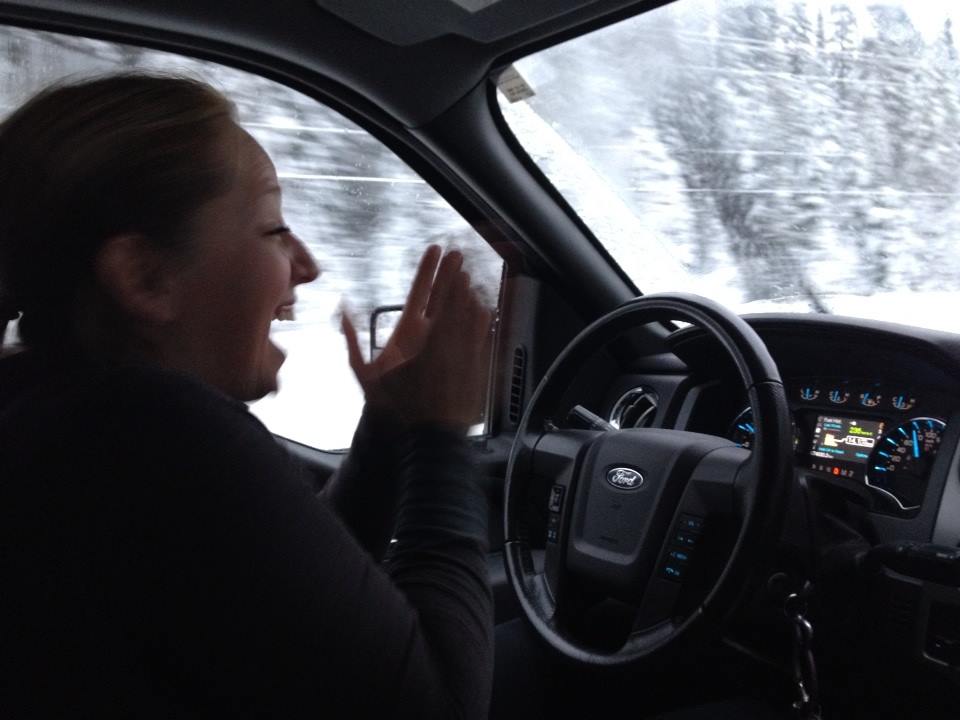
On the right is how I look on my way to my mountain adventure and on the left is how I look on my way home...
0 Comments
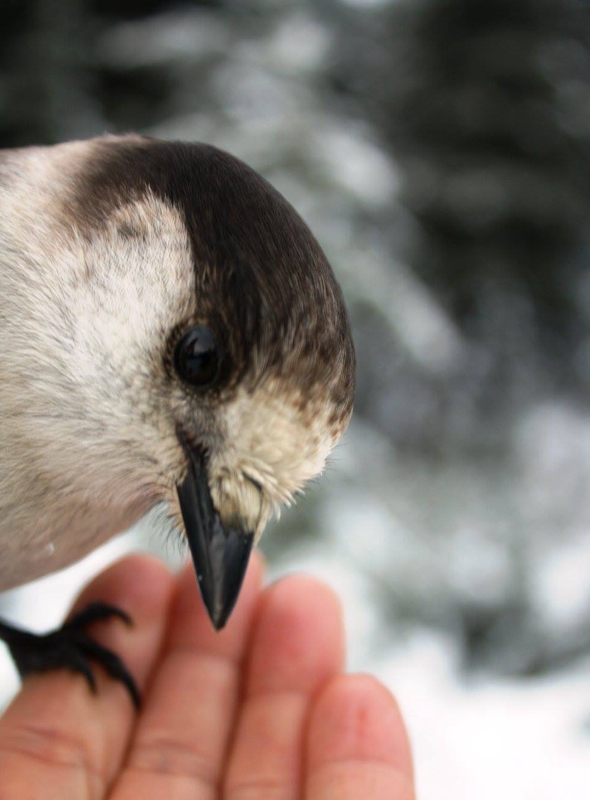
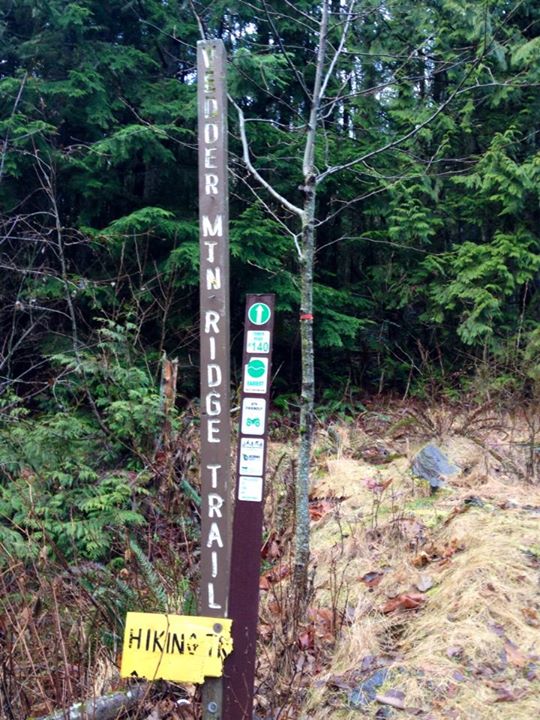
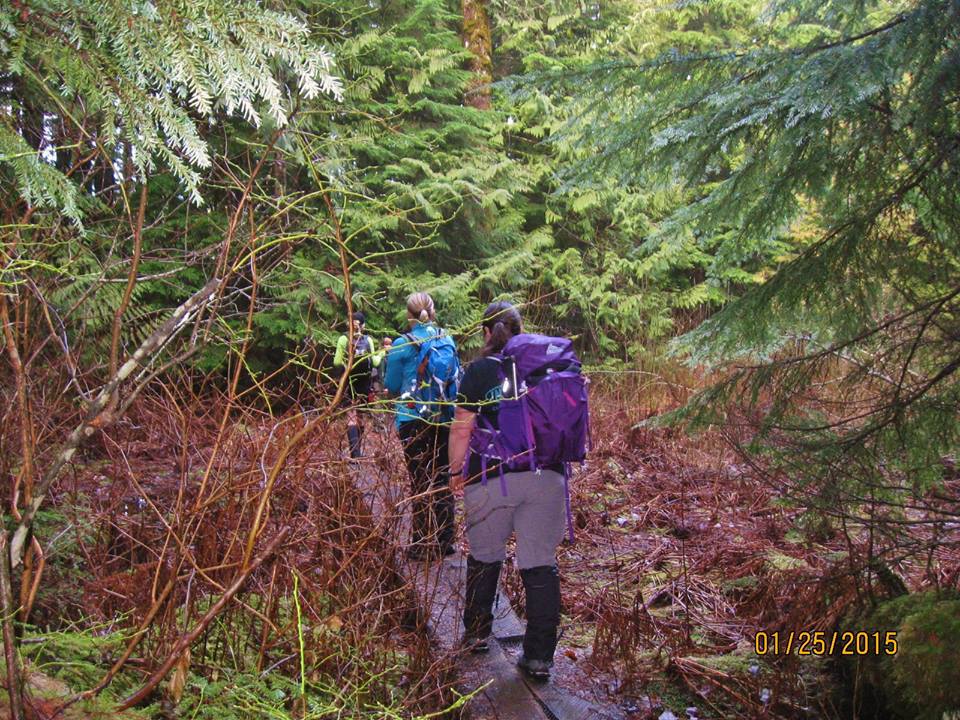
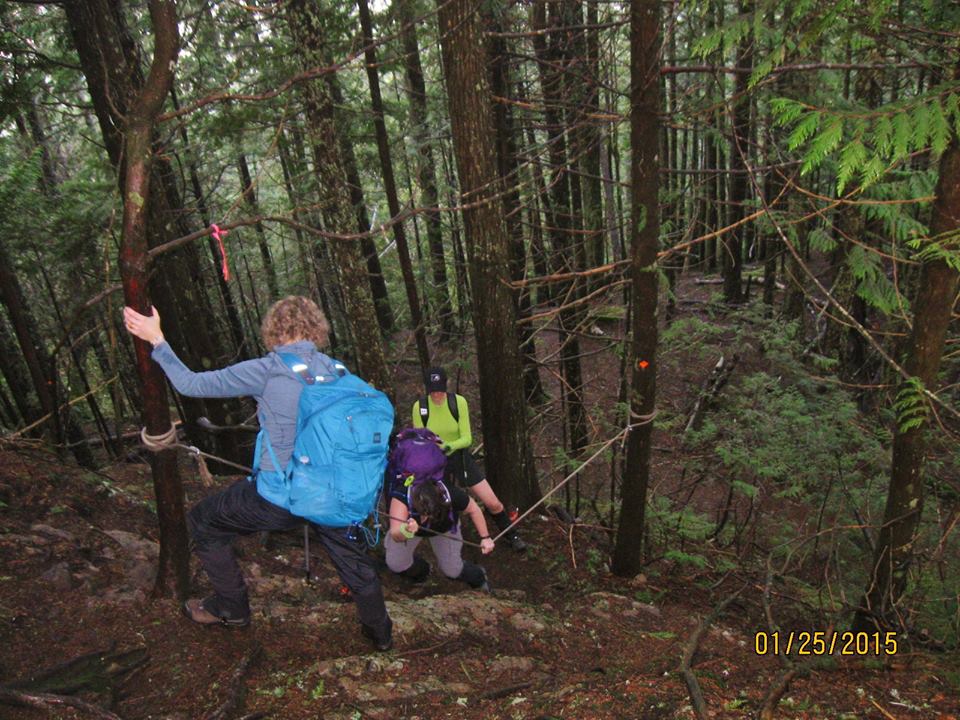
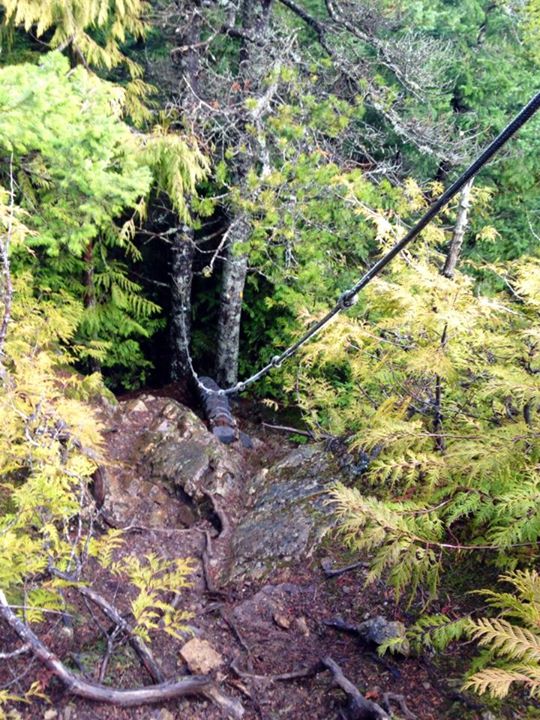
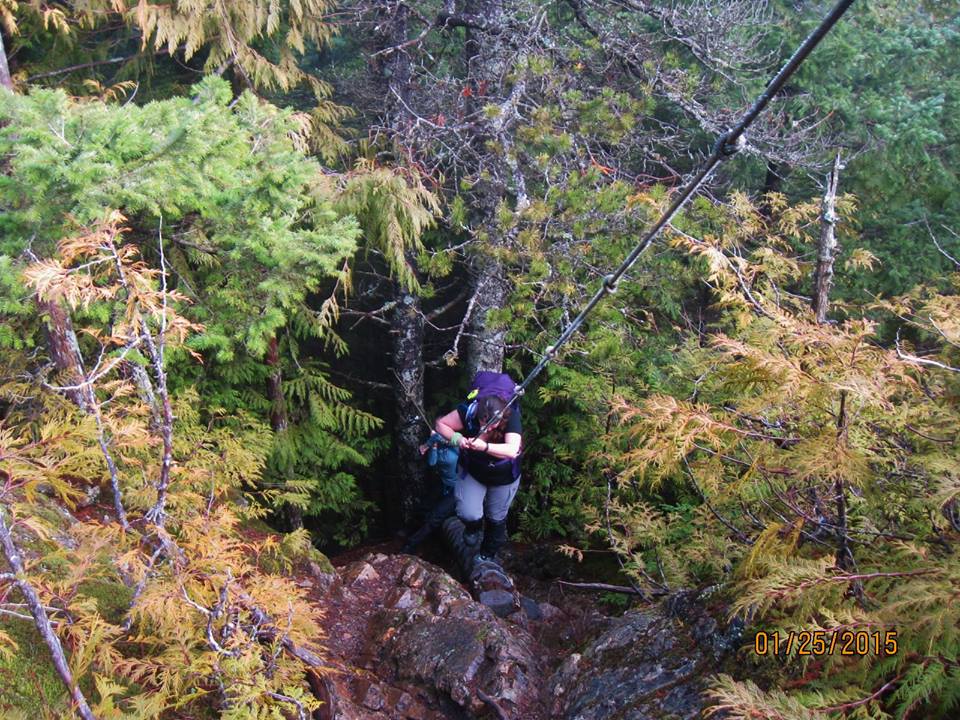
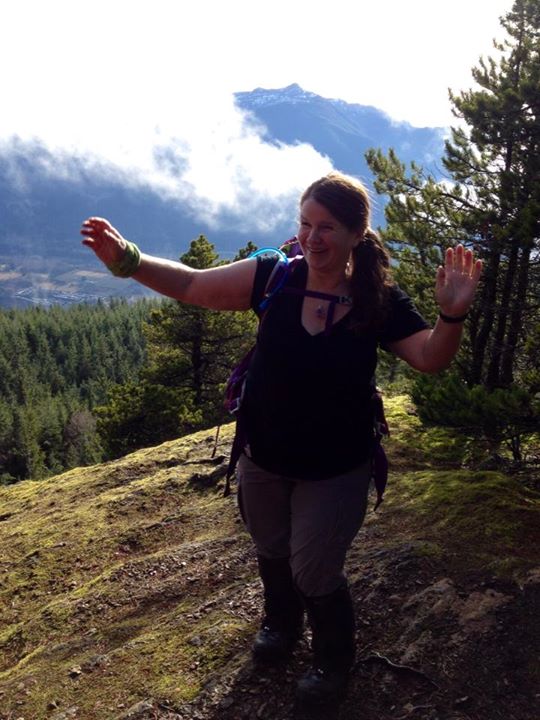
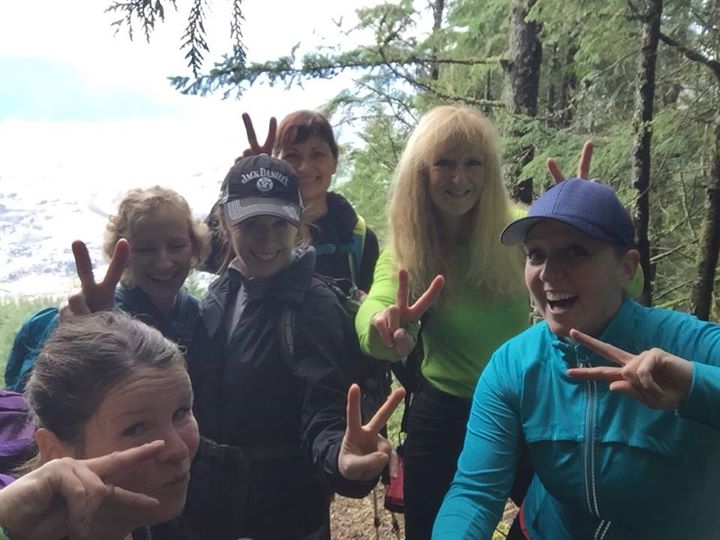
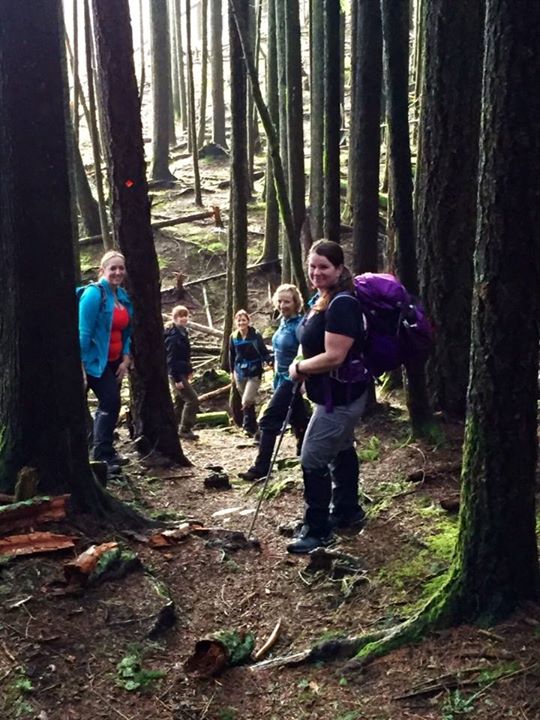
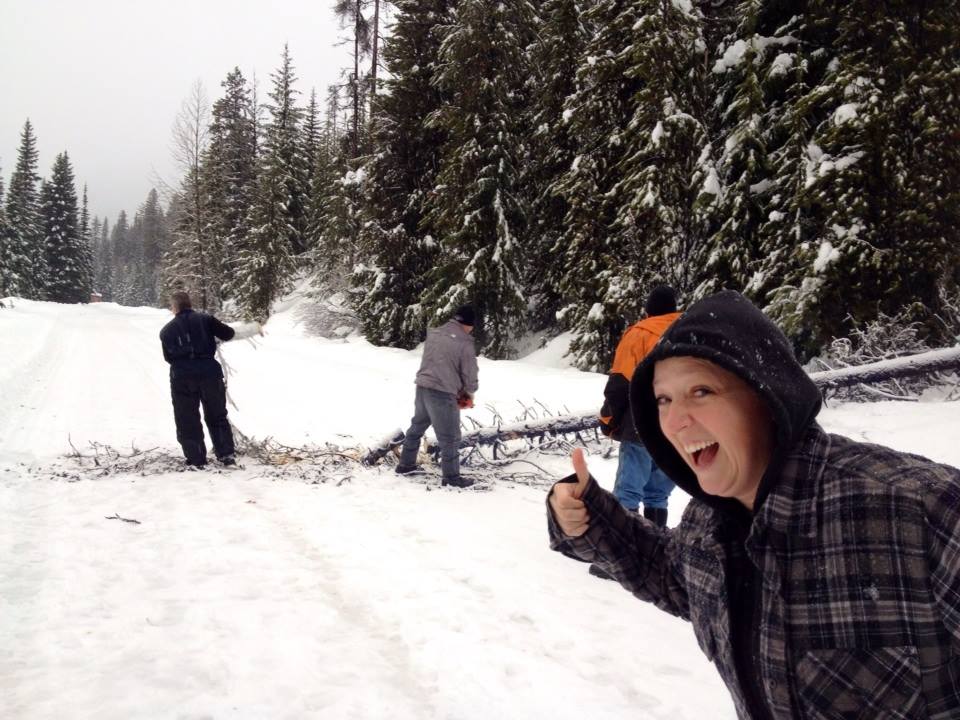
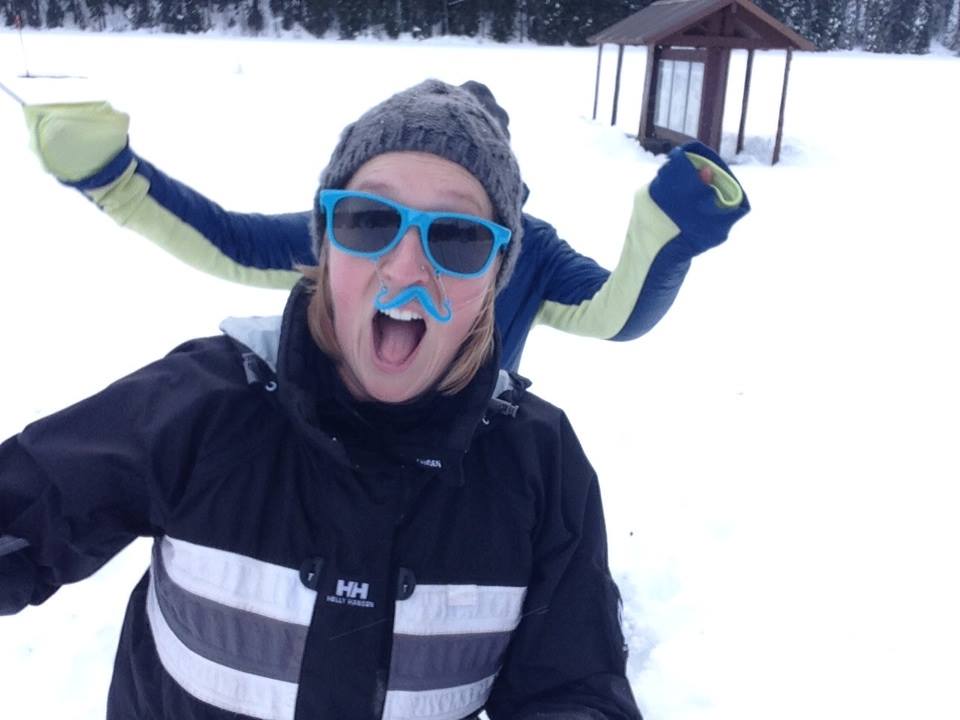
Fat Dog & Cambie Creek-700 meters & 15 Km's (Winter route only...closed in the summer months) Directions: drive on Highway 1 to Manning Park. Fat Dog is east of Allison Pass. If you get to Manning Park Lodge, you've gone too far. The parking lot is on the left side. There's a pit toilet here and a big parking lot. There is a loop along the route, this is Cambie Creek. We didn't try this but walked past it. It seemed un-touched and said closed. We followed the Fat Dog trail sign post. Trail Key: M~2~KF~DF~ST~H~V~PT 2015~Start at the sign post and follow the trail along the snow covered trees and long flat path. Go right at fork, with the sounds of a rushing creek on your right side. Cross a bridge with the cascading river now under you. Keep going, now the switches to your left side. The sound is a blessing to your ears. Follow the 5 Km's sign post to the right. It gets a little hilly now as you leave the trickling sounds of rushing water. Next sign post says left Cambie Creek and right Fat Dog...go right. There are no more sign posts after this one but the trail is easy to follow. First steep up hill grunt but it's short. A short flat spot and downhill as the trail winds around. Little hill then a short flat spot and cross over a small creek. Then another uphill grunt that goes on forever then it finally flattens out. Then you come to a short grunt up. Then it is flat again for sometime. The last few Km's climb uphill gradually as the trees get thinner and thinner. Soon you are in an open area and on a clear day you'll see Three Brothers, The North Cascades and Frosty Mountain. There is nothing scary about this winter trail. It has many beautiful views. Scaredy Cat says you won't loose any of your nine lives on this in-out trail. Happy & safe SS'ing. Lori aka Scaredy Cat GPS Waypoints: Trailhead N49.11133 W120.84325 10U 657393 5442072 Cambie Loop Trail forks N49.11233 W120.83903 10U 657698 5442192 Bridge N49.11596 W120.83452 10U 658015 5442605 Inner Cambie Loop junction N49.11811 W120.83235 10U 658167 5442848 Outer Cambie Loop / Fat Dog junction N49.12176 W120.82866 10U 658424 5443262 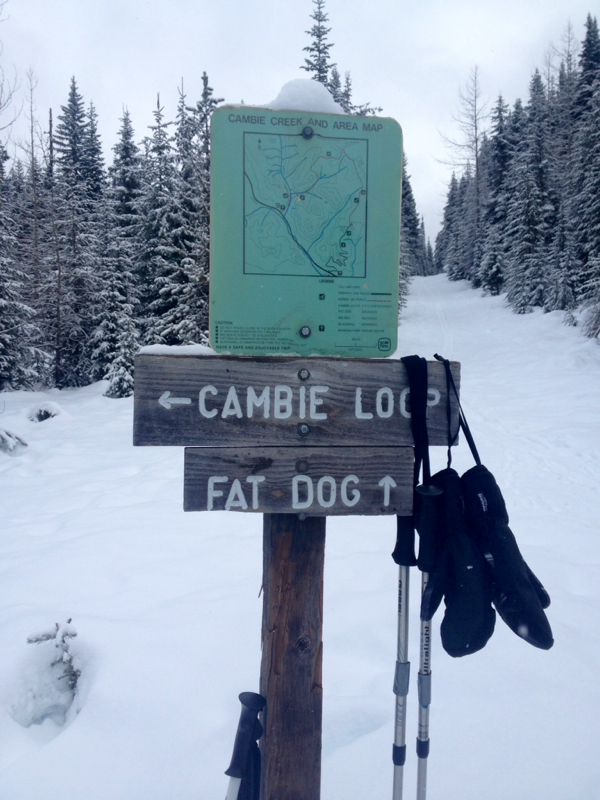 The final sign post...5 Km's to go! 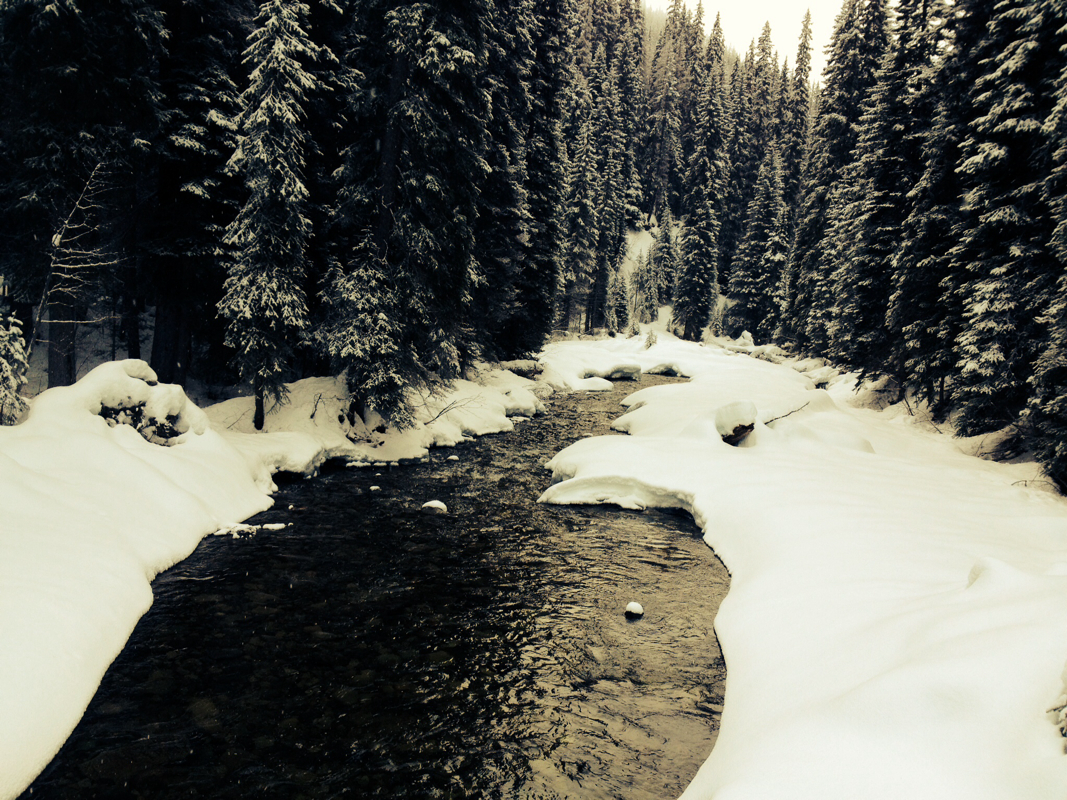 Standing on the bridge watching this beautiful rushing creek. The sounds & smells were blessings to my senses.  Mr. Hawk...There's something spiritual about these birds. They are simply beautiful. 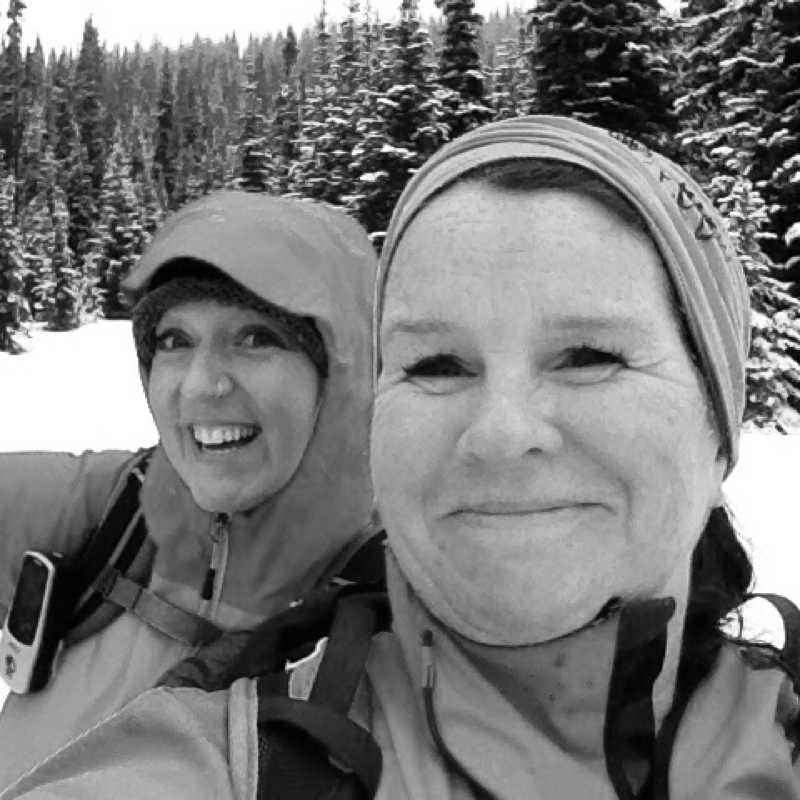 Danielle & I having loads of fun! 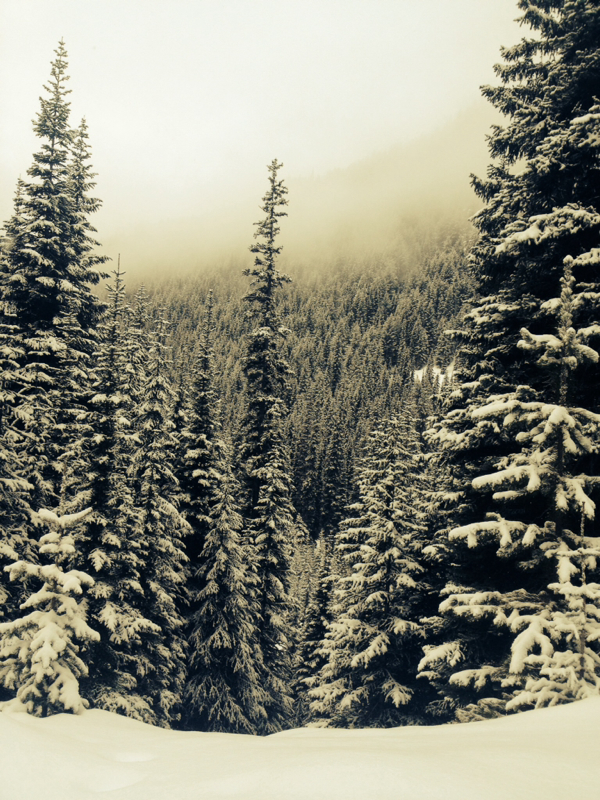 Beauty at every turn. 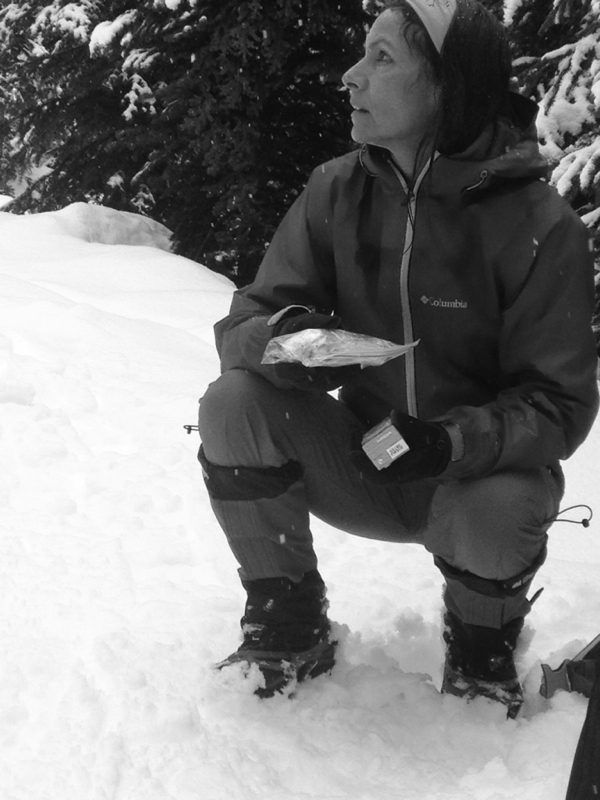 Ingrid in her zen moment...Nature gives us this time to re-group and calm our soles for the week ahead. 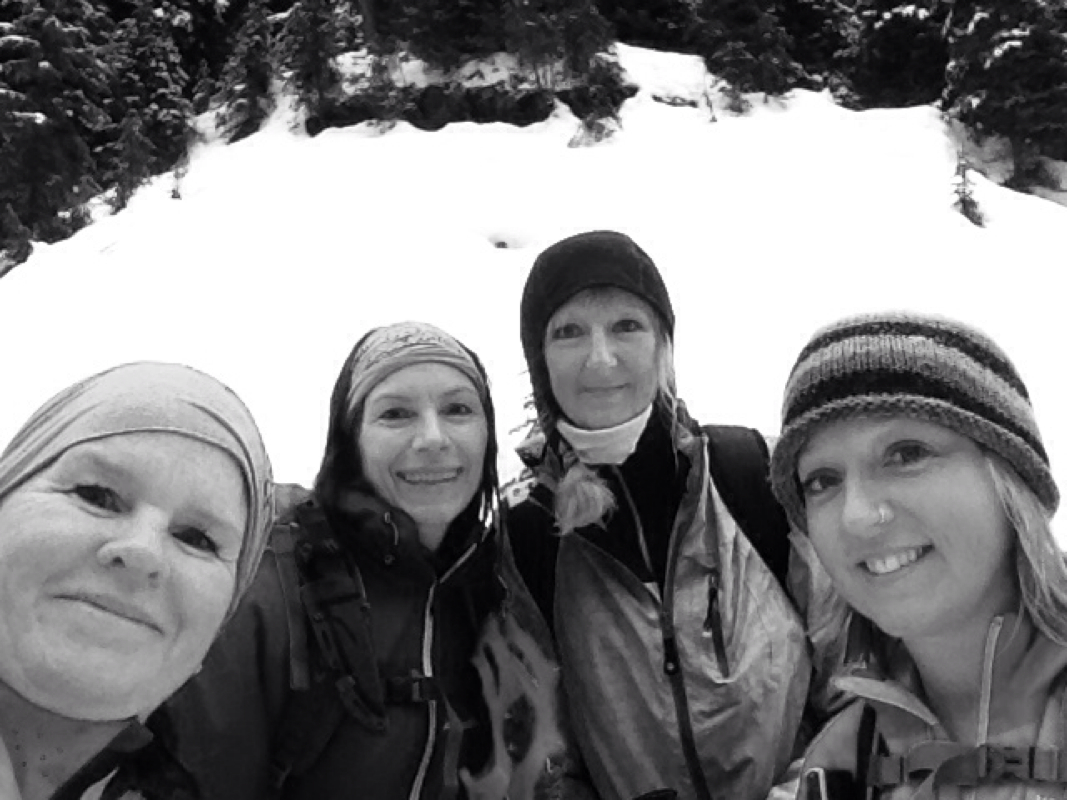 Four ladies having the time of our lives...Danielle, Em, Ingrid and me...a non-Scaredy Cat. 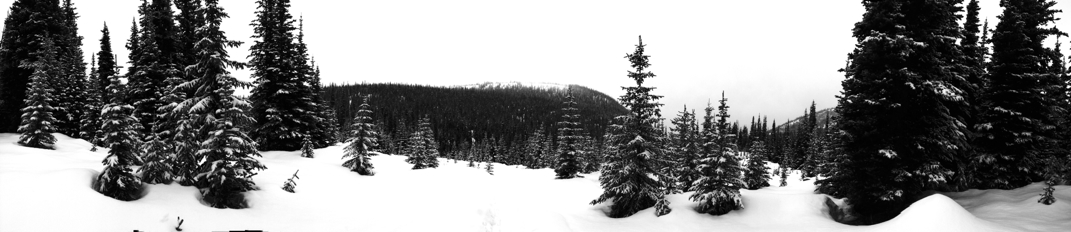 Panorama worthily. 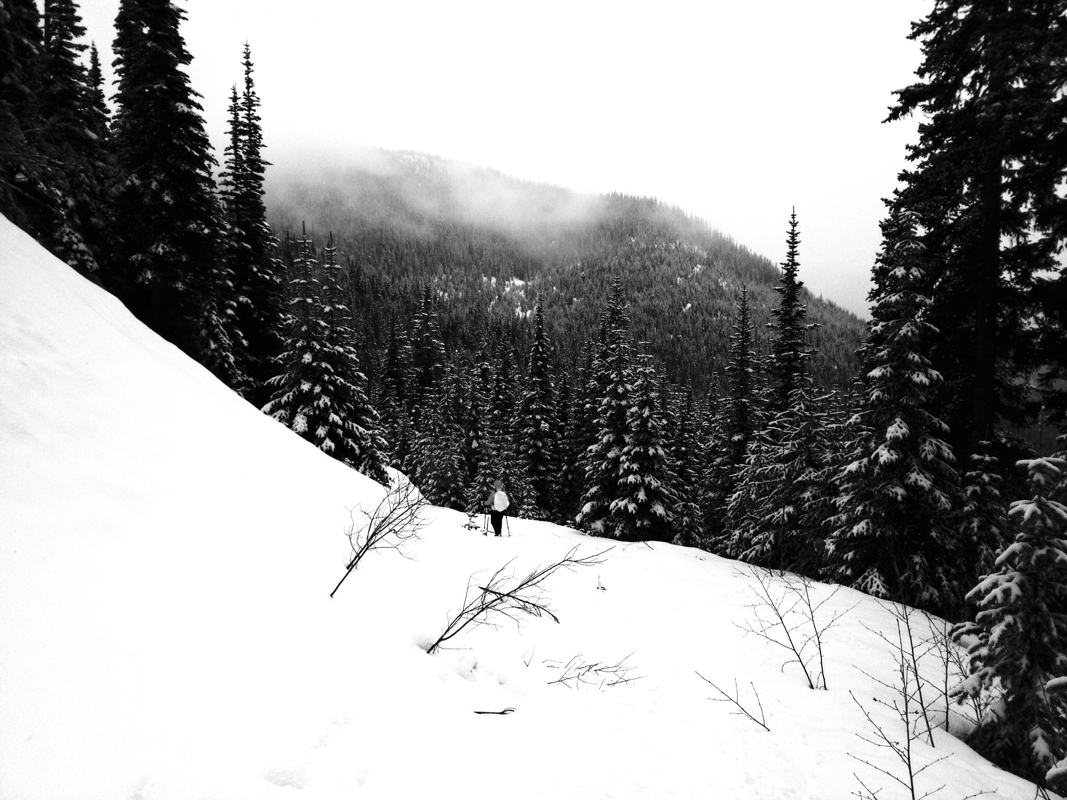 I recommend this snowshoe...a great workout with many beautiful sights and sounds. 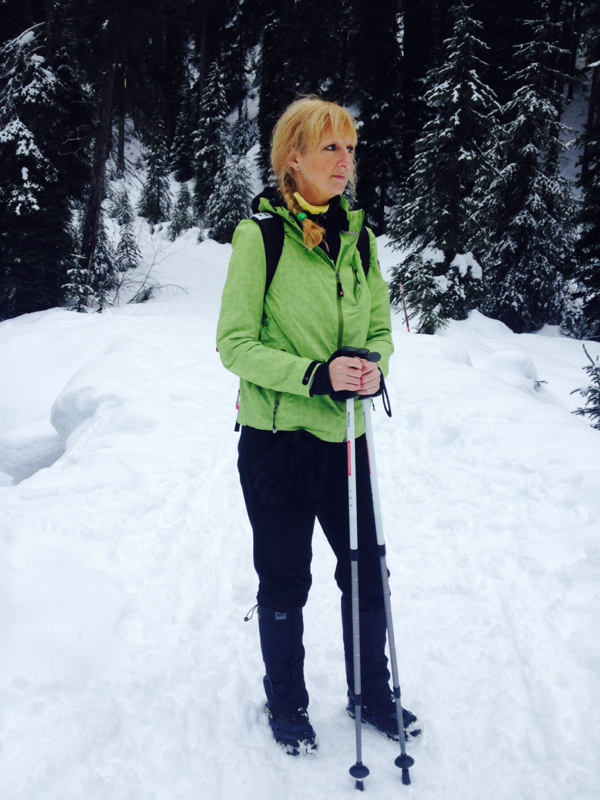 Em enjoying the sights and sounds of a rushing river... 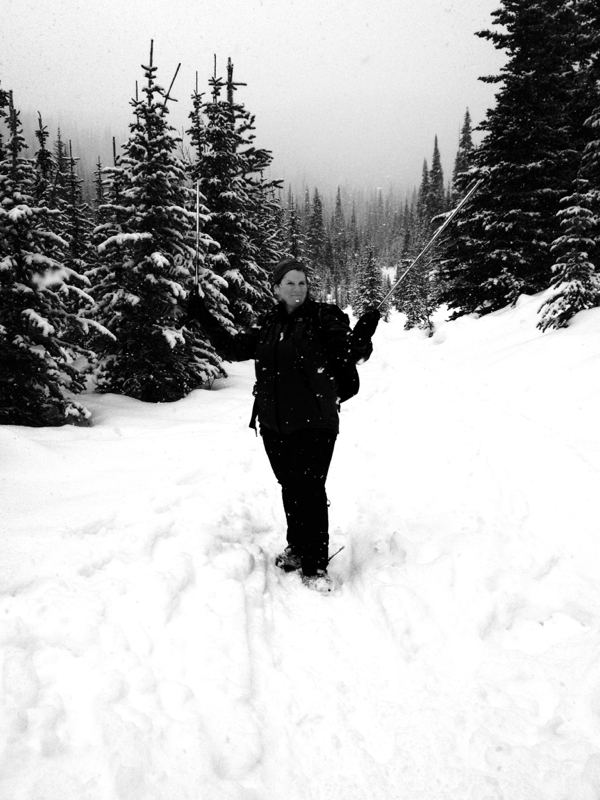 The snows really coming down now...photo credit: Danielle Joyce Photography.  Snow makes this lady smile...A very happy Danielle in spite of a sore ankle & hip! 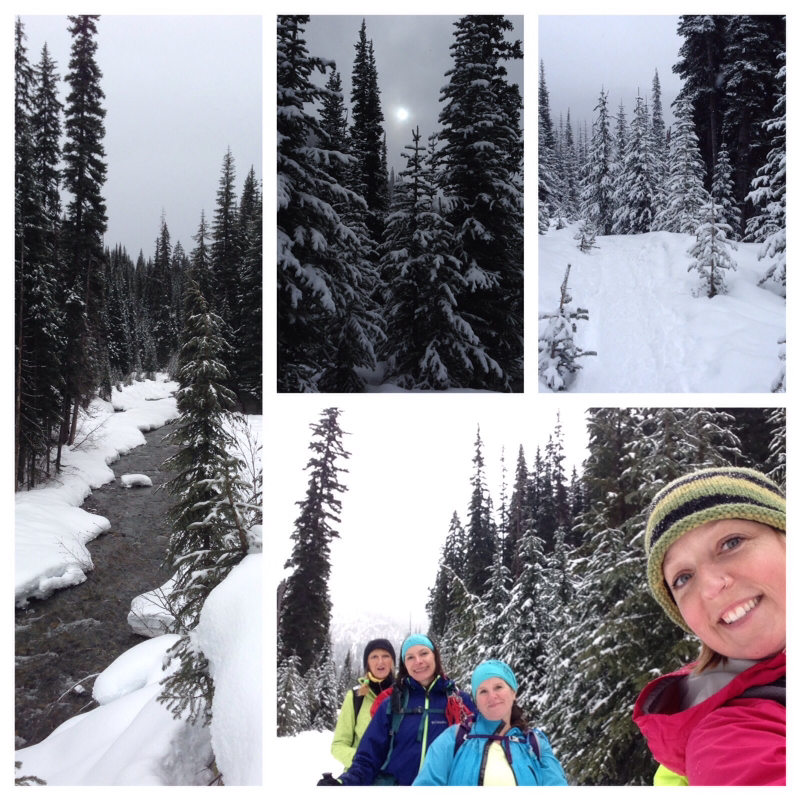 Our eyes smiled the entire way. Photo credit: Danielle Joyce Photography. 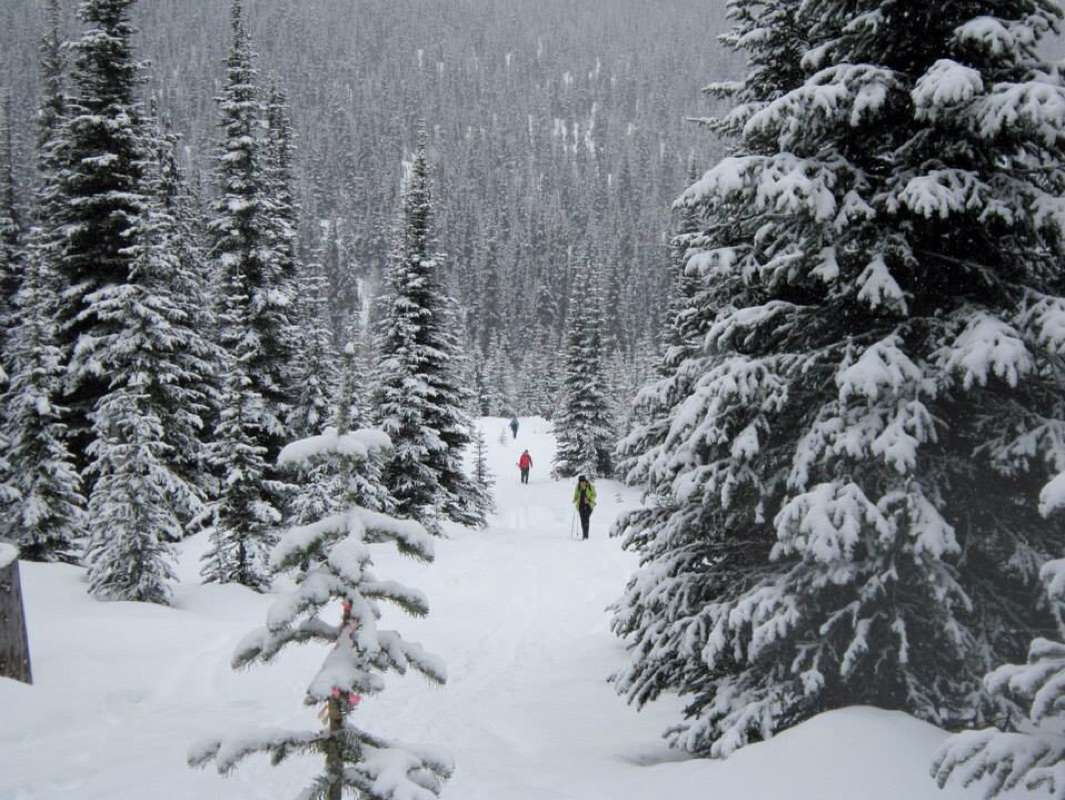 Ingrid ahead of us...Shows how small we are in this big beautiful world. Em, Danielle & myself...Photo credit: Ingrid Kilde 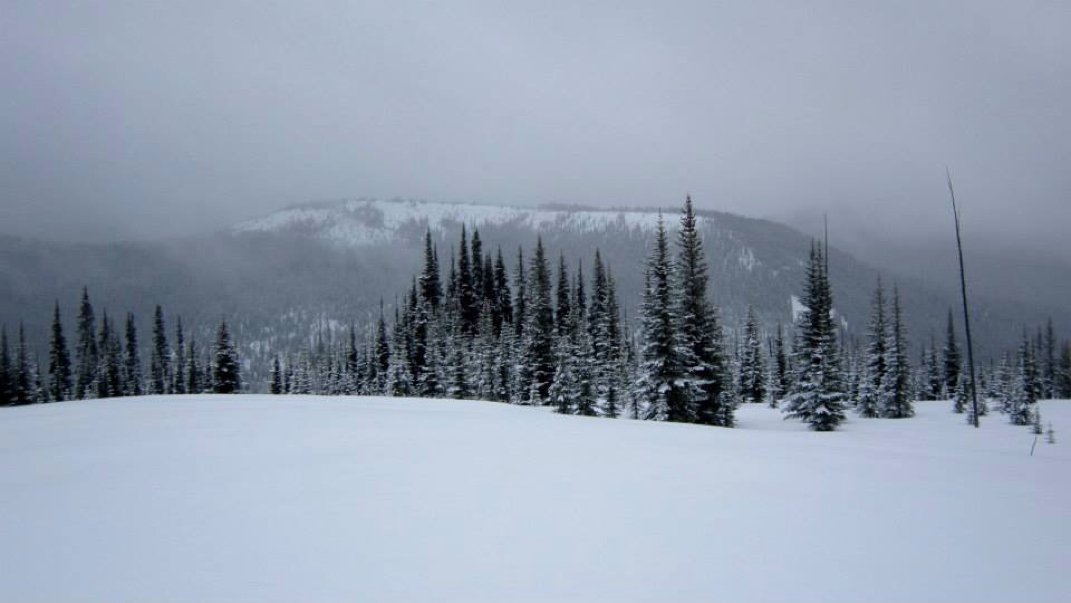 At the top...photo credit: Ingrid Kilde 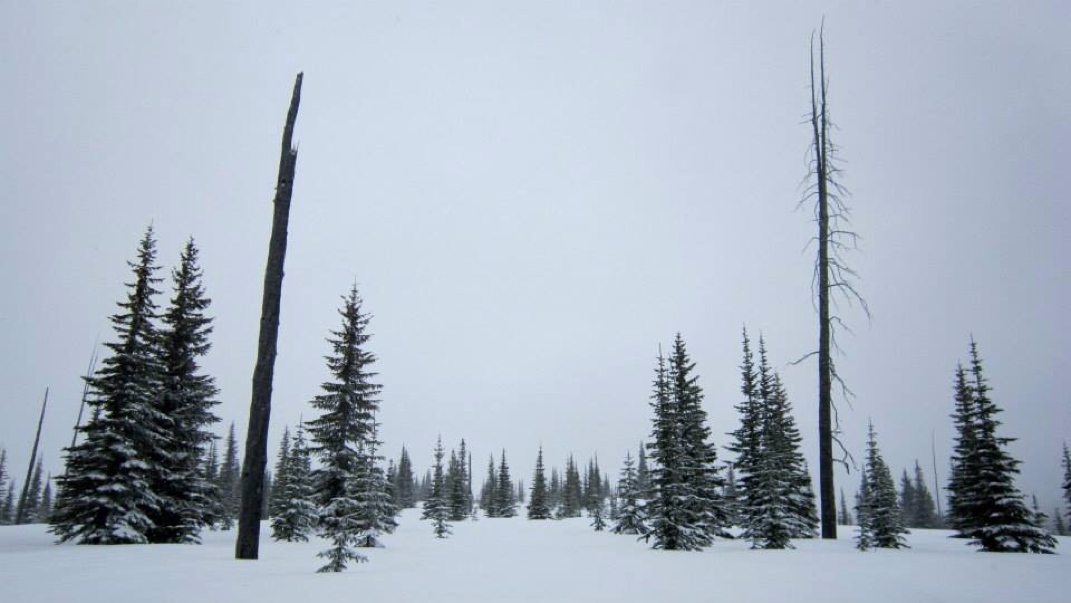 In the meadow near the turn around point. Photo credit: Ingrid Kilde Before you can start this trail you’ll need to get to up the FSR. Yes it can be hiked but be prepared to add an extra 3 km’s one way. Directions: From Highway #1 take Exit #119 south. Follow Vedder Road for 5 km through Sardis, eventually reaching a three way stop sign immediately before the bridge. Continue straight over the bridge, soon after reaching a traffic light. Turn left at the lights, heading uphill on Cultus Lake Road. Continue for a little over 2 km before turning right onto Parmenter Road. On Parmenter Road, continue past the the gravel pit to the end of the pavement. Keep to the right as the road changes to gravel, continuing uphill for approximately 600 meters to the next fork in the road. If you have a car, park here. Put your vehicle into four wheel drive - the road from this point on is extremely rough. Expect 20 culverts to go up and over. Going back down seemed worse then coming up. Continue uphill for 2.9 km, watching for other off road vehicles and mountain bikes. A large yellow sign and wooden trailhead post on the right mark the start of the Vedder Ridge Trail. Trail Key: M~2~V~H~ST~RT~R~RA 2015~Start at trail and go right. Follow the quite steep rocky road for about 800 meters. At top of road go left and follow the Vedder Mountain Trail Sign. This takes you through the forest for a short time and back on the road for another 400 meters and a circular clearing where you can only go right. This is the proper start to the Vedder Mountain Ridge Trail. There’s a sign that says, Hiking Only. The trail is well marked with traditional orange squares and some km’s signs in trees. The first part of the trail is steep with a few permanent blow down trees. Don’t let this stop you from going. After this hill there’s rolling hills, another steep section and flat again. That’s what’s so welcoming about this trail. There are ups and downs the entire way. There’s a steep switchback and a hill right away. Then it’s flat and you’ll come to 2.5 Km's marker in the tree and soon after a beautiful lookout of Yarrow far below... Now the trail goes down a few steps and it snakes around by a marshy pond on your left. A wooden staircase takes you up and not far after to a clearing on your left. There’s no view but makes a perfect spot for a drink of water or light snack. A little hill and soon you’ll arrive out to an open rocky outcrop. Follow a skinny trail and mini log bridge down to the lake. Watch out for mesh on the first log...it's coming up on one end. Two more log bridges through a swampy area and then you skirt around and some more hills are there for a cardio burn. Not long after you come to a fork, turn left as you start your last climbs. Now you come to your first one of two rope assists. But first you have to cross another semi slippery bridge. There are some natural rocky steps for your first assist. Once up this part go around the corner and there are wooden steps with mesh and another rope to assist you getting up. Once here it’s just another small grunt to the false summit. Walk along an open trail and back into the woods which soon take you to another rocky outcrop which is your true summit. It’s a perfect spot for lunch and many photo ops. Scaredy Cat says you could loose one of your nine lives especially if it has just rained. Happy & safe hiking. Lori aka Scaredy Cat Trail Key: M~2 2015~Go past the Manning Park Lodge and turn right after the lodge. Follow the road and when you see a fork, stay left. Park at the parking lot. There are pit toilets here. Cross the dam bridge and you'll see, Frosty Mountain sign. Go right and follow the lower trail...save Frosty for a nice summer day or a fall hike to see the Golden Larches (see that hike under, My Hikes). This can be a loop trail that follows the lake along. You are in the trees. Soon you come to a bridge named, Rainbow Bridge. You can go across the bridge and go to your right to loop back to the parking lot. You can also carry on to the neighboring lakes, Strike and Thunder. However, this will make your SS a lot longer (14 km's). Today we were breaking trail so we decided to make it a shorter loop. That's the great thing about this as a SS...you can turn around at any point. The trail is easy to find in the summer but with fresh snow we lost the trail a few times and ended up on the cross country skiing road. They can be a little nasty so we quickly found the trail again and got off the road, LL Day Use (see picture). We followed this unbroken snow trail down a path and along the lake. Soon the parking lot was in our view. Today we did 10 km's with an elevation gain of 160 meters. Scaredy Cat says you won't loose any of your nine lives. Happy & safe snowshoeing. Lori aka Scaredy Cat The fun photos :) Trail Key: M~2~RT~CC~R~V~KF~DF~ST
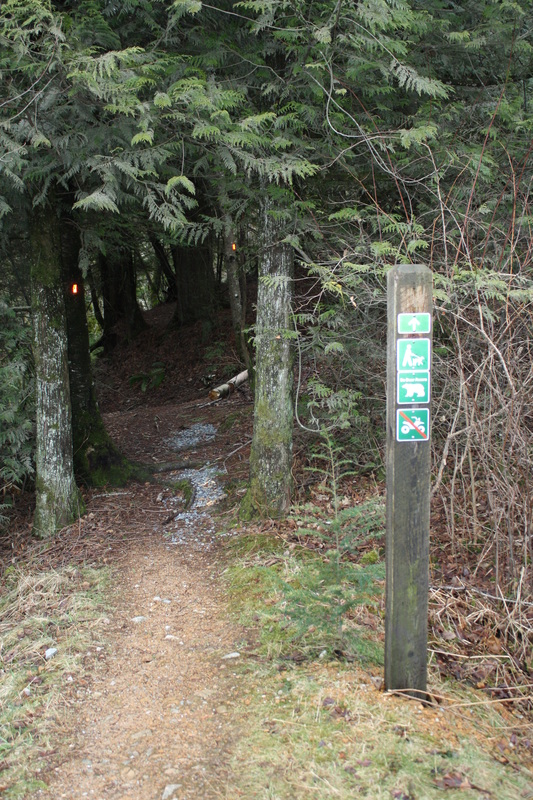
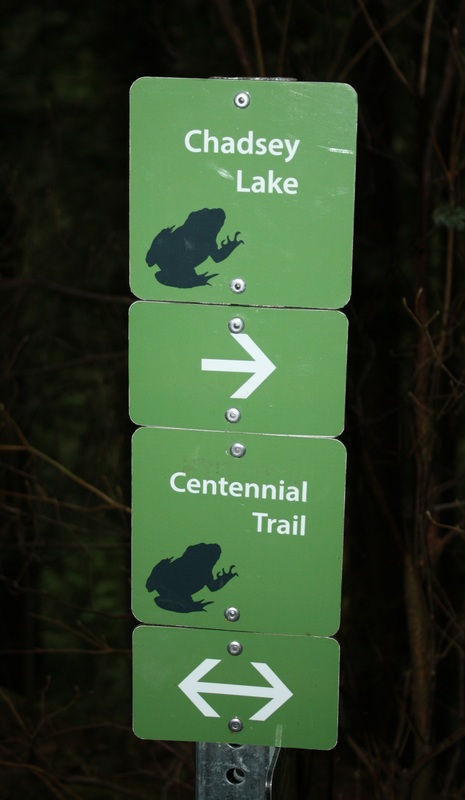
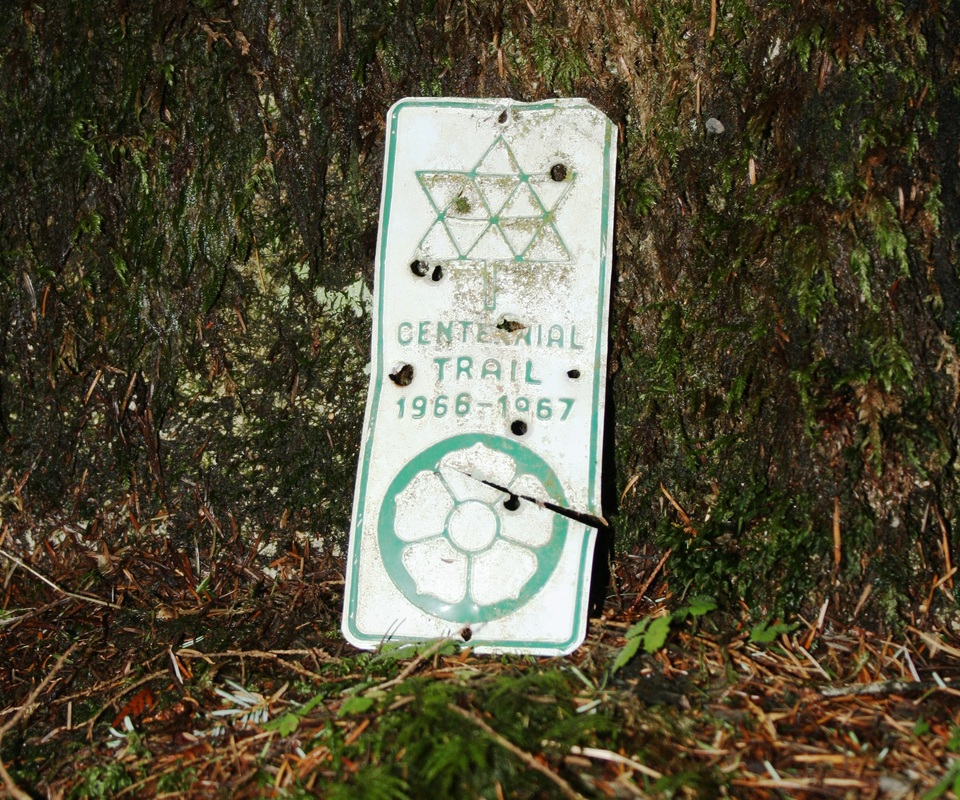
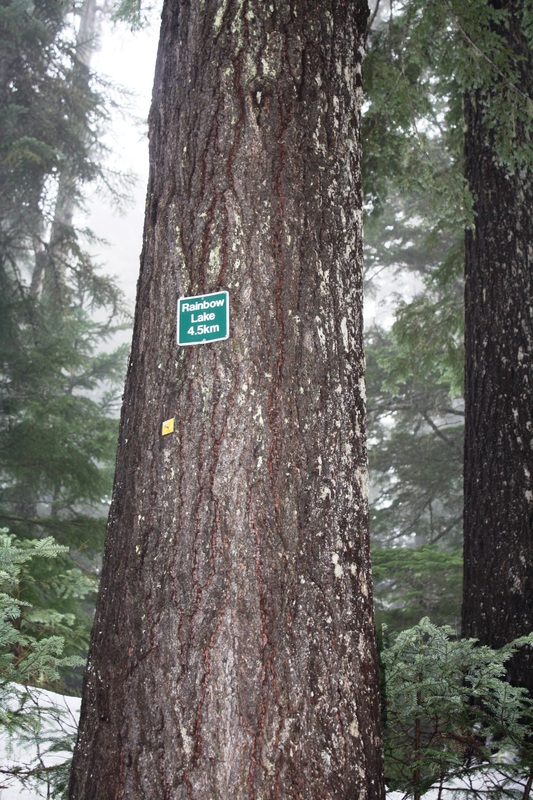
2015~There are many ways to go to Chadsey Lake. This was the way we went today. Drive to Harris and turn left at Bell and right at Fore and left at Beharell and right at Page Rd. Follow this dirt road a few km's up and you'll see the trail head on your left. The trail snakes its way up and down and across a couple of bridges and across some little creeks. Soon you come out onto a road, turn right and the trail picks up right away a few feet later, turn left and follow the trail as it snakes up . The trail comes to a fork stay left and continue following the little square orange markers. It's so pretty in this section. Keep going as the trail eventually is open on one side and soon it comes to a wooden step bridge with a pretty mini waterfall. Follow the steps up. It's a bit tricky finding your footing here but going back down was fine. You are back in the woods. The sweet aroma and the calming forest is your therapy for the next 20 minutes as you near Chadsey Lake. Have a peak and then follow the Centennial Trail to the Eastern Lookout. Here is a perfect spot for lunch. On a sunny dry day you can continue up to the peak. It is another two km's and this is the steepest part of the hike so best done on a dry day. I originally had this hike listed under My Scaredy Cat hikes. What I noticed today was it was a beautiful hike with two sections that weren't my favorite. I would go again for sure. Scaredy Cat says, you won't loose any of your nine lives. Happy & safe hiking! Trail Key: S~2~KF~V~ST~H~CC~PT No dogs allowed. Dirctions: Drive toward Whistler to Alta Road, turn left. Follow the road for a quite a bit. You'll see the trail head on your right where there's parking. 2015~The trail starts going up right away winding its way along. A short switchback is next with the sounds of a rushing creek below. Soon the trail pops out onto the road and back in the forest.Twenty minutes into the trail is a branch to Rainbow Falls. It's a 5 minute walk to the falls. This short trip is worth it but a little tricky in the winter as the trail drops down and it's icy and slippery. However, they are pretty. Now you're going up for awhile with one switchback and then the trail snakes along. Soon you'll come to a one km sign board and road, go left. Then right up wide road where it's flat for awhile. You'll come to your first outhouse of three on left & a sign board, stay right at branch. Now you're going up wide road...hilly and flat at times. On a clear day views of Wedge and Whistler Mountain are there to greet you. Soon you'll see a sign and the trail starts to snake again. A little more up and you're into the forest on a wide trail. Back in the woods...you can hear the rushing creek. It's flat and peaceful. Many creek crossing on two step logs come one after another.. Some are skinny and tricky with snowshoes on. The trail now snakes and zig zags in new growth. High up in the trees is the first sign of how far you have left...4.5 Km's sign to go. Not long after, you arrive at the second pit toilet. Shortly after there is a beautiful wooden bridge to cross with a rushing stream far below. Another cascading waterfall lookout is not far after this. It is here we called it quits, figuring we had about an hour to Rainbow Lake. With limited daylight hours left and a good two hours back down we decided it is best to try this one again earlier or wait until summer when the snow has cleared.It took us a good 4 hours to get that far with plenty picture, snack and water breaks. Scaredy Cat says you won't loose any of your nine lives. Happy & safe snowshoeing. Lori aka Scaredy Cat Trail key: M~2~ST~V~H~FT~KF~DF
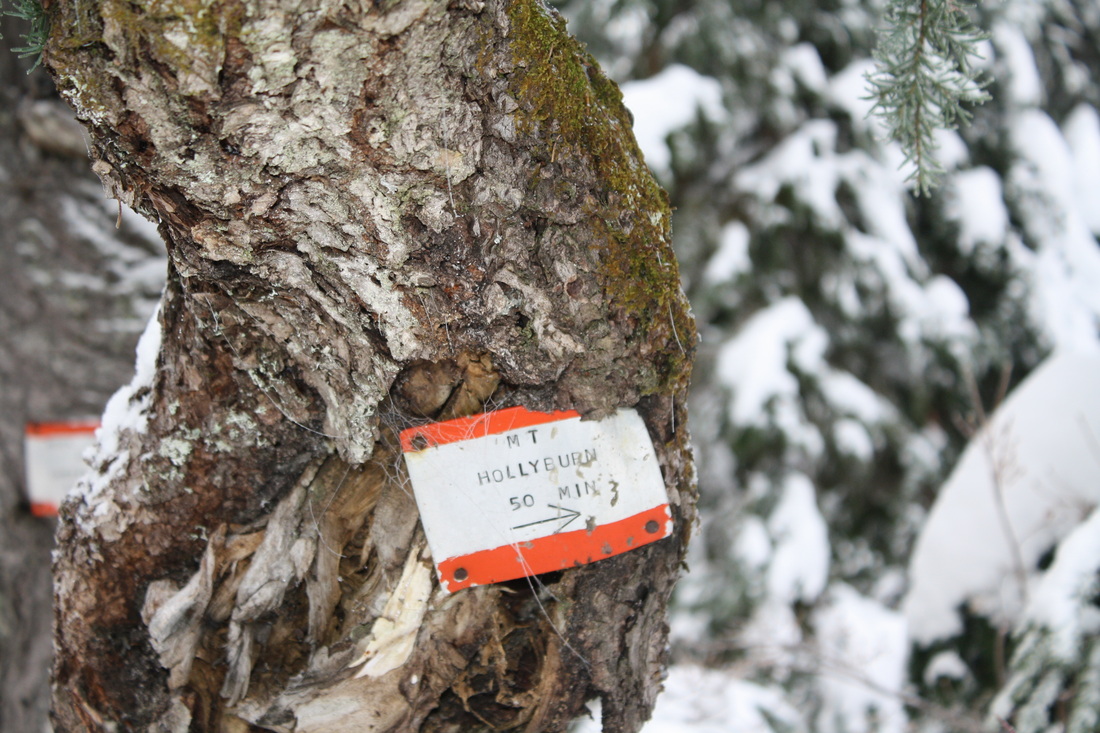
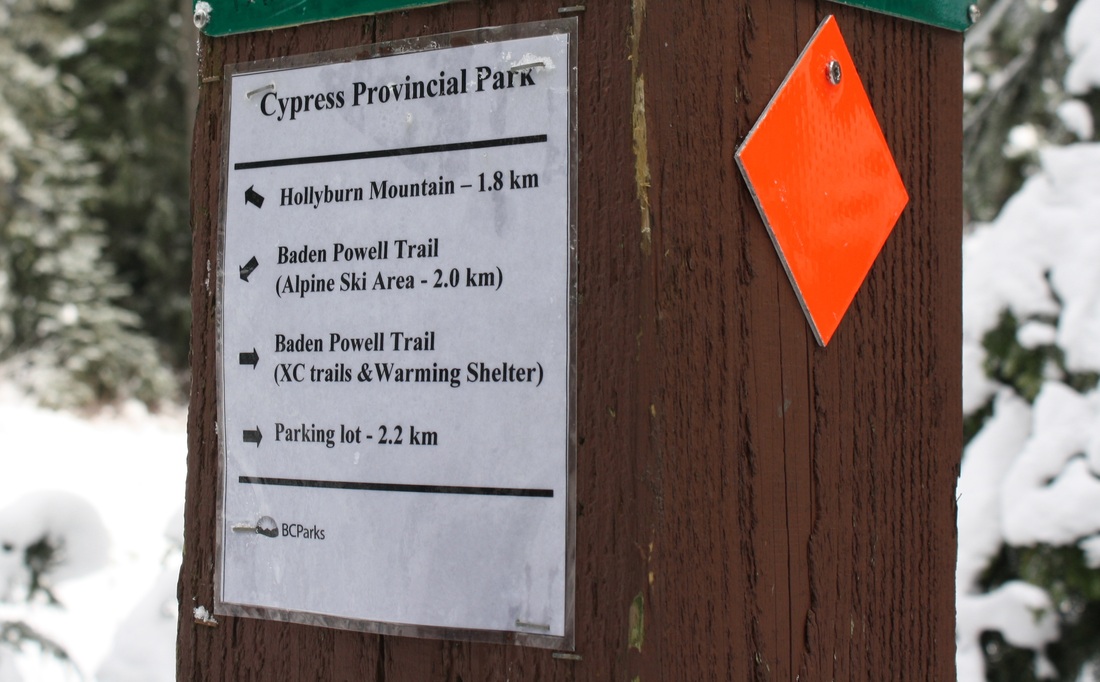
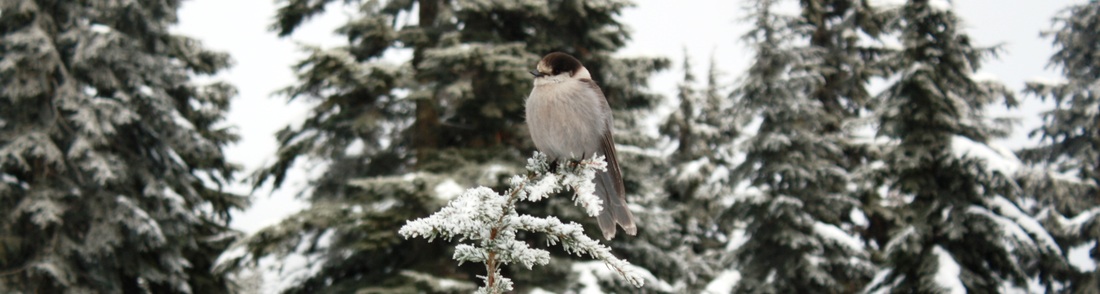
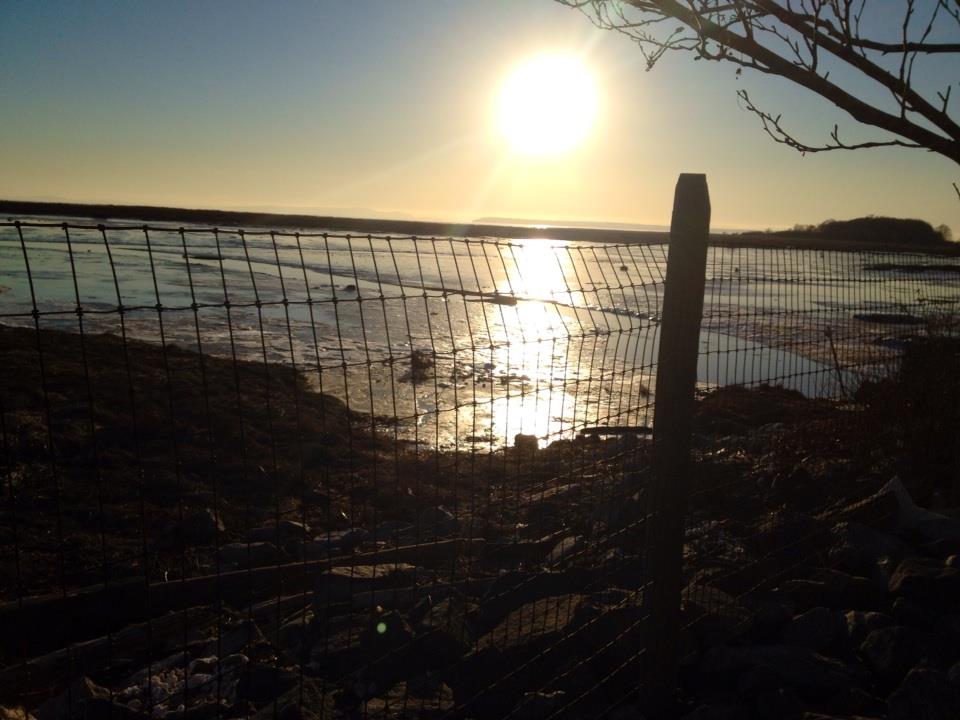
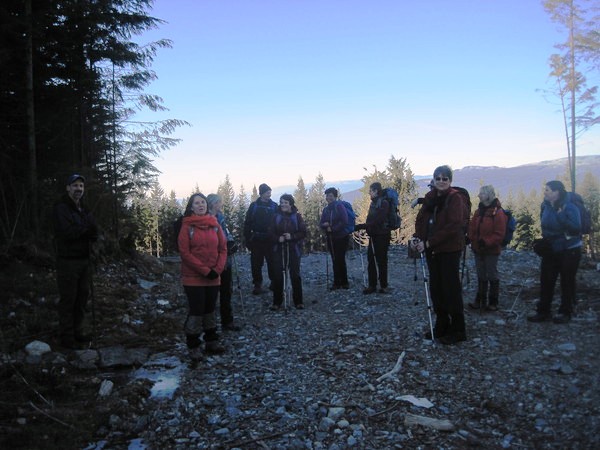
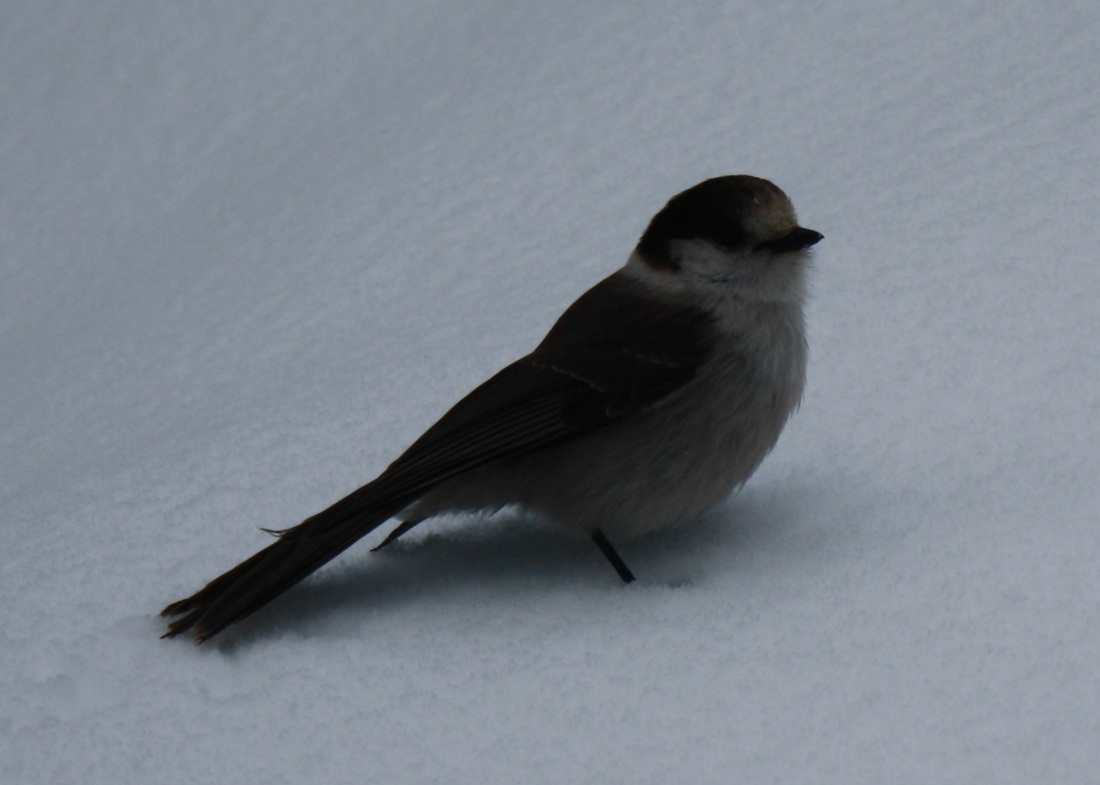
2015~Drive to top of Cypress Mountain and turn right at the fork in the road. Go to the sign board and find parking where you can. This SS is a BC Park's maintained trail so it is free. At the trail head it says, 5 km's but it is in fact 8 km's and about 450 meters elevation gain. There's a flush toilet just past the signboard. Once at the signboard, start left up the wide road like trail. Your elevation begins right away as the trail winds and curves into a switchback. For a few minutes it is flat and then drops down a steep hill where it is flat for a short time. Here you see the ski run on your right, keep going as it is hilly. A pond appears on your right and then another short hill and right after a steep hill. It is flat and windy trail for awhile and soon a sign post appears on your right. Here it says you have 1.8 km's to go or 50 minutes to Hollyburn Peak. You have gone 2.2 km's, according to the sign. It is here that you see what lies ahead as Whiskey Jacks swoop down to greet you. If you put nuts and seeds in your hand they'll land and eat from your palm. Now you must decide as there is newly formed trails everywhere...You can tackle the next few sections through the woods where the grade is gentle or you can go straight up hill. You will have about 4 of these steep hills to climb, the last two being the steepest. Just as you are nearing the top the last grunt is the steepest of all but the shortest...once past this you have made your goal to Hollyburn Peak. Hopefully you timed it on a clear day where mountain tops greet you from every direction and more Whiskey Jacks try to share your lunch. Once you have filled your camera and had some nourishments you can head down through the forest or straight down the steep hills. The first two are the worst and after it's not so bad. Poles and MICROspikes are handy for some parts of this trail. If there's enough snow you might be able to do some bottom sliding, just make sure no one is coming up. Scaredy Cat says, you won't loose any of your nine lives. Happy & safe snowshoeing. Lori aka Scaredy Cat Mud Bay is a walk, run or biking flat trail that is nestled along the beach. You can make it as long or as short as you want. Dogs are welcomed on this trail but the they have to stay off the beach trails from October 15-April 15 of each year so birds can do their nesting.
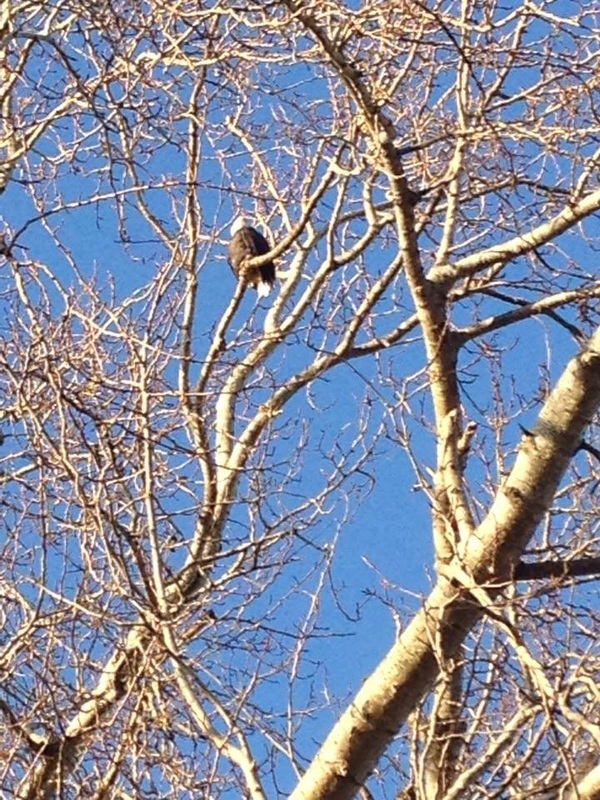
Trail access used to be off of Colebrook Road and 127A but you can not access it from Colebrook Road any longer. You must drive one block past Colebrook to Railway. Turn left there and follow the road all the way down as you did before. Once at 127A turn left and drive to the parking lot. There's a pit toilet here. With the fresh sea air and the sighting of an Owl or Bald Eagle makes a great outing. Happy Walking! Lori aka Scaredy Cat Trail Key: M~2~ST~H~V~R~DF~KF
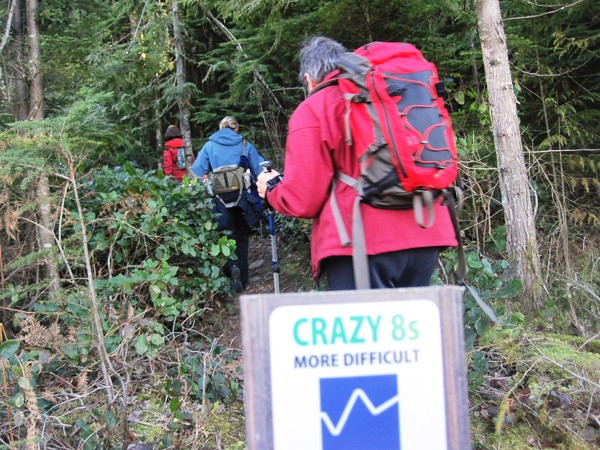
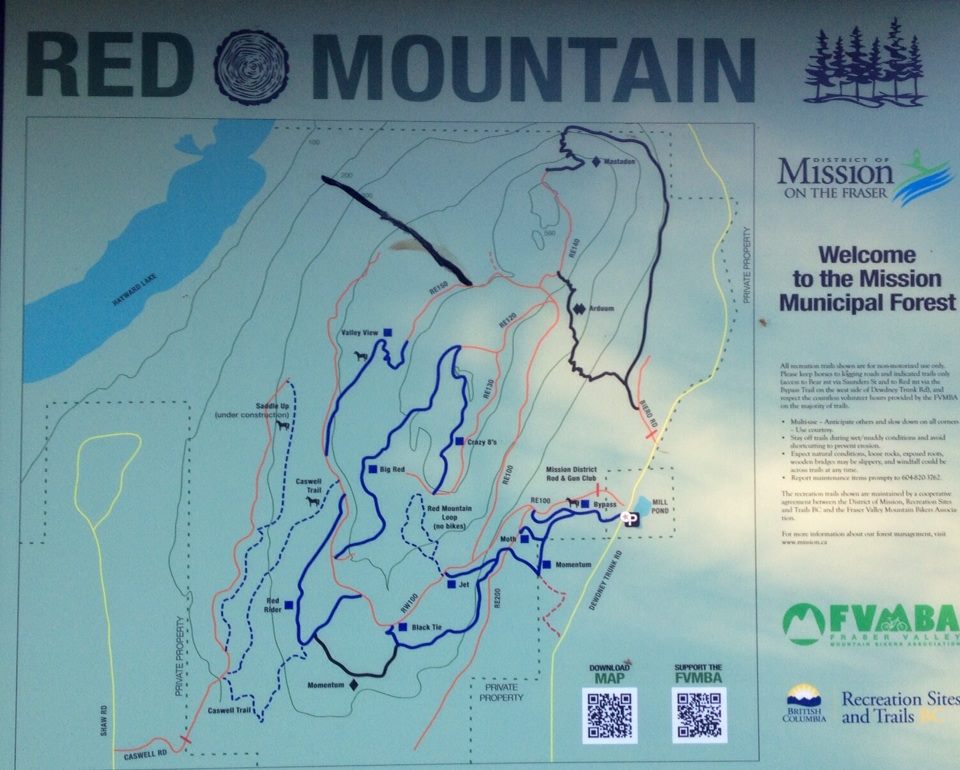
2014~Start your hike at Mill Pond in Mission (10580 Dewdney Trunk Rd.) It's the same parking lot as Bear Mountain. Once parked cross the street and follow the rocky path up to a road. This is a biking trail and there are many trails within trails. It's hard to say exactly where we went but I can tell you it's beautiful in the trails. We hiked 16 km's with elevation gain and loss. There were many view points and most of the trails are marked for bikers. There are lots of old logging roads that join up along the trails. On the way down we took an extra 25 minute trail called, "Crazy 8's." I'm assuming they named it that due to how it snaked around in the old growth forest.It's really pretty there and we saw no one the entire time. Scaredy Cat says you won't loose any of your nine lives...Happy & safe hiking! Lori aka Scaredy Cat Trail Key: M~2~V~H~ST~DF~KF~FT
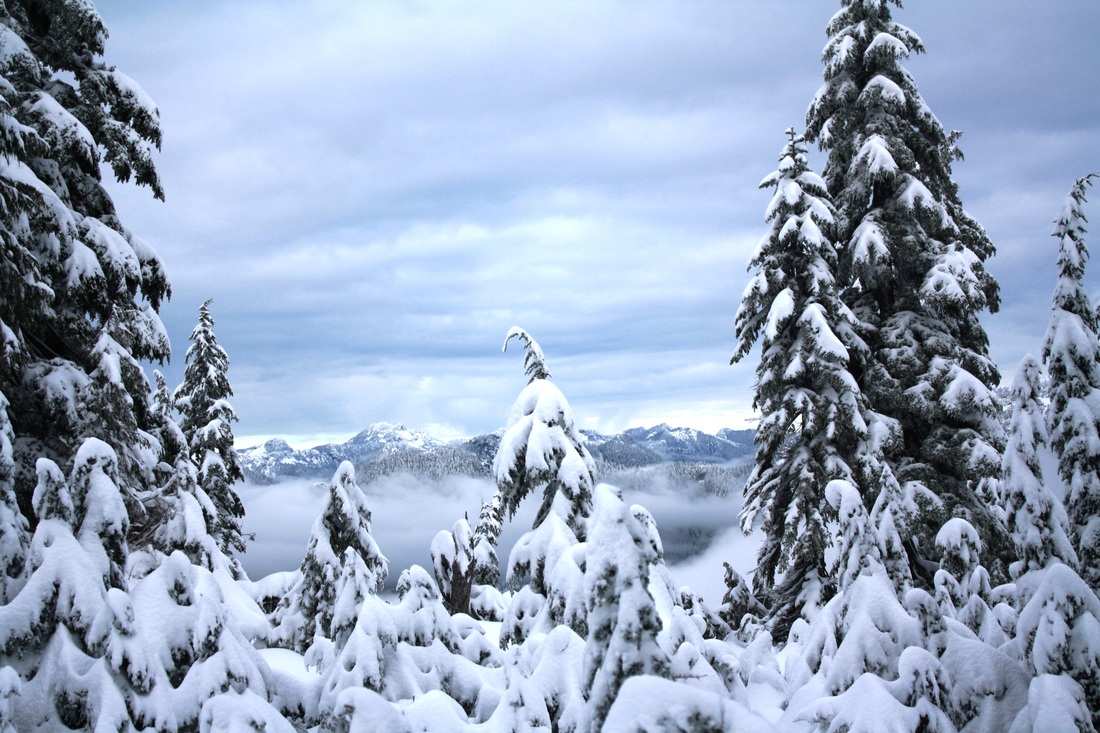
7.2 km's/450 meters elevation 2014~Follow the end of the parking lot and go past the sign post and along next to the ski run. You'll see The Dog Mtn trail sign on your left. Keep going...Stay left and go up the path. In the beginning you are parallel to the ski run but soon you are in your own magical world. You'll see beauty at every turn. As you walk along on your right is, Tim Jones memorial. Take a moment and say, thanks, for all the lives he saved. The trail climbs steadily. There are junction signs for the summer trail. The tall orange markers are not in yet marking the winter route but it's much the same. The only difference is you come out onto the road for just a few steps. The summer trail has you walk along the road for longer. Take the path on your left and walk down a little hill. You'll pass a frozen mini lake, that sits on your right. Follow the path as it winds along up and down. You'll come to a lookout to your right and if it's not a cloudy day you'll see many familiar mountains. Keep going and follow the path as it snakes around. It will come to another sign post, go up here as you gain some elevation. Soon you'll come to a sign post that says 750 meters to go. This is the second to last grunt up. There are a few open parts here. Keep going and you'll come into a meadow/saddle or col. You are almost at the top. When you get to the last part stay right and follow the path up to First Pump. A sign post sits and makes a great picture of your accomplishment. You are officially done however, there's lots of exploring to do and lots of sub peaks to visit. Coming down isn't too bad and there's lots of bum sliding you can do. I would say to bring MICROspikes and snowshoes. Scaredy Cat says you won't loose any of your nine lives. It's best to stay on the trail and not on the ski runs. This is one of my new favorite SS. Happy & safe snowshoeing. Lori aka Scaredy Cat |
Author.I work for Surrey School District as an Education Assistant. In my free time I enjoy hiking, snowshoeing, going off-road, dragon boating, writing & hanging with my huskies. Archives
March 2021
Categories |


 RSS Feed