|
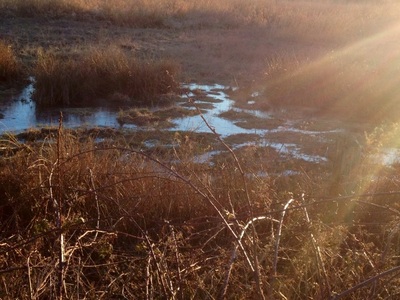
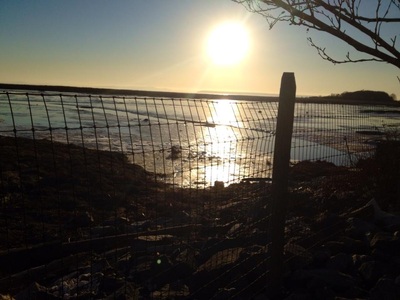
Mud Bay is a walk, run or biking flat trail that is nestled along the beach. You can make it as long or as short as you want. Dogs are welcomed on this trail but the they have to stay off the beach trails from October 15-April 15 of each year so birds can do their nesting.
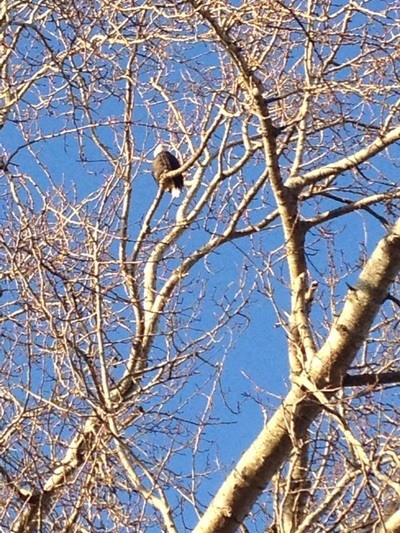
Trail access used to be off of Colebrook Road and 127A but you can not access it from Colebrook Road any longer. You must drive one block past Colebrook to Railway. Turn left there and follow the road all the way down as you did before. Once at 127A turn left and drive to the parking lot. There's a pit toilet here. With the fresh sea air and the sighting of an Owl or Bald Eagle makes a great outing. Happy Walking! Lori aka Scaredy Cat
0 Comments
Trail Key: M~2~ST~H~V~R~DF~KF
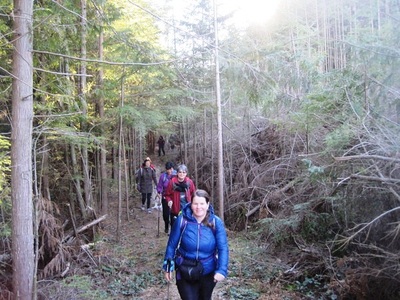
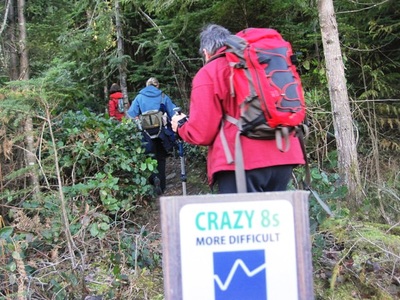
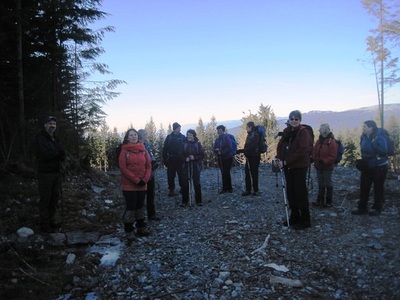
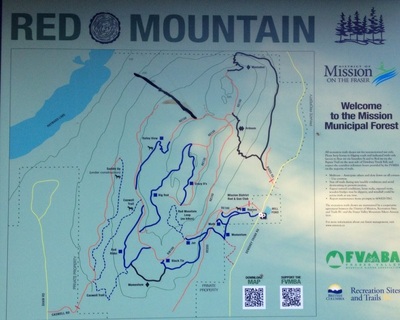
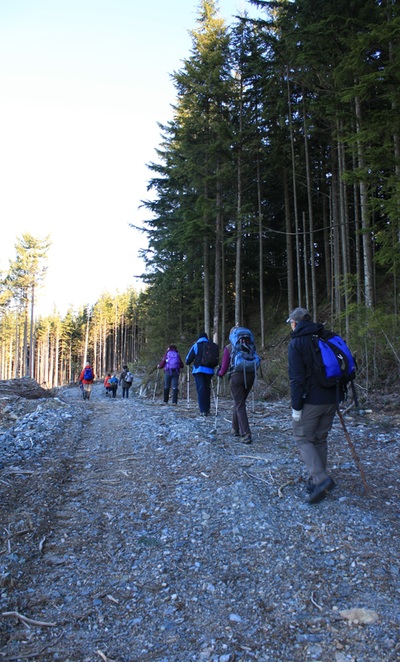
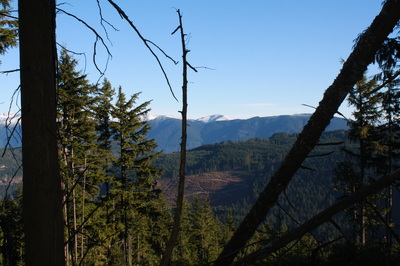
2014~Start your hike at Mill Pond in Mission (10580 Dewdney Trunk Rd.) It's the same parking lot as Bear Mountain. Once parked cross the street and follow the rocky path up to a road. This is a biking trail and there are many trails within trails. It's hard to say exactly where we went but I can tell you it's beautiful in the trails. We hiked 16 km's with elevation gain and loss. There were many view points and most of the trails are marked for bikers. There are lots of old logging roads that join up along the trails. On the way down we took an extra 25 minute trail called, "Crazy 8's." I'm assuming they named it that due to how it snaked around in the old growth forest.It's really pretty there and we saw no one the entire time. Scaredy Cat says you won't loose any of your nine lives...Happy & safe hiking! Lori aka Scaredy Cat Trail Key: M~2~V~H~ST~DF~KF~FT
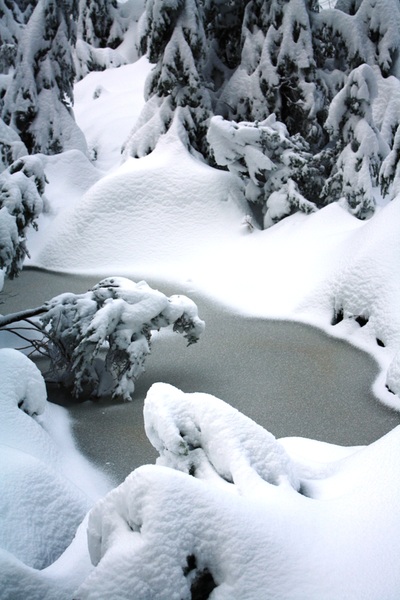
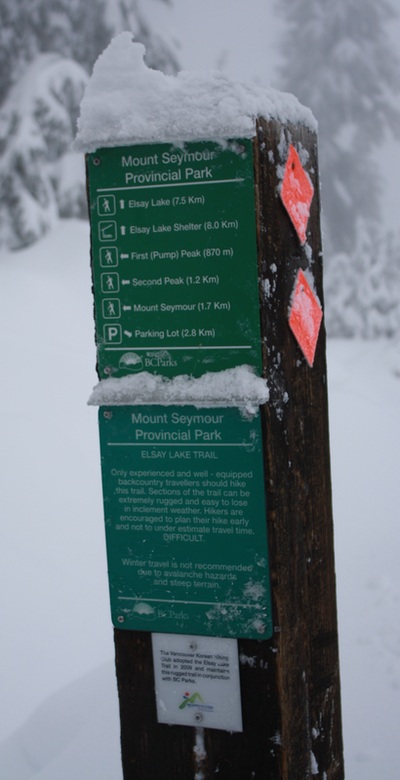
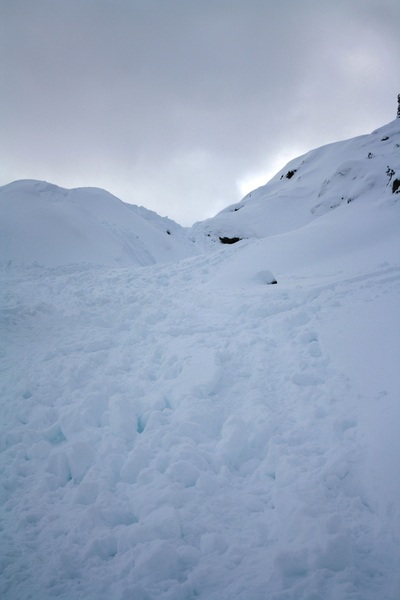
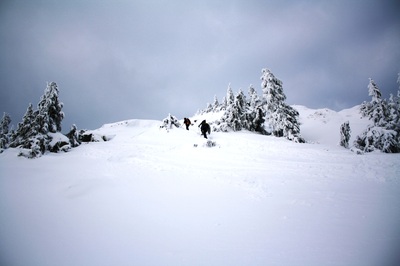
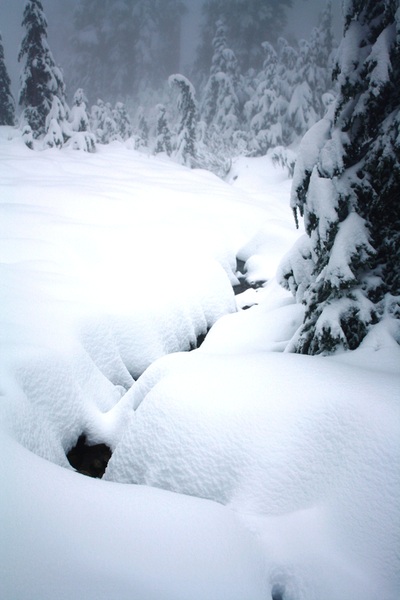
7.2 km's/450 meters elevation 2014~Follow the end of the parking lot and go past the sign post and along next to the ski run. You'll see The Dog Mtn trail sign on your left. Keep going...Stay left and go up the path. In the beginning you are parallel to the ski run but soon you are in your own magical world. You'll see beauty at every turn. As you walk along on your right is, Tim Jones memorial. Take a moment and say, thanks, for all the lives he saved. The trail climbs steadily. There are junction signs for the summer trail. The tall orange markers are not in yet marking the winter route but it's much the same. The only difference is you come out onto the road for just a few steps. The summer trail has you walk along the road for longer. Take the path on your left and walk down a little hill. You'll pass a frozen mini lake, that sits on your right. Follow the path as it winds along up and down. You'll come to a lookout to your right and if it's not a cloudy day you'll see many familiar mountains. Keep going and follow the path as it snakes around. It will come to another sign post, go up here as you gain some elevation. Soon you'll come to a sign post that says 750 meters to go. This is the second to last grunt up. There are a few open parts here. Keep going and you'll come into a meadow/saddle or col. You are almost at the top. When you get to the last part stay right and follow the path up to First Pump. A sign post sits and makes a great picture of your accomplishment. You are officially done however, there's lots of exploring to do and lots of sub peaks to visit. Coming down isn't too bad and there's lots of bum sliding you can do. I would say to bring MICROspikes and snowshoes. Scaredy Cat says you won't loose any of your nine lives. It's best to stay on the trail and not on the ski runs. This is one of my new favorite SS. Happy & safe snowshoeing. Lori aka Scaredy Cat
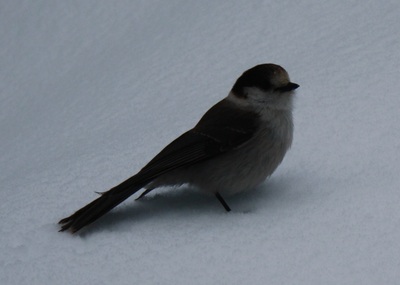
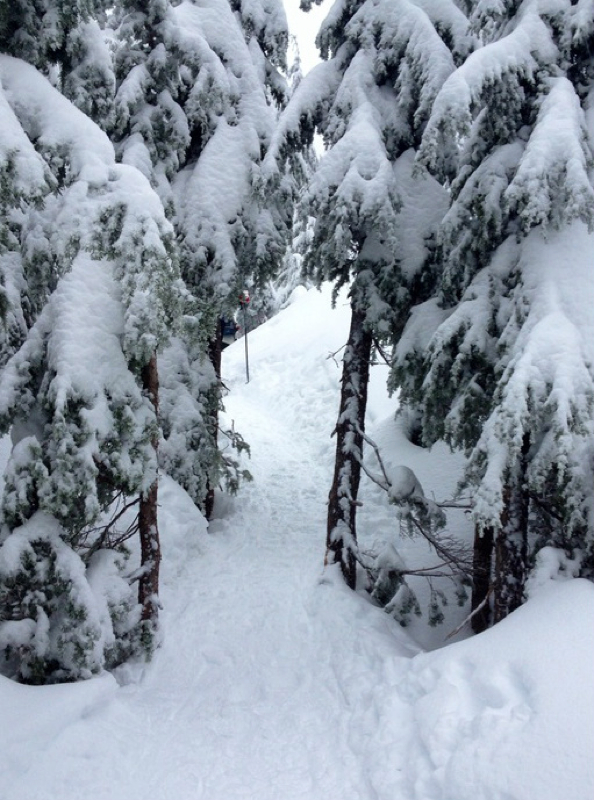
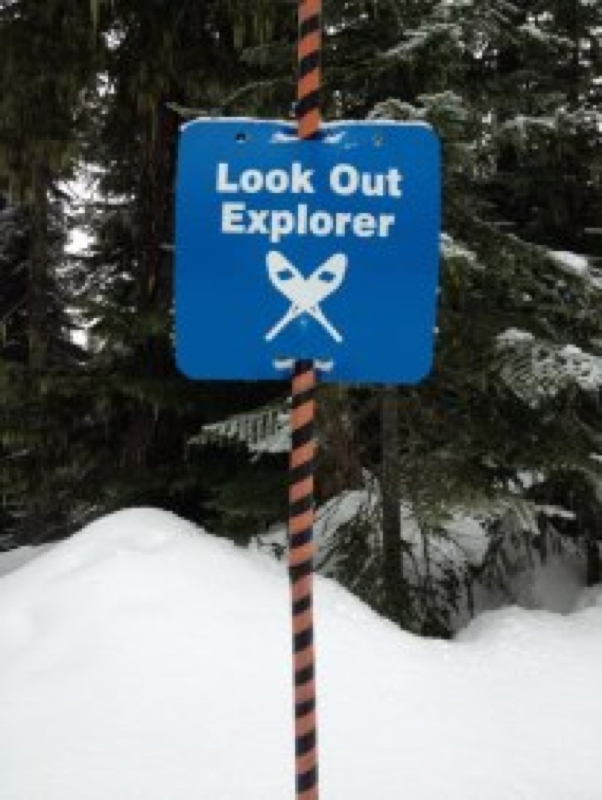
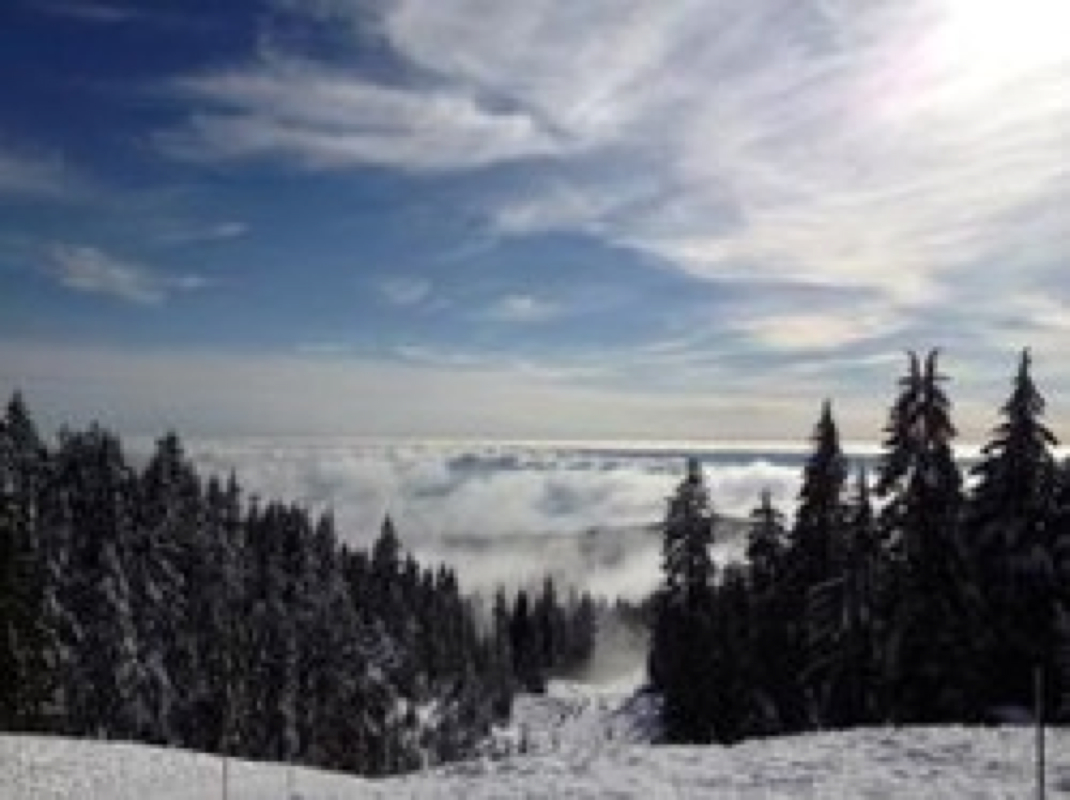
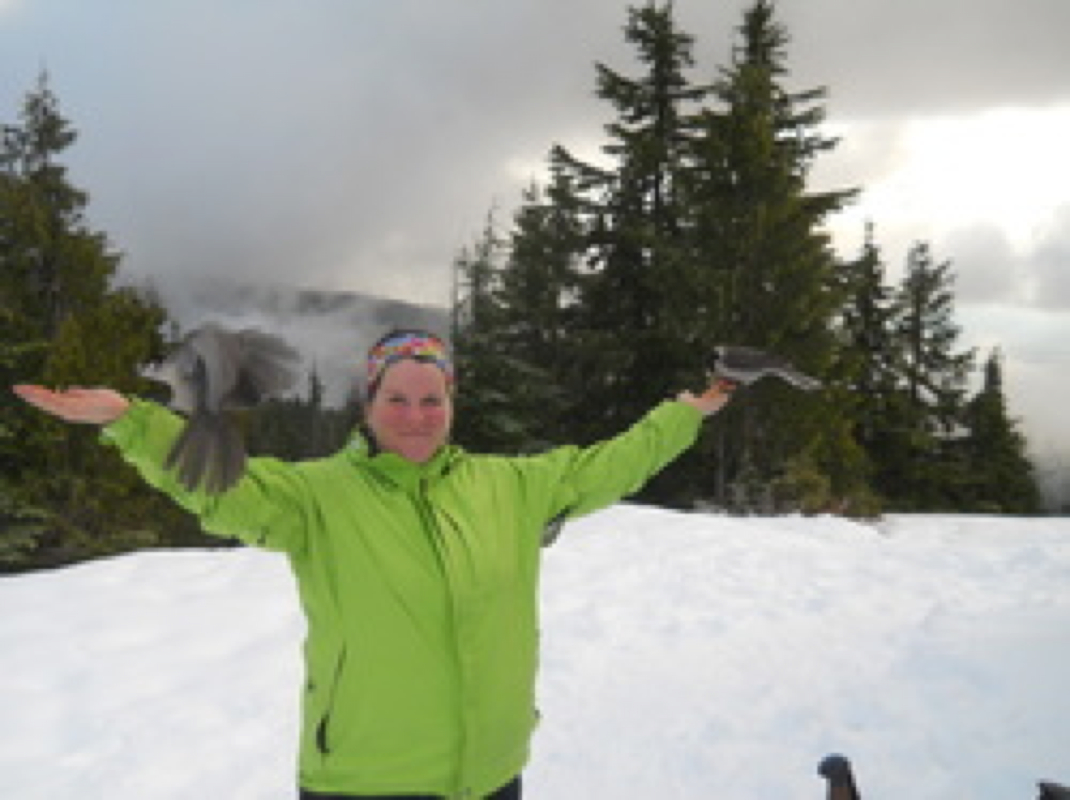
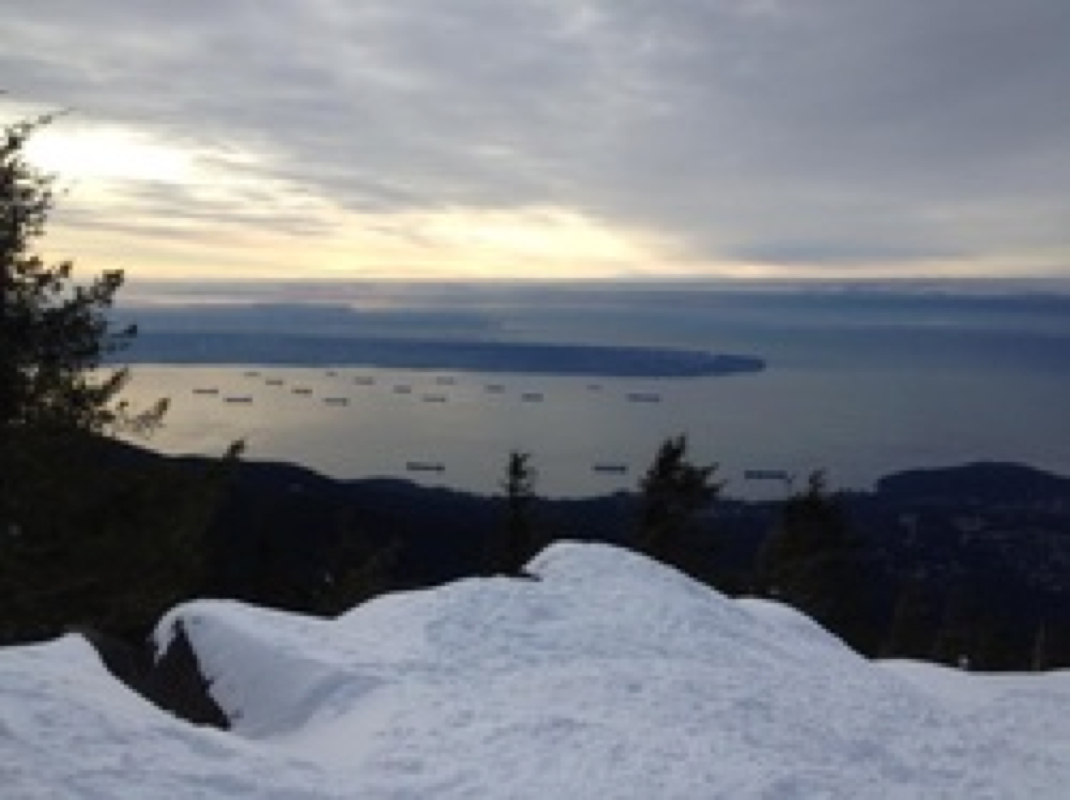
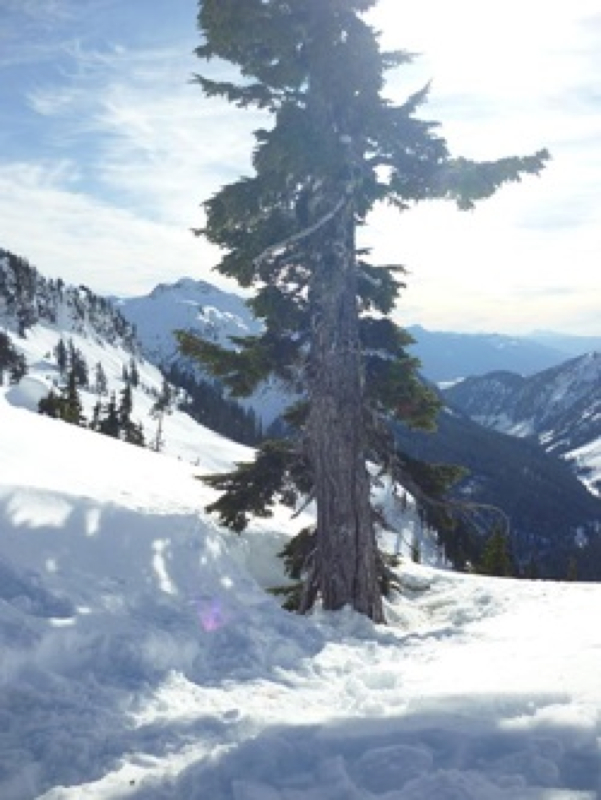
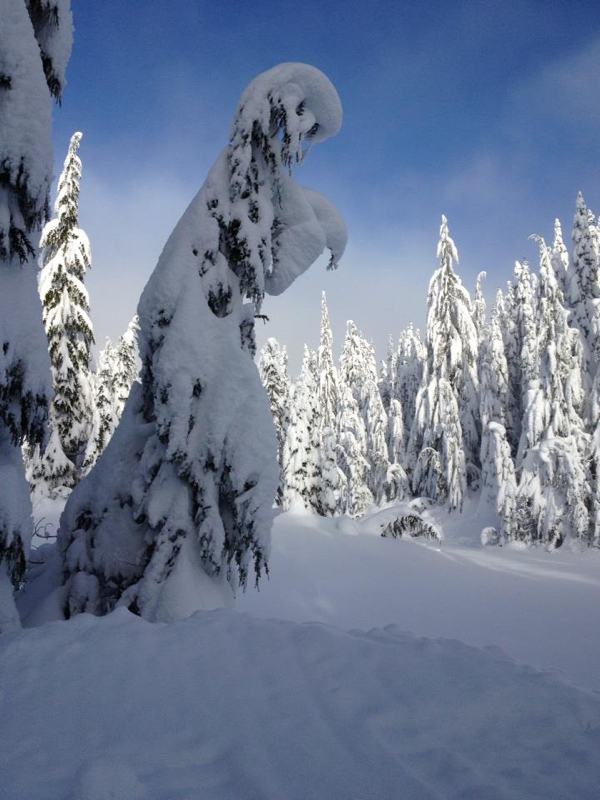
Top Ten Non~Scaredy Cat SS'ing Favorites SS'ing tips before heading out: ~Check avalanche conditions : www.avalanche.ca ~Buy good quality SS ~MICROspikes ~Ten essentials, extra clothes (better to be warmer than not warm enough) ~Stay on the trails ~Dress warm and in layers ~SS with friends, not alone ~Slippery carpet can be fun on your way down -Extra food & something warm to drink 1) Zoa Peak, Coquillia Highway, Hope, BC This is my favorite snowshoe. It is difficult to find the trail and quite a climb. The views at the top are spectacular. Drive on highway 5, north of Hope and take the Falls Lake exit #221, at the bottom of the hill turn left, and go under the highway turning left again, park here. The Falls Lake parking lot to the road are not plowed in the winter months so it is best to park here and walk in. Zoa Peak is 11 km's return and will take you about 3 hours up and 1-1/2 down. If you go to Zoa's false summit minus a couple of km's but add in one more as it will be about a km from the road to the parking lot. They don't plow the road from the highway to the parking lot. Don't forget your camera and go on a sunny day. There are many ways to access the trail head but I will tell you the route I took. Start at the Falls Lake parking lot and walk over a frozen creek and past the Falls Lake sign. Just past a Cattle Guard sign is a somewhat steep trail to the left that leads from Coldwater Rd up to the Pipeline. If you stay on the lower road you will not find Zoa Peak, you must go to the upper road. This short steep trail takes you onto a wide road...Follow this for about 800 meters to the crest where in the summer there is a cairn. In the winter flagging tape and my hand painted Zoa Peak sign should guide you, go left.There is nothing easy and gentle about this hike...You go up for about the next hour surrounded in the trees. Soon you'll come to a meadow area, covered in snow. A couple of more hills and you are at Zoa's false summit. Although the actual peak is straight ahead you can decide if you want to go the extra 500 meters. The false summit is a beautiful spot for resting, lunch and taking many pictures. At the false summit you can look down to see Falls Lake way below. When you're happy head back the way you came. Once back on the a Pipeline, slippery carpet is a good way down as it is steep and hard on the knees & toes. Scaredy Cat says you won't loose any of your nine lives. Read more about Zoa on my published blog via Vancouver Trails at: http://www.vancouvertrails.com/blog/zoa-peak-snowshoe/ 2) Dog Mountain~Seymour Mountain, North Vancouver Day-time snowshoe: Dog Mountain is 6 km In out trail with rolling hills. When you arrive onto the rocky outcrop it is pretty amazing. If you can get a clear day, the view is stunning. Last year for the first time, in the dead of winter, I saw Whiskey Jacks and was lucky to have two of them swoop down and eat from the palm of my hands...There are only bathrooms at the beginning of the SS. One thing that makes me a little crazy is the parking. Mount Seymour will not let snowshoe'ers park at the top. It's a little frustrating. Hopefully Mt. Seymour will get more parking at the top and welcome SS'ers so we can all go and see what an amazing place Dog Mountain is whether you SS it in the winter or hike it in the summer. Stunning views of mountain tops and all of Vancouver on a clear day! Scaredy Cat says...you won't loose any of your nine lives if you stay away from the edge. Night-time snowshoe: Night time SS'ing isn't for everyone. It was lots of fun but we followed a lot of safety rules: Wear head lamps, dress in layers, hike in numbers, do a trail that is well traveled and a trail you have done before and bring some hot chocolate for the summit. Dog Mountain is a great night time snow shoe. 3) SS Grind~Grouse Mountain, North Vancouver, BC The SnowShoe Grind is a steep climb towards Dam Mountain. If you don't have a Grouse Mountain pass then it is $39.95 plus tax to ride up on the sky ride. You must have snow shoes & micro spikes are required. Poles are handy. After your ride up go down the stairs and follow the orange SSG signs through a few easy trails and then your climb up starts. There are some steep sections but they are short. As you get to the top the last section is very steep with a drop off. Be careful here. Once you pass that you have arrived at your destination. It's just 4.3 Km's and you can add a couple of trails at the top to make it a few Km's longer. You can get a SS'ing trail map at guest services. Should you decide you want to SS again return to guest services and buy an annual pass. Keep your ticket as you have a week and they will take off $39.95. The annual pass is $109.00. It comes with many benefits. For more information: http://grousemountain.com Read more about the SSG on my published blog post via Vancouver Trails at: http://www.vancouvertrails.com/blog/snowshoe-grind-at-grouse-mountain/ 4) Red Heather Hut/Elfin Lakes~Diamond Head/Garibaldi~Squamish, BC Dogs are not allowed in Garibaldi Provincial Park. The road up to the trail head is a little rough and bumpy. In the winter months it would be best to have a 4x4 and signs say, "chains are mandatory." The day we went the roads were not snow covered but icy near the parking lot. Arrive early as this is a popular overnight~SS/cross country skiing trail. The parking lot fills up fast! The trail is wide and has a gradual climb that is a little steep at times. Mostly you are walking up a wide road with trees around and no views. As you get closer to Red Heather Hut the views start to peek through the trees. Once at Red Heather Hut you can go inside and have lunch and even a fire. There's lots of chopped up wood. BC Park's ask you not stay overnight here unless it's an emergency. If you just hike to the hut it's 11 Km's return. You can go about another km up a steep hill and the views really pop through. If you are continuing on to Elfin Lakes you will take a Winter Route that BC Parks has marked with orange pole trail markers. They have done an amazing job! The reason for the winter route, is safety. The other way is an avalanche risk so please stay on the winter trail route until BC Park's changes it back. It is 6 Km's more to the lake. There are some views but only about 2 Km's before the lake. At the lake there is a larger hut for sleeping, a stove & pit toilets. Go to www.env.gov.bc.ca for more information on cost per person. It's 22 Km's to the lake and back to the Diamond Head parking lot. Scaredy Cat says you won't loose any of your nine lives. 5) Bowen Lookout at Cypress Mountain~West Vancouver, BC When you are snow shoeing on Cypress Mountain on a BC Parks trail you will need to go to guest services and get a Backcountry Access Corridor Liability sticker for your jacket. They are free. If you are snow shoeing on the Cypress Mountain trails there is a fee and you won't need the liability sticker. I choose the Howe Sound Crest Trail to Bowen Lookout because it is a 3 km in/out BC Park's trail. It's my favorite trail. The trails were well marked with large poles in them. The poles are there because the trail markers in the summer months are 11 feet up posted on the trees. With lots of snow on the mountains, the trail markers once high in the air are now nestled on the ground and hard to see. The trail is anywhere from 2-5 feet wide. In the beginning it is mostly flat but the last 1.2 km are switchbacks and you can get quite a bit of a cardio workout. There are no cliffs on the side but the trail is still on the side of a steep mountain with trees and you could get hurt, should you fall. This SS has stunning views as you can see all of Howe Sound. It's a perfect spot for lunch with spectacular views. It is hard to Google this hike/snow shoe as it comes up as 29 km. In the summer months you can continue on as far as Deeks Lake. There's few Whiskey Jacks looking for a free handout. If you fill your hands with nuts and fruit they will sweep down and eat from the palm of your hand. Scaredy Cat says you won't loose any of your nine lives. 6) Callaghan Valley~Whistler, BC I enjoyed my day snowshoeing in Callaghan Country. It is on your left side (if coming from the Vancouver area) 15 minutes south of Whistler. The signs are well posted. There is a fee to snow shoe here but well worth it. We went early on a BC holiday day and to our surprise the cost was 50% cheaper ($7 per person). Also look for 2 for 1 groupon deals. You can get a map from the lodge and there is lots of parking. The trails are amazing! It is graded by Easy, Moderate or Difficult. Each trail has a name and some you can do just the one loop or you can combine a couple to make the loop longer. What I really liked was all the trails are groomed, very well marked and easy to get around. On this day we did two trails together for a total of 6 km. The trail crosses over the cross country trails but everyone was very kind as we shared the trails. I would rate this snow show a great starter for your kids and they could do easy trails and depending on what age possibly the moderate trails. There are streams to see, some frozen, views & The Olympic Village. It is peaceful and a beautiful place to be. We barely saw any people on the trail in the middle of the season. Scaredy Cat says...You'll keep all of your nine lives on the moderate trails. For more information: http://www.whistler.com/nordic/callaghan/ 7) Holly Burn Peak at Cypress Mountain~West Vancouver, BC It is not at the top of Cypress Mountain but at the first turnoff. You can rent snow shoes here but be prepared to wait a long time. When you do rent them you will get MSR's (good SS). At this part of the mountain you are not crossing any runs so you don't need to have the waiver for this BC Parks trail. If you SS on any of the Cypress Mountain trails you will have to pay. Hollyburn Peak is a lot of climbing but two of the view points are amazing. It is a 5 km in/out trail (but it felt longer). It starts at a covered sign near the beginning of the parking lot. We took my BFF’s Mexican exchange student with us. He has only seen snow briefly once before so it was a real treat for him. Expect to climb quite a bit. The first view point is amazing. Carry onto the last steep climb and at the top are Whiskey Jacks & views of The Lions, Georgia Straight and Grouse Mountain. Scaredy Cat says you'll keep all your nine lives. For more information: http://www.env.gov.bc.ca/bcparks/ 8) Eagle Bluffs at Cypress Mountain~West Vancouver, BC You will need a Backcountry Access Corridor Liability sticker on this BC Parks trail. It is free at guest services and required as you will cross the ski runs to get to the trail. It is the same trail as Howe Sound Crest Trail but you will go to the left instead of the right. It is a snow shoe but also can be hike in the summer months. I have not hiked it. I have only SS it before. It was a challenging SS. It is uphill for the first 1-2 hours as you hug a ski run. You will come to the first lookout which is spectacular then will go down some mini hills to an even better lookout and a perfect spot for lunch. After you are finished go back the way you came but head to the right at the junction. This way will take you through a valley and eventually down a series of switchbacks. For more information: http://www.vancouvertrails.com/trails/eagle-bluffs/ 9) Artist Point at Mt. Baker~Washington, USA "Hiked to Artist Point at Mount Baker. At more than 5,000 feet above sea level, and treated to 360-degree views of Mount Shuksan and Mount Baker. Holy Heavens - I truly was in Gods country!" by Kiki Berg The Mortgage Diva This is a beautiful snowshoe. You will need a passport and a good vehicle to get up to Artist Point. It's 5 miles in a wide open space. There are a few hills in the beginning but there is nothing scary, just work. Mt. Baker is beautiful!!! For more information: http://www.wta.org/go-hiking/seasonal-hikes/hikes-of-the-week/artist-point 10) Windy Joe, Manning Park Drive past the Manning Resort and not too far along the road, just after the bridge and before the parking lot is a pull out to park on your right. There’s a big Manning Park sign and a Windy Joe Lookout sign post. This mark’s the start of your hike. Its 16 km’s return/654 meters. Right from the start there is dead fall but it’s easy to navigate. For the beginning of the hike it’s flat in old growth forest. This goes on for about 2 km’s. The trail forks/junction: stay right & follow sign to Windy Joe Lookout Trail. If you go left it’s the Pacific Crest Trail (that’s the trail that takes you through the USA and ends in Mexico.) Or this also goes to Frosty Mountain. Today it’s Windy Joe… Here it starts to climb gradually up a wide road. Just before 5 Km's there’s another junction (stay left) going right takes you to Pacific Crest Trail & Frosty Mtn. After about 5 minutes you'll see a 5 Km's Windy Joe trail marker high in the trees…3 km’s to go! Keep going as the trail snakes around with gradual elevation. Soon a lookout of Frosty appears on your left, it's not far now. The pit toilet will be your first sign that you are steps away from The Windy Joe Hut. There's a picnic table and vistas everywhere your eyes can see. Don’t let anyone tell you the trees cover the views. It is spectacular! You have arrived, your summit for today. Check out the hut. Upstairs there are pictures of all the mountain ranges. It’s a place of history… Stay tuned for new & up-dated 2014-2015 SS'ing trails...Until then, happy & safe SS'ing trails. Lori aka Scaredy Cat. |
Author.I work for Surrey School District as an Education Assistant. In my free time I enjoy hiking, snowshoeing, going off-road, dragon boating, writing & hanging with my huskies. Archives
March 2021
Categories |





 RSS Feed