My BlogGing
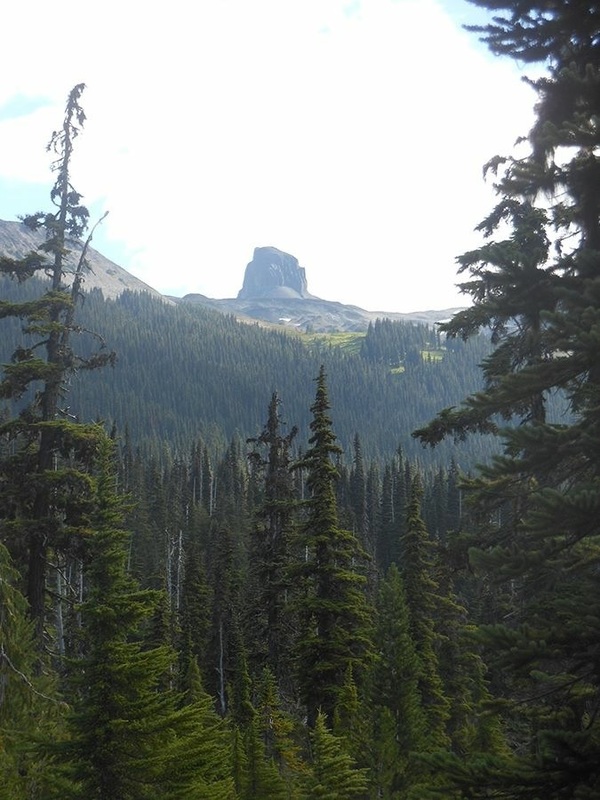
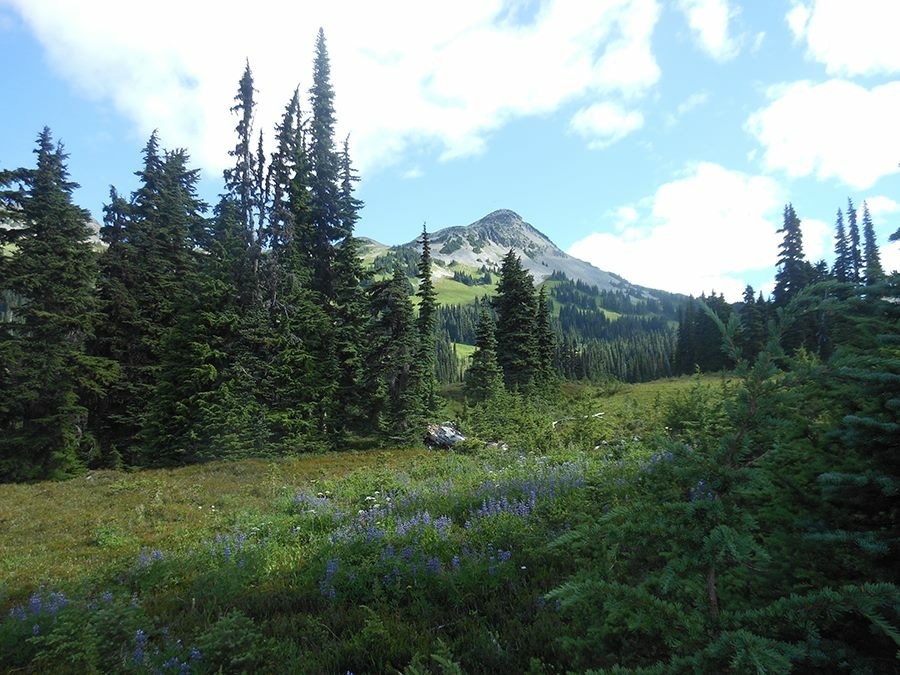
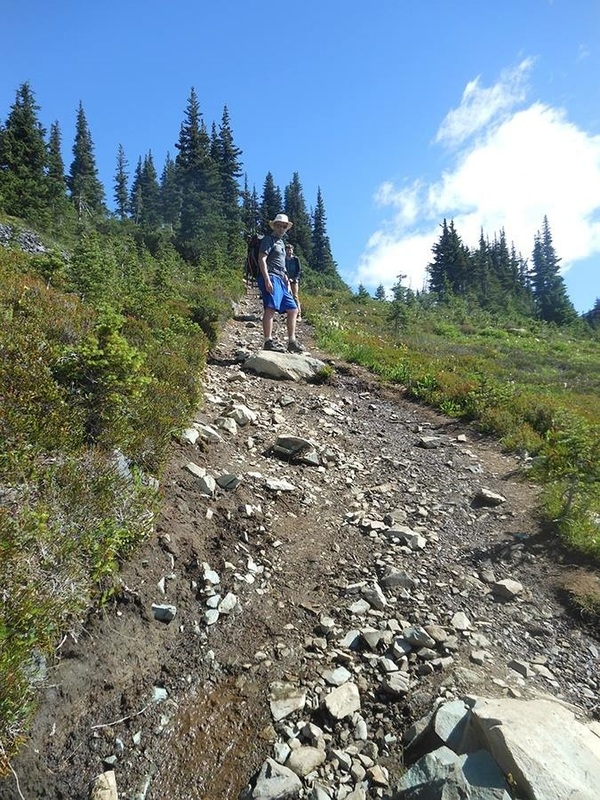
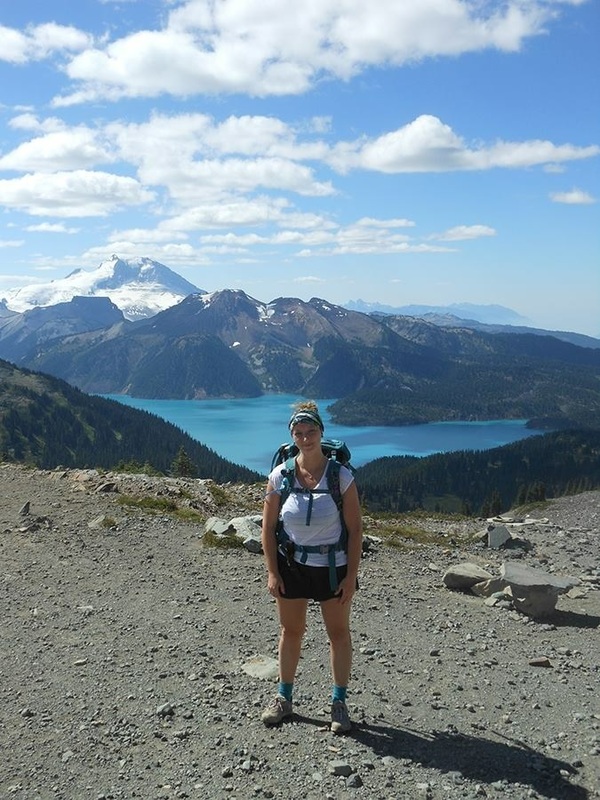
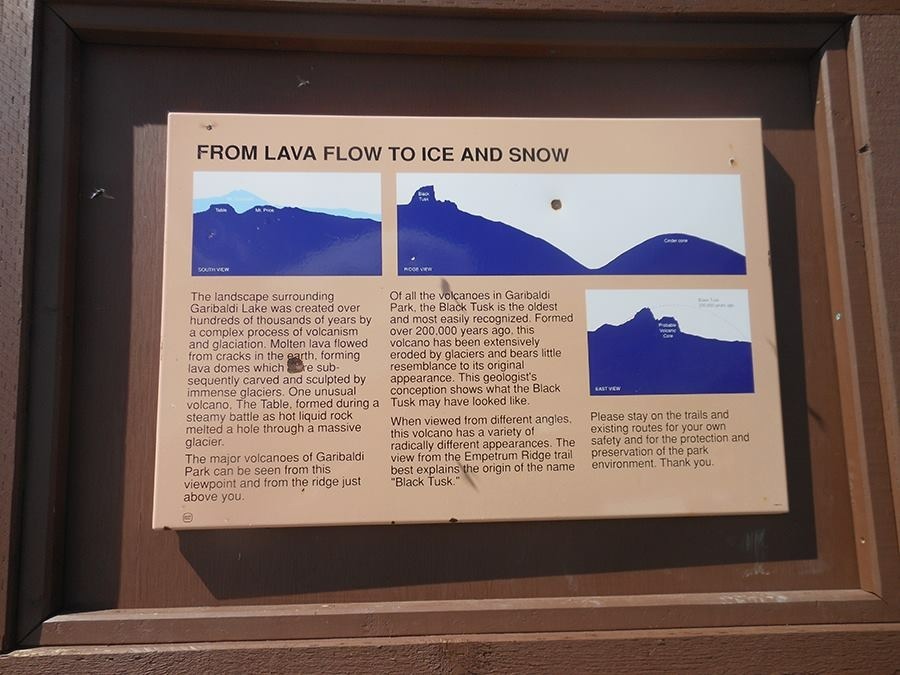
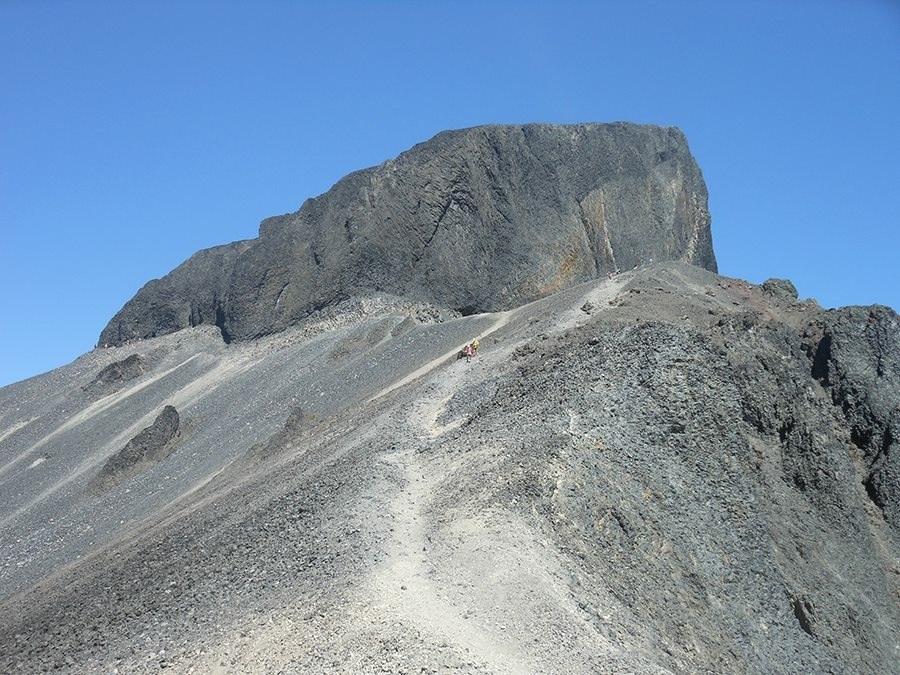
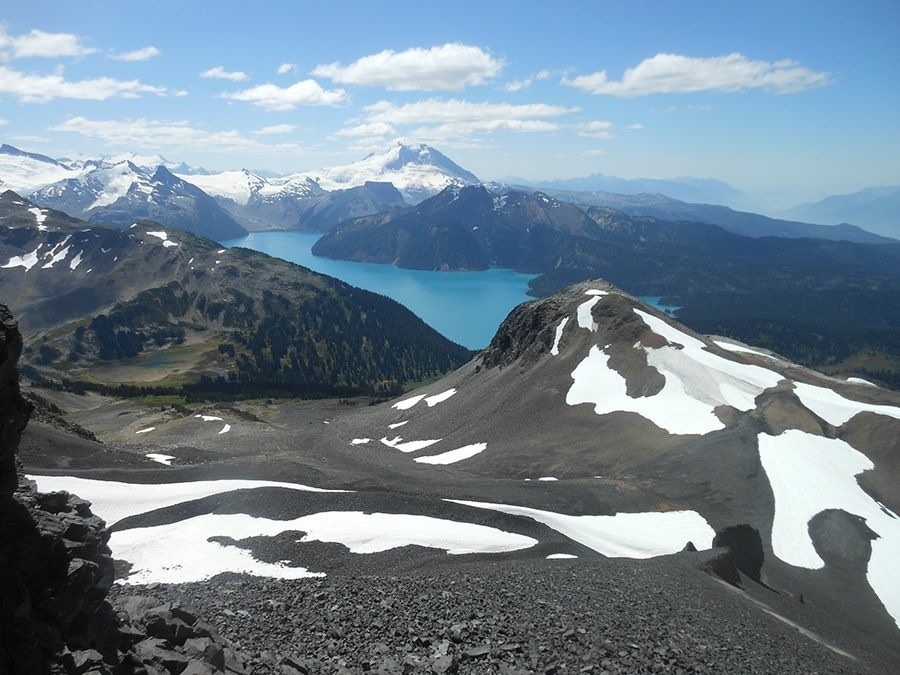
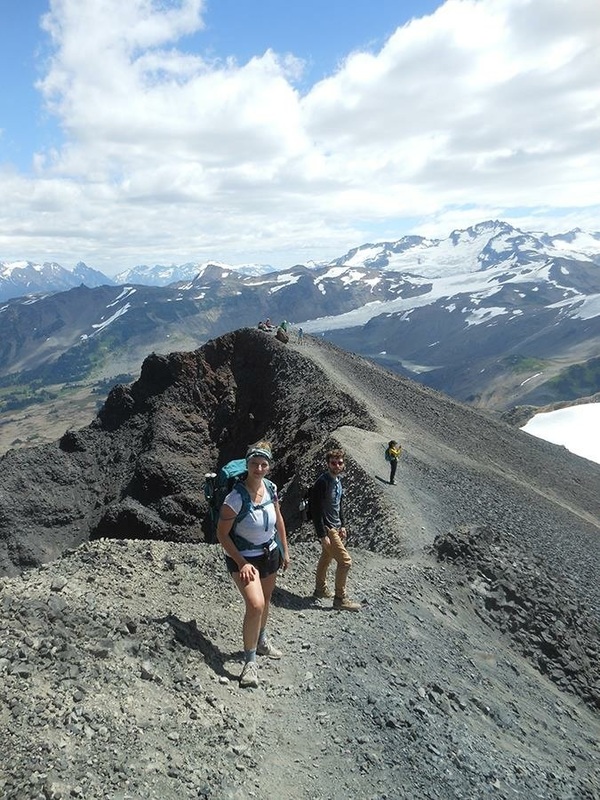
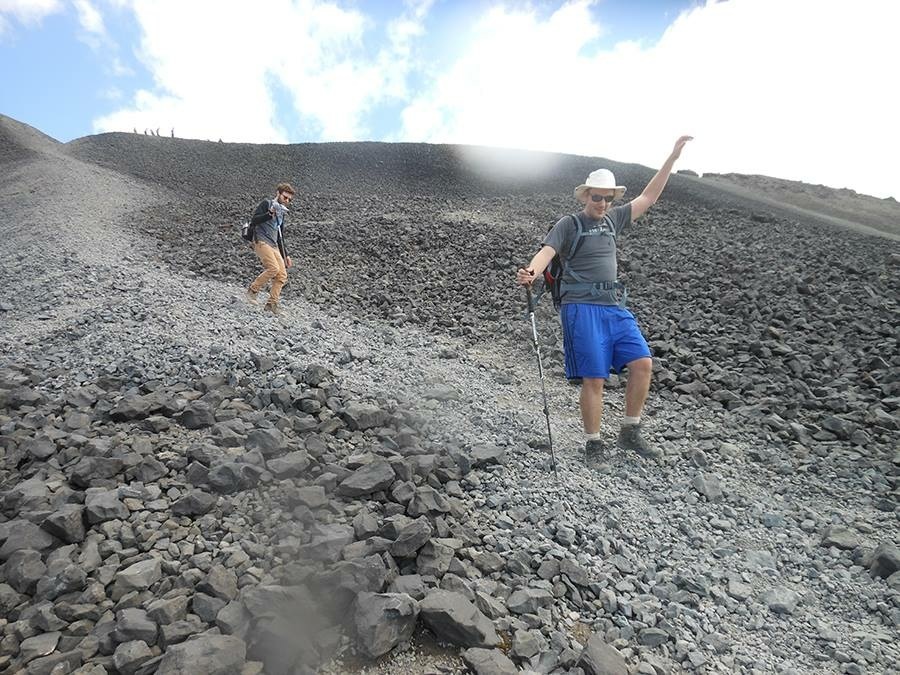
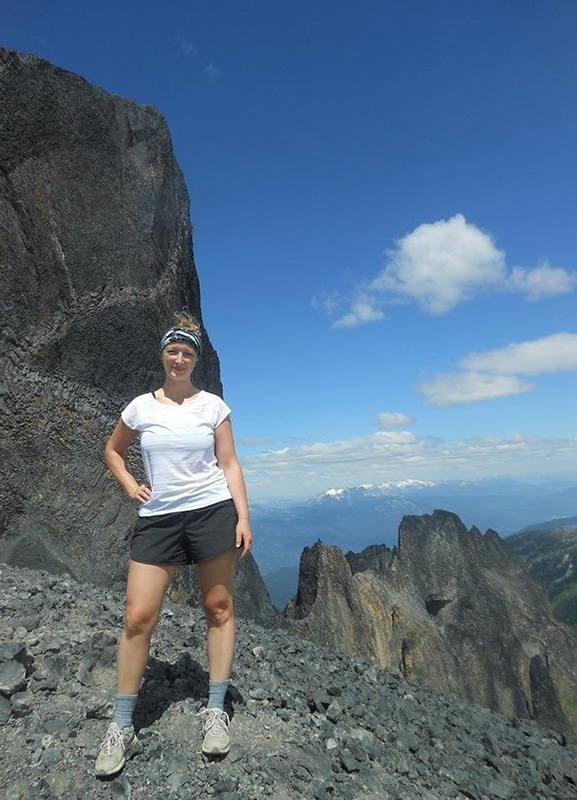 Emily at the base of The Black Tusk Black Tusk and Garibaldi Lake By Emily Sayward Last year my brother (and awesome hiking partner) Steven mentioned that he’d like to hike Black Tusk. Without even hearing any of the stats or seeing the pictures, I knew it was one I wanted to do. With a name as majestic as that, I knew it would be epic. In mid July we climbed it, and it did not disappoint. Located in Garibaldi Provincial Park, Black Tusk is the most spectacular mountains in the area, and I even dare say in this fine province of ours. With over 1700m in elevation and nearly 30km in length, Black Tusk can be done in a day; however, some people prefer to hike to Garibaldi Lake or Taylor Meadows and camp overnight, and then hike to the Tusk the following day. With other overnights planned this year, we ran out of time and had to do with guy in one day. One lonnnnnng day. Start your hike from the wooden steps in the upper section of the Rubble Creek parking lot. The manicured, well-marked dirt trail climbs steadily up switchbacks for the first 6km until you reach a junction. Going right takes you directly to Garibaldi Lake, and the trail to the left leads to Taylor Meadows (and eventually splits to go to Panorama Ridge or to Black Tusk). Taylor Meadows is absolutely gorgeous and was a highlight for me. After the seemingly endless switchbacks, and the impending steep tusk, the flat, beautiful wander through the meadows of wildflowers was a nice reprieve. Looking back over your shoulder grants breathtaking views of Garibaldi Lake and the snowcapped Tantalus Range. Eventually, you arrive at a junction with a map and wooden bench. Continue going straight along the trail for a short distance and watch for a sign and trail on your left that point the way to Black Tusk (continuing straight will take you to Panorama Ridge. Don’t worry though – this is all well marked on the trail!) The trail to the Tusk from this point climbs quickly, passing over small runoff streams and evidence of rockslides that have occurred over thousands of years. After soaking in the stunning, lush, vibrant scenery, you virtually round a corner and the terrain changes completely into a treeless, rocky, shale and lava rock barren land that looks prehistoric. In the back of my mind I felt like it wouldn’t be impossible to see a T-Rex pop out from around the Tusk, and I overheard some other hikers say the same thing! The trail leads you onto a small ridge at a BC Parks sign with a full view of Black Tusk ahead. The sign gives interesting facts about how the Tusk was formed, as well as informs hikers that this is the end of the maintained trail and to proceed with caution. It is easy to see where to continue from here as it’s a popular trail, but it is very tough (but fun!) from here to the top. Until now, though long, the hike has not been overly intense or grueling. This is where you’re going to make up for that! The next section of trail is a scramble over very loose shale towards the base of the Tusk. The shale slides with each step you take making it seem like you slide back one step for every two steps you move forward. Imagine trying to run up an escalator that’s going down. It’s exhausting work, but there are two small ridges that you can stop at along the way for a break without fear of sliding down while you stop moving. The trail eventually emerges onto a ridge next to the base of the Tusk that offers a scenic view of the entire area surrounding Garibaldi Lake. As you near the tusk, the trail narrows and each side has serious drop offs. Be careful. This is not for people with a fear of loose footing or heights. Slipping will have serious consequences here. * Most hikers end their hike to the Tusk at this point before heading back. Although it is possible to make it onto the peak of the Tusk it is not recommended as it is extremely dangerous and discouraged by BC Parks. However, it is sometimes attempted by experienced rock climbers with the proper equipment and training. To reach the chute that you can climb to the top, follow the base of the Tusk, stepping carefully to make sure you don't slide down the hill. The shale is very loose and pulling yourself up through the chute generally pulls off pieces of rock from the Tusk. Even experienced rock climbers must keep in mind that they have to come back down this same route. You will need to bring proper gear including a helmet to do last part. * (copied from www.vancouvertrails.com) After enjoying the view, it's time to head back down. What I liked about this park in general is that you can really make the day your own. The trails to Garibaldi Lake, Panorama Ridge, and The Black Tusk all cross paths many times, so you can decide what route you’re like to take. We stopped to talk with many hikers throughout the day and everyone seemed to be doing something different. We went to the tusk via Taylor Meadows, then to the Lake and back to the TH from there. Others did the opposite; or skipped the tusk and did the Ridge… you get the point. You could go many times and change it up each time. If you have questions, feel free to email Emily at [email protected] and you can follow more of her adventures on instagram here: https://instagram.com/the_wandering_willow/
0 Comments
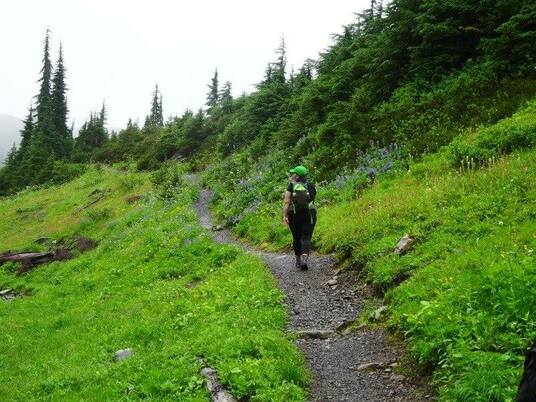
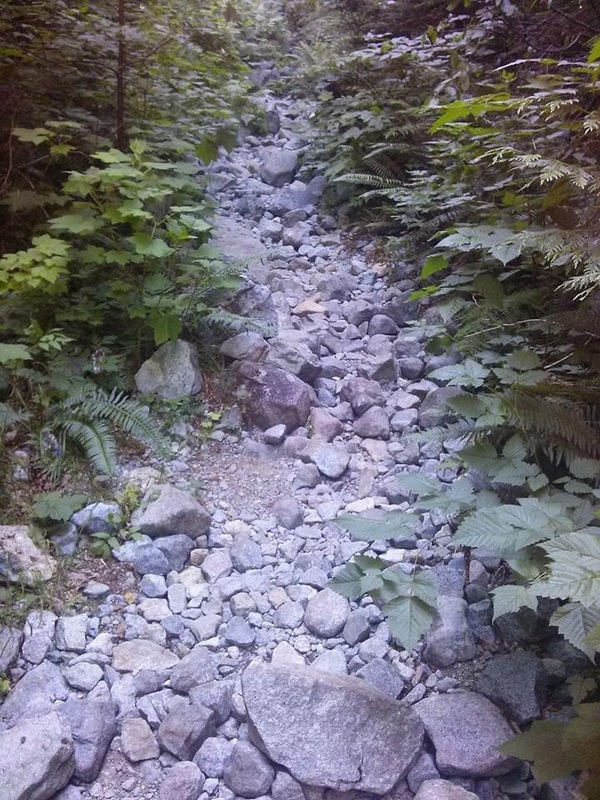
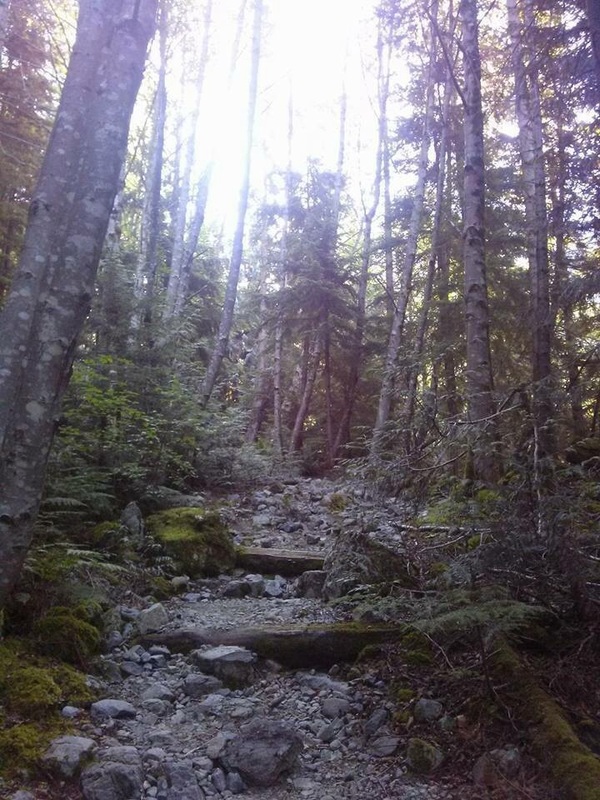
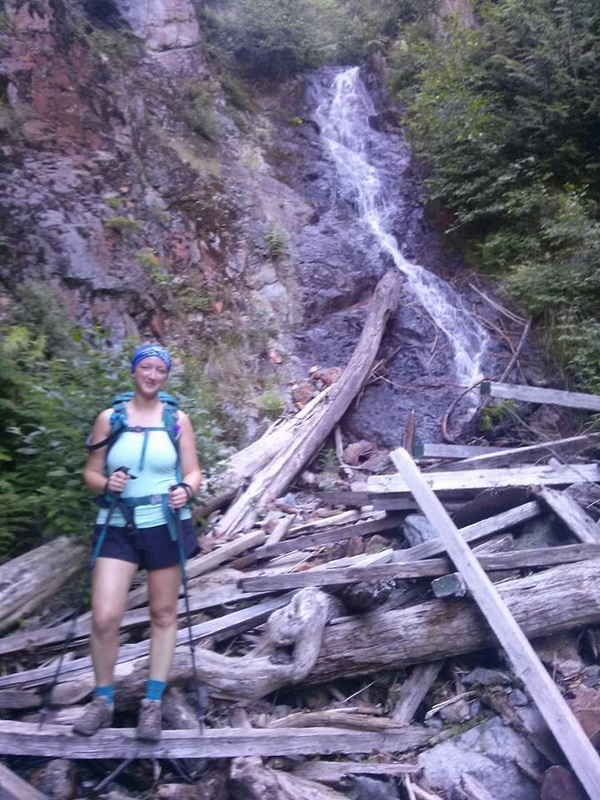
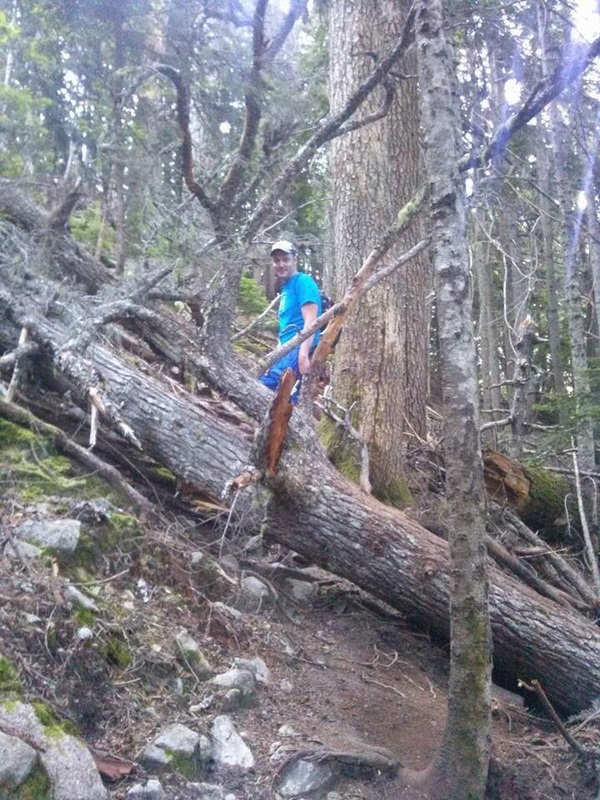
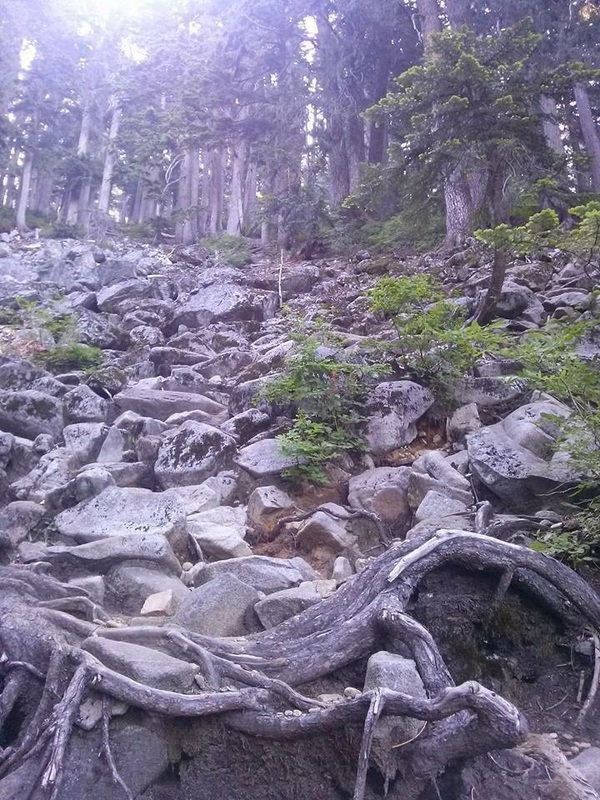
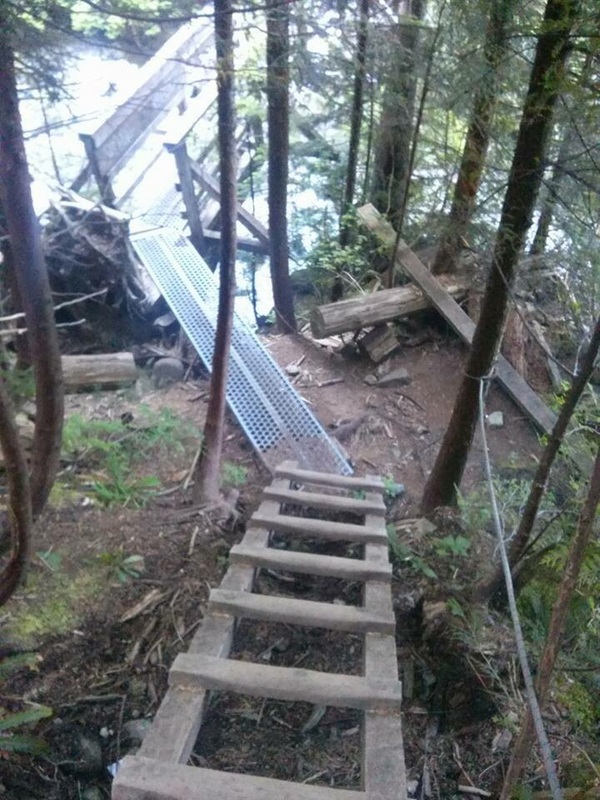
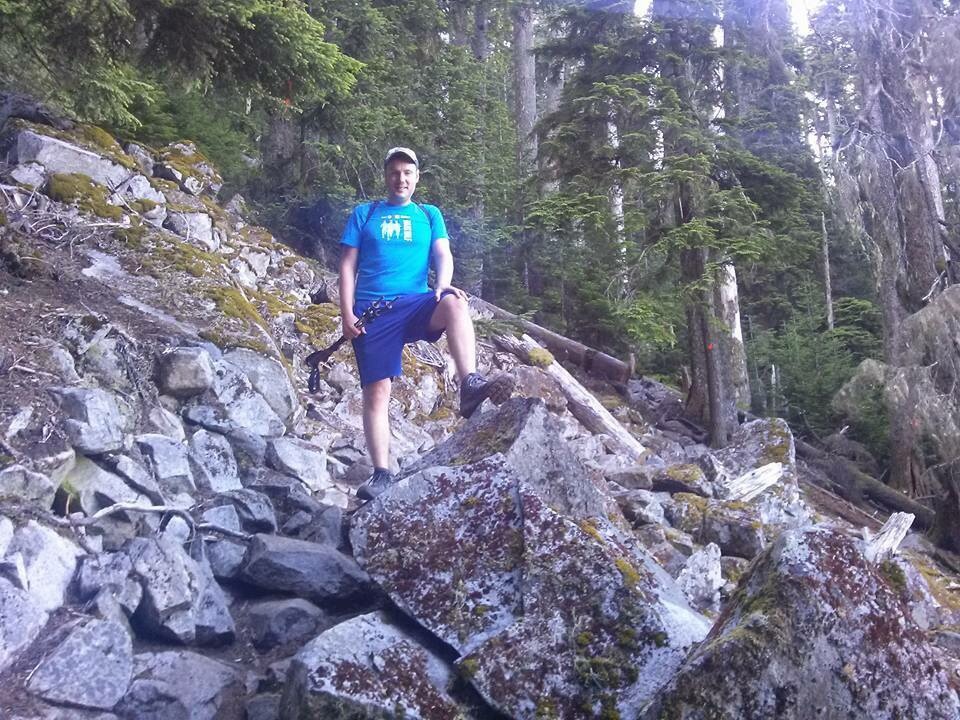
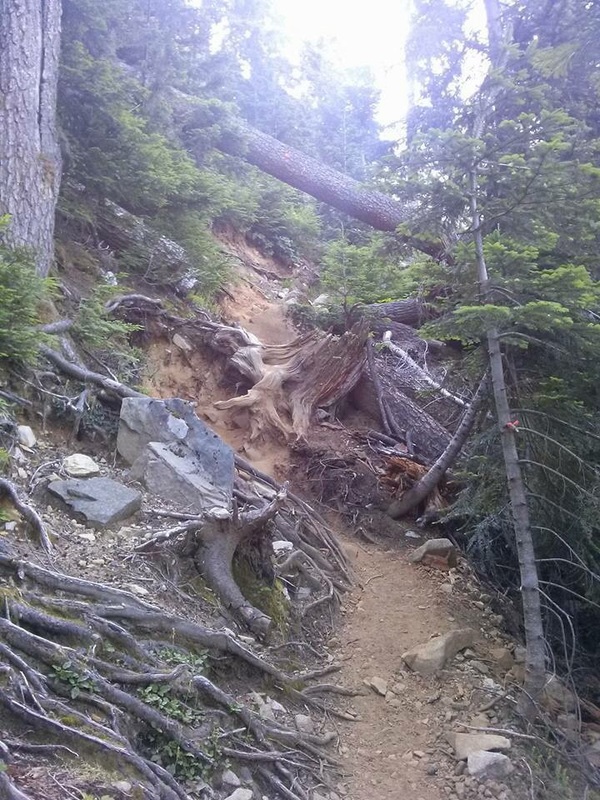
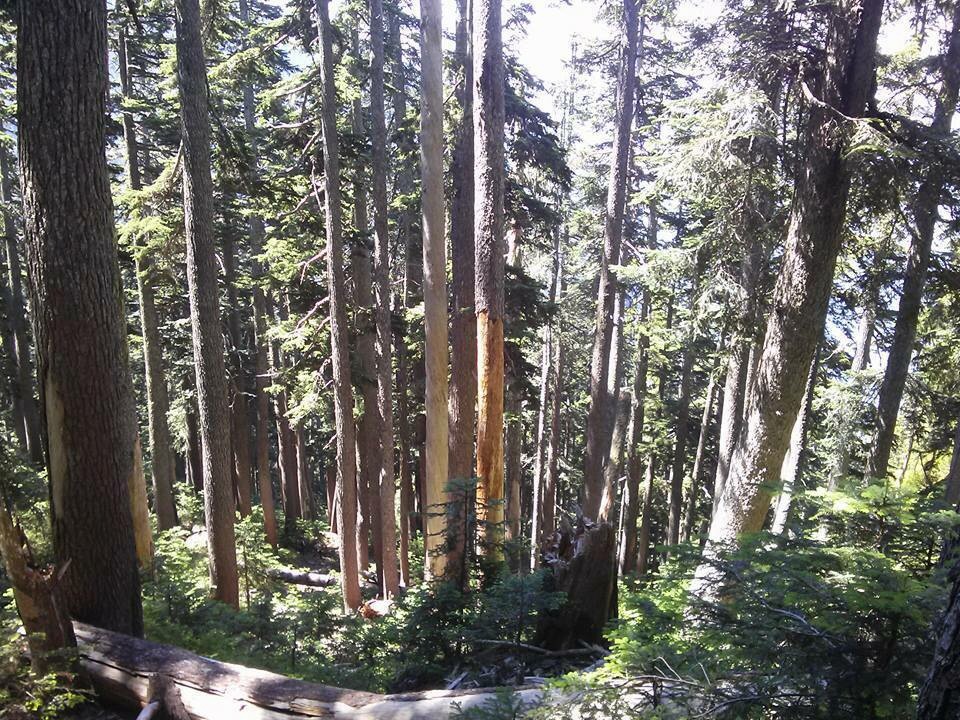
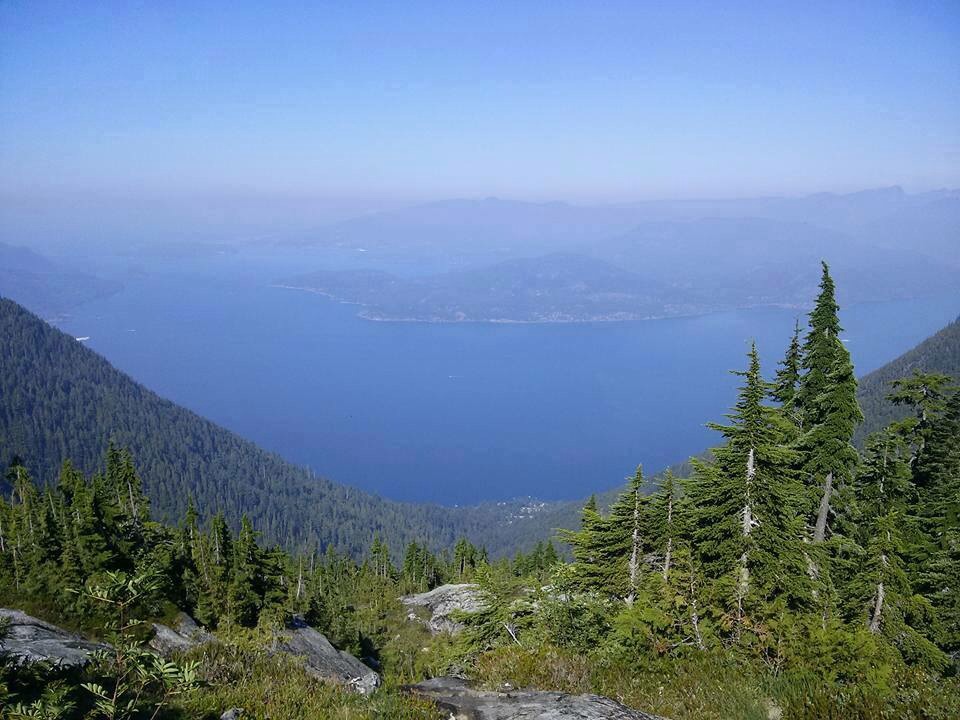
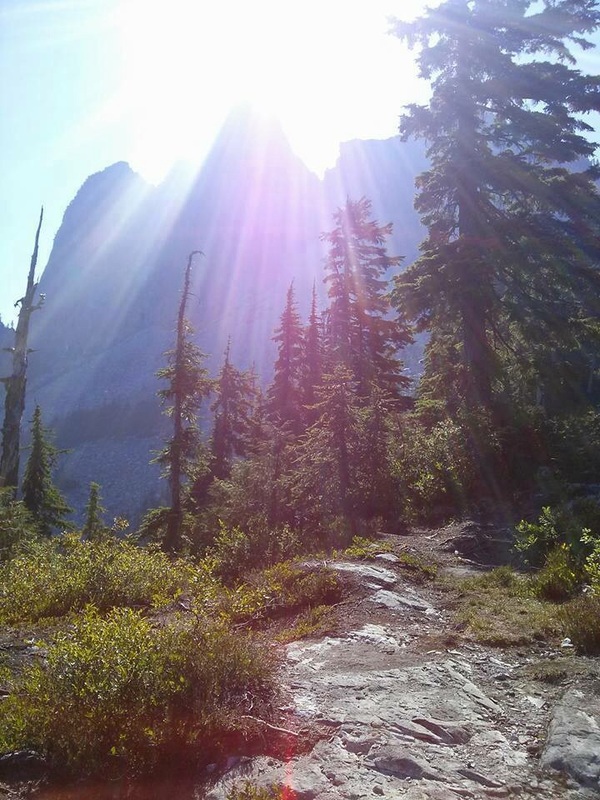
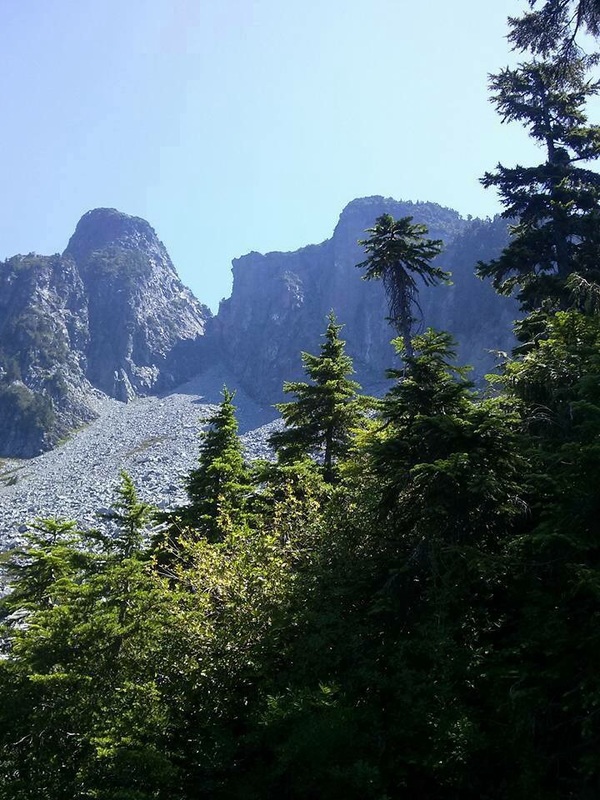
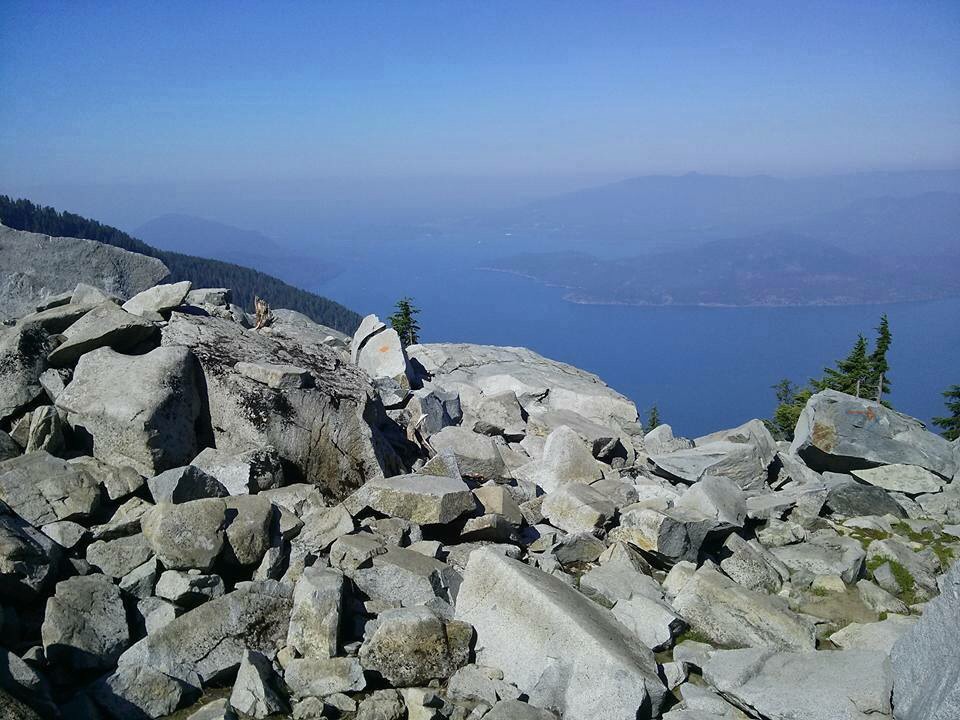
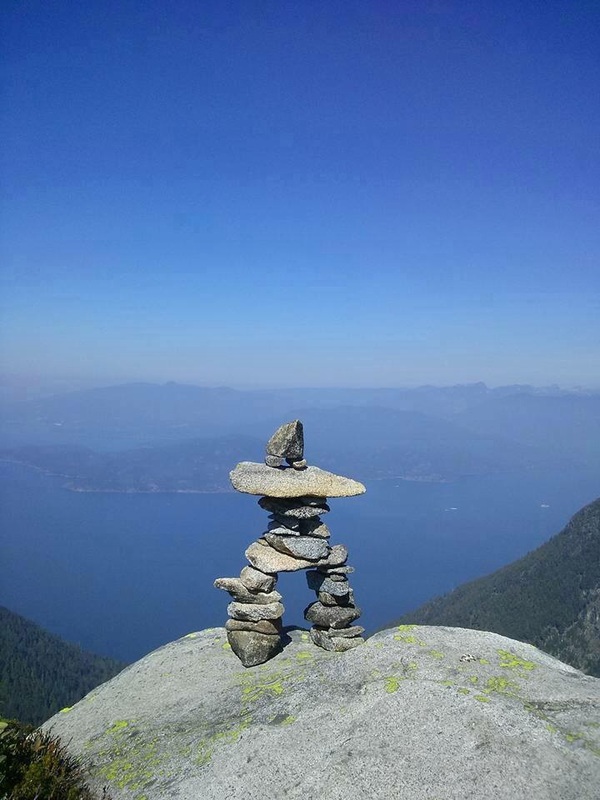
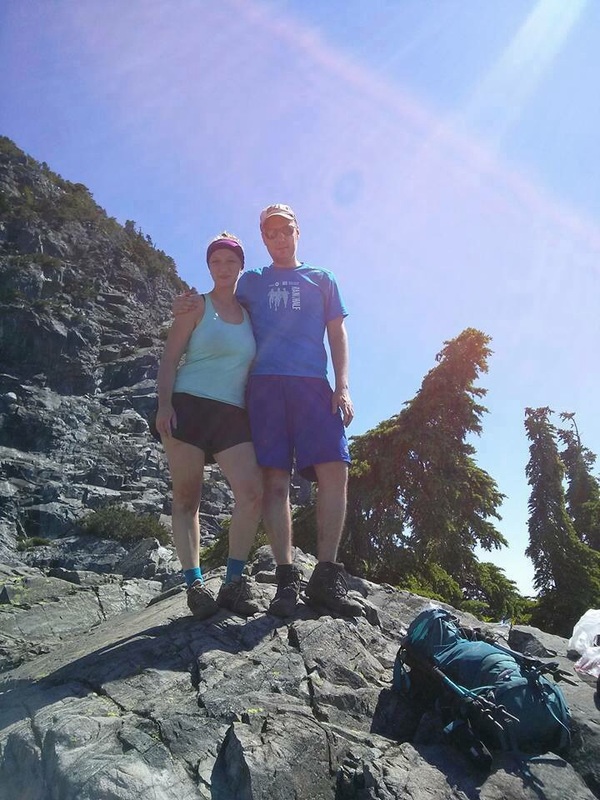
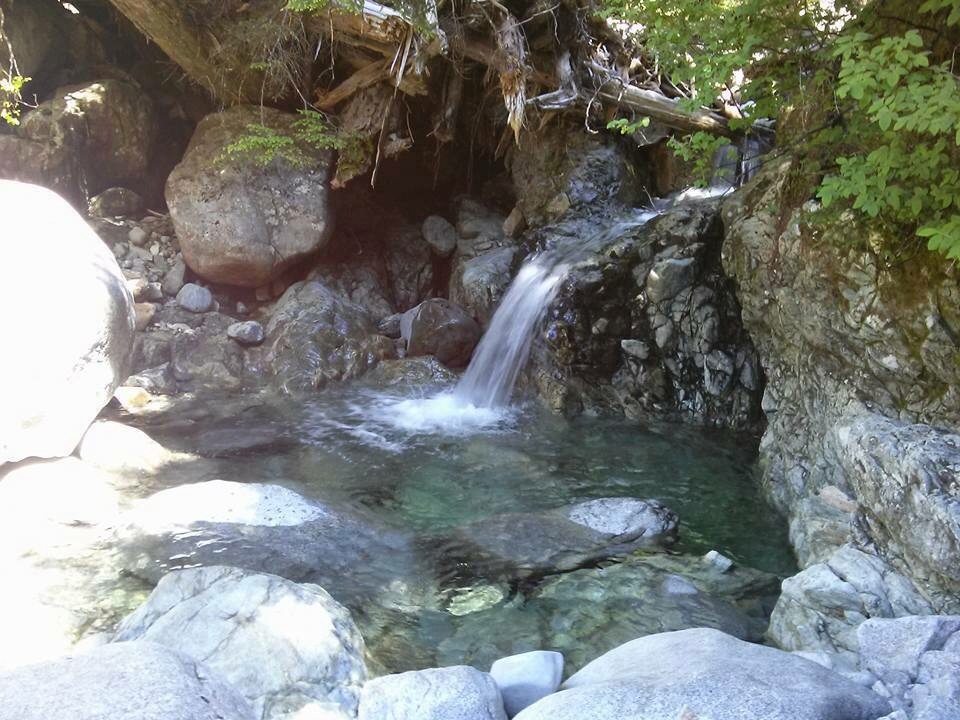
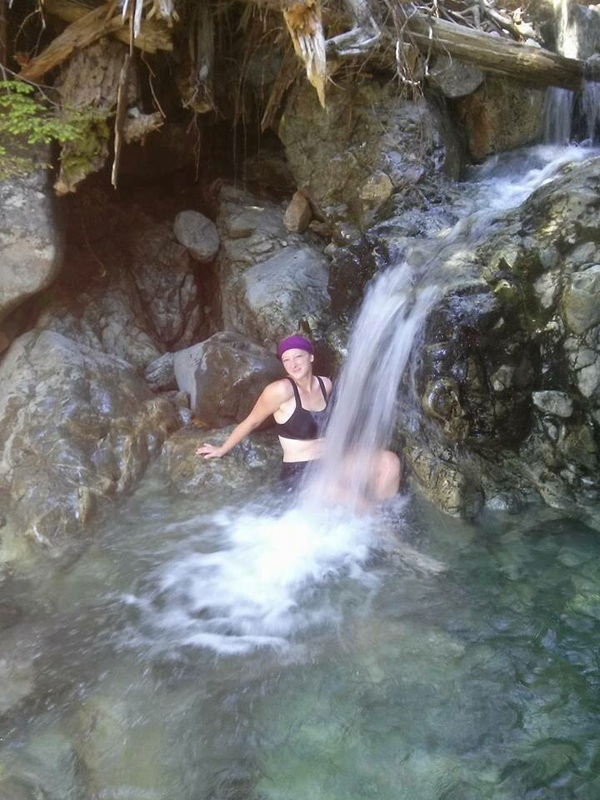 Cooling off after a long dirty hike! By Emily Sayward July 5th hike to the Saddle of the Lions (via Lions Bay) DIRECTIONS: There are several ways to hike the Lions, with two of the popular ones being from Cypress Mountain Trail Head and the other from Lions Bay. There are pros and cons to both (mainly from Cypress is slightly longer, but a little less steep). We did it from Lions Bay but would like to try it the other direction next time. Note that if you leave from Lions Bay, there are only 4 parking spots at the trail head and the parking lot is at the school a kilometer down the steep windy mountain. We got there at 6am hoping to beat the crowds but the spots were already full. We realized on the hike up that they were from over nighters. (So with the extra 2 km that added on, we could have matched the extra distance from the Cypress route and I hear the trail is nicer.) Either way, the roads are groomed and no 4x4 is necessary. Look up online for exact directions depending on that route you want. They are both easy to find. TRAIL: Starting from the well marked gate/TH in Lions Bay, follow the wide gravel road and after 5 minutes of flat terrain, you will begin your ascent. A short distance up the trail, you reach a fork that heads off to Mount Harvey. Go right and continue along the wide gravel road as it travels through a series of switchbacks, gradually snaking its way uphill. After 25-30 minutes of hiking, the trail reaches another junction. Again, go right and continue uphill as the trail begins to level. For the next 30 minutes, the trail remains at a relatively easy incline but don't get too comfortable with this as the every section you will come to gets steeper and more technical than the last. The trail wraps around the mountainside and passes a scenic waterfall (where we decided we would cool off in on our way back). * Please note that there is NO acceptable drinking water along the entire trail. There is one waterfall but it is marked that it contains (or may contain) Giardia. Make sure you take plenty of water. It's a long, difficult hike with the last grueling hour + in exposed boulder fields. We passed many unprepared hikers and urged them to turn around. Though the trail is well marked for the most part, keep your eyes open for markers. We had to back track a couple of times but it was never far and was always easy to find where we veered off. Though we blasted through the first 6.5km, the last 3km took twice as long. (Keep your pace steady as you have to reserve energy for the final boulder fields where you really need to pay attention!) Just a short distance after the trail begins to really start to climb, there is a clearing which offers a viewpoint of Howe Sound and Bowen Island. Unfortunately my brother and I hiked it in the midst of the hot, hazy air from the forest fires so we could hardly see a thing... but I image it would be beautiful on a clear day! For the next hour or so, the trail climbs steadily through beautiful fir and cedar forests with a significant amount of dead fall. Be prepared to climb over and under many fallen trees. Eventually, the trail opens on a ridge from an opening in the trees and standing tall to your right is the breathtaking West Lions. This is the Look Out point. From here you can only see the one Lion as the other is tucked behind it. Once you approach it from another angle you will see both, I promise! Follow the trail to the right and for a short distance you won't see any markers. Keep going and eventually you will see spray painted marks on big boulders leading you up. As you continue your climb, take the occasional moment to stop and look back at the view of Howe Sound and the town of Lions Bay where you started your trek earlier in the day. The route over the boulders continues to climb and with each step it gets steeper. The last section of the trail is the steepest, climbing up a short gully (between Unnecessary Mountain and the Lions) as you make a scramble to the top. Reaching a ridge, another small hill appears in front of you. Just a few more minutes up this section and you have reached another ridge that offers a full view of both Lions' peaks as well as the views of Howe Sound, Unnecessary Mountain, and Vancouver off to the left. If you're brave, experienced, and prepared, you can continue further and summit the West Peak from here, but we did not have time that day (and truth be told, though I love a good scramble, even this one looked daunting to me). We sat here, ate some chicken wings, and then started our descent. On the way down, we stopped at the waterfall and cooled down. A very nice reward to a long hike! STATS: (Based on the Lions Bay TH, to the base on the West Lion, and back) 18km (add an extra 2 if you can't park nearby and have to park at the school) 1328m final elevation gain (from the TH; again add more if you park at the school) It took us 9 hours, but that was with many picture breaks, half an hour (at least) at the top for lunch, and half and hour at the waterfall. So probably 7.5-8 hours of hiking time, but allow 9 hours (or more) if you like to stop. If you have any questions, feel free to email Emily at [email protected] and/or follow her on other adventures here: https://instagram.com/the_wandering_willow/ |
Author.I work for Surrey School District as an Education Assistant. In my free time I enjoy hiking, snowshoeing, going off-road, dragon boating, writing & hanging with my huskies. Archives
March 2021
Categories |


 RSS Feed